Choosing a Flower Press
Flower pressing doesn’t require anything too technical, but as this art form has grown in popularity the options for presses can be bewildering at times, and every presser has an opinion on what will gain the best results. You may be asking: What size press do I need? What papers do I use? Where do I get a press from?
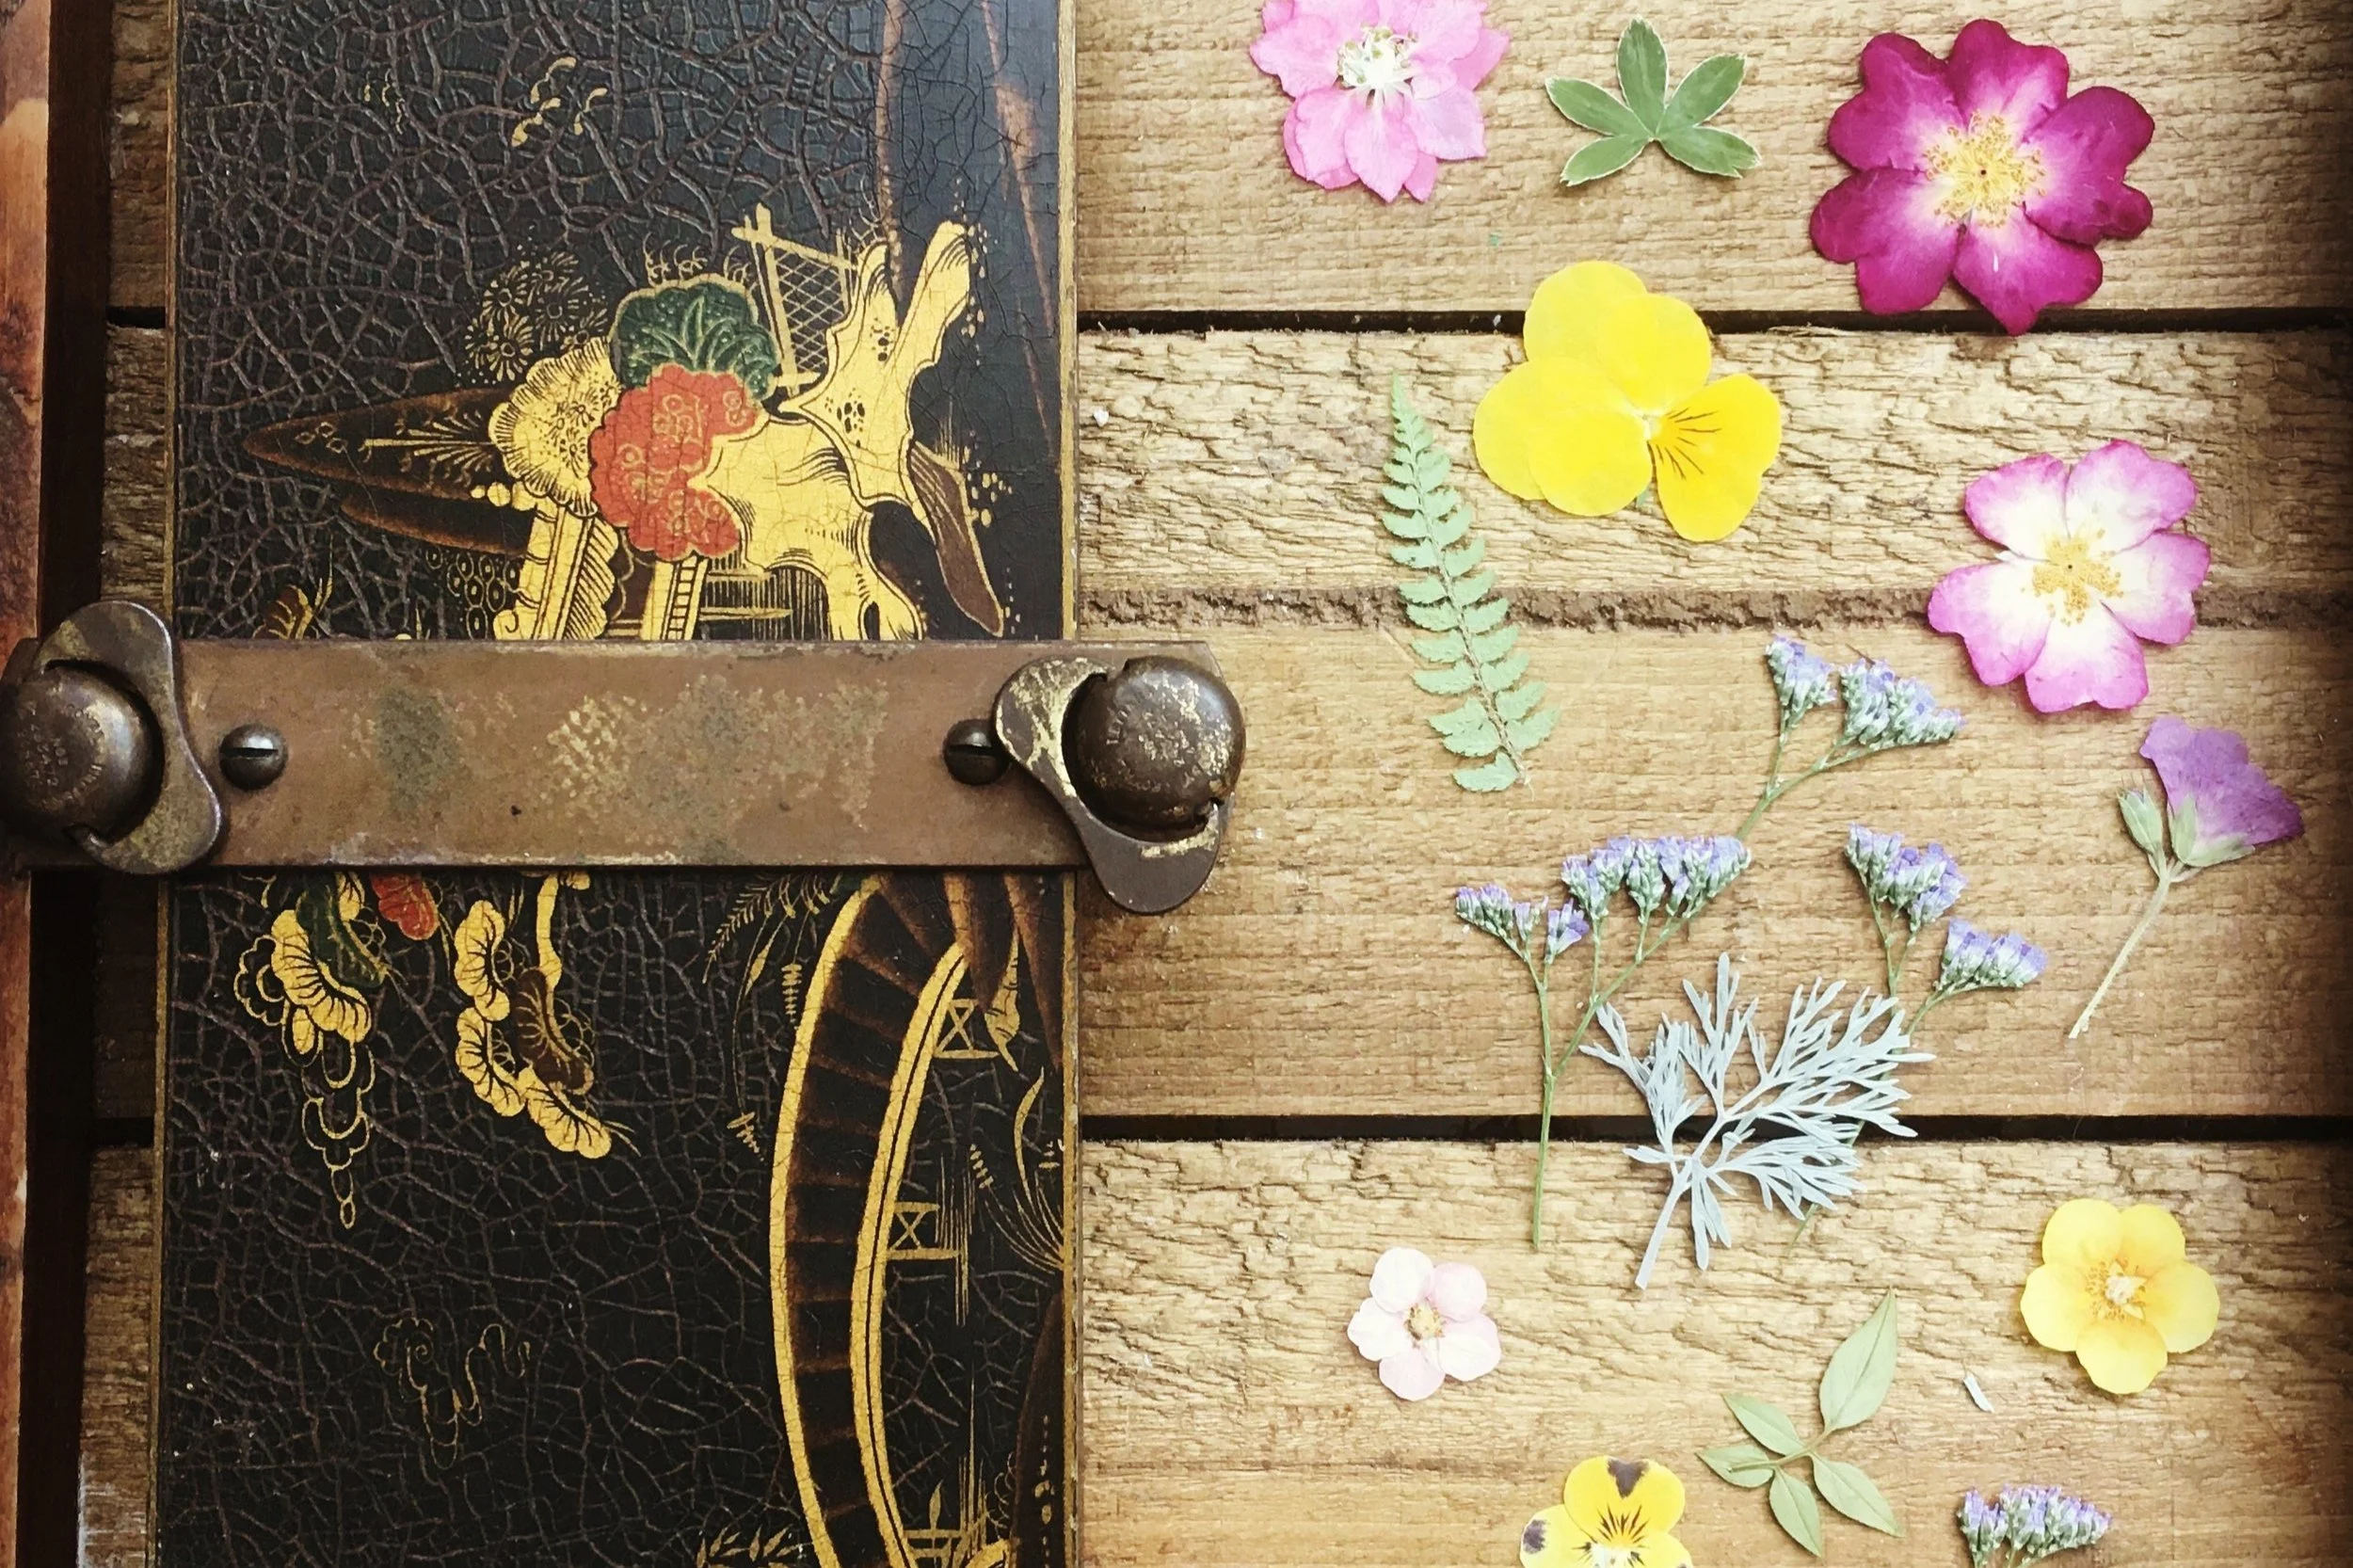
When I first began pressing almost 13 years ago, I began in books, but the results from books can be inconsistent. (See the blog post ‘Pressing in Books’ for more on this.) One of my first flower presses was a beautiful, vintage one, albeit quite small so I can’t press a lot in it. Vintage presses are often small because they were usually used for on-the-go pressing (known as ‘field presses’) for botanists or the whimsical-natured pressers looking to preserve a few sentimental flowers (see the blog post ‘A History of Pressing’ if you’d like to learn more about this).
With its growing popularity, craft stores now cater more for pressers; selling flower presses as kits with papers and dividers included, and very basic instructions. Flower presses from a craft store or online can vary: some can be quite robust and others really flimsy. Their size is often around A5 or smaller; they’re great for on-the-go pressing, but they’re also easily overloaded and can be impractical for pressing larger flowers.
The Size of your Press
Personally, I’ve always preferred an A4-sized press. The reason for this is I find it’s the optimum size to get even distribution of pressure across my flowers (very important in pressing!), I can press a good quantity of flowers without overloading the press, and I can use A4 paper too - which we’ll come to in a moment.
If you work with a press larger than A4, you start to lose the pressure in the centre of your press. Flowers placed closest to the bolts are going to receive the most amount of pressure, as the top is being pulled down at these parts. Depending on the thickness and weight of your top panel, the flowers in the centre of a larger press will not receive that same amount of pressure when you screw down your bolts, which means they’re more likely to wither and brown. If you do have quite a large press, I recommend placing heavier objects on top of your press to increase the pressure in the centre.
And size does matter in more ways than one! Consider the material your press is made from when purchasing a press. Thin wooden panels are often light, which makes these types of presses great for travel, but they’re not always practical for pressing thicker flowers. Thicker, heavier wooden panels apply more weight and pressure, making them much more effective when pressing your flowers.
Some pressers use panels punctured with holes, or have a lattice-effect in them. The thought behind this is that it aerates the press and therefore helps flowers dry out more quickly. Personally, I’ve found no evidence that this is more effective, but it doesn’t hurt if you do have a press with holes in the panels.
The objective of pressing flowers is to dry them out - to extract moisture - which means you need the moisture to escape into something. This is why what you use inside your press is more important. You can air-dry flowers (which is a different method altogether) but pressing them is about having the right pressure against the entirety of your flower so that moisture can escape into your papers or what you are using inside your press.
Inside the Press
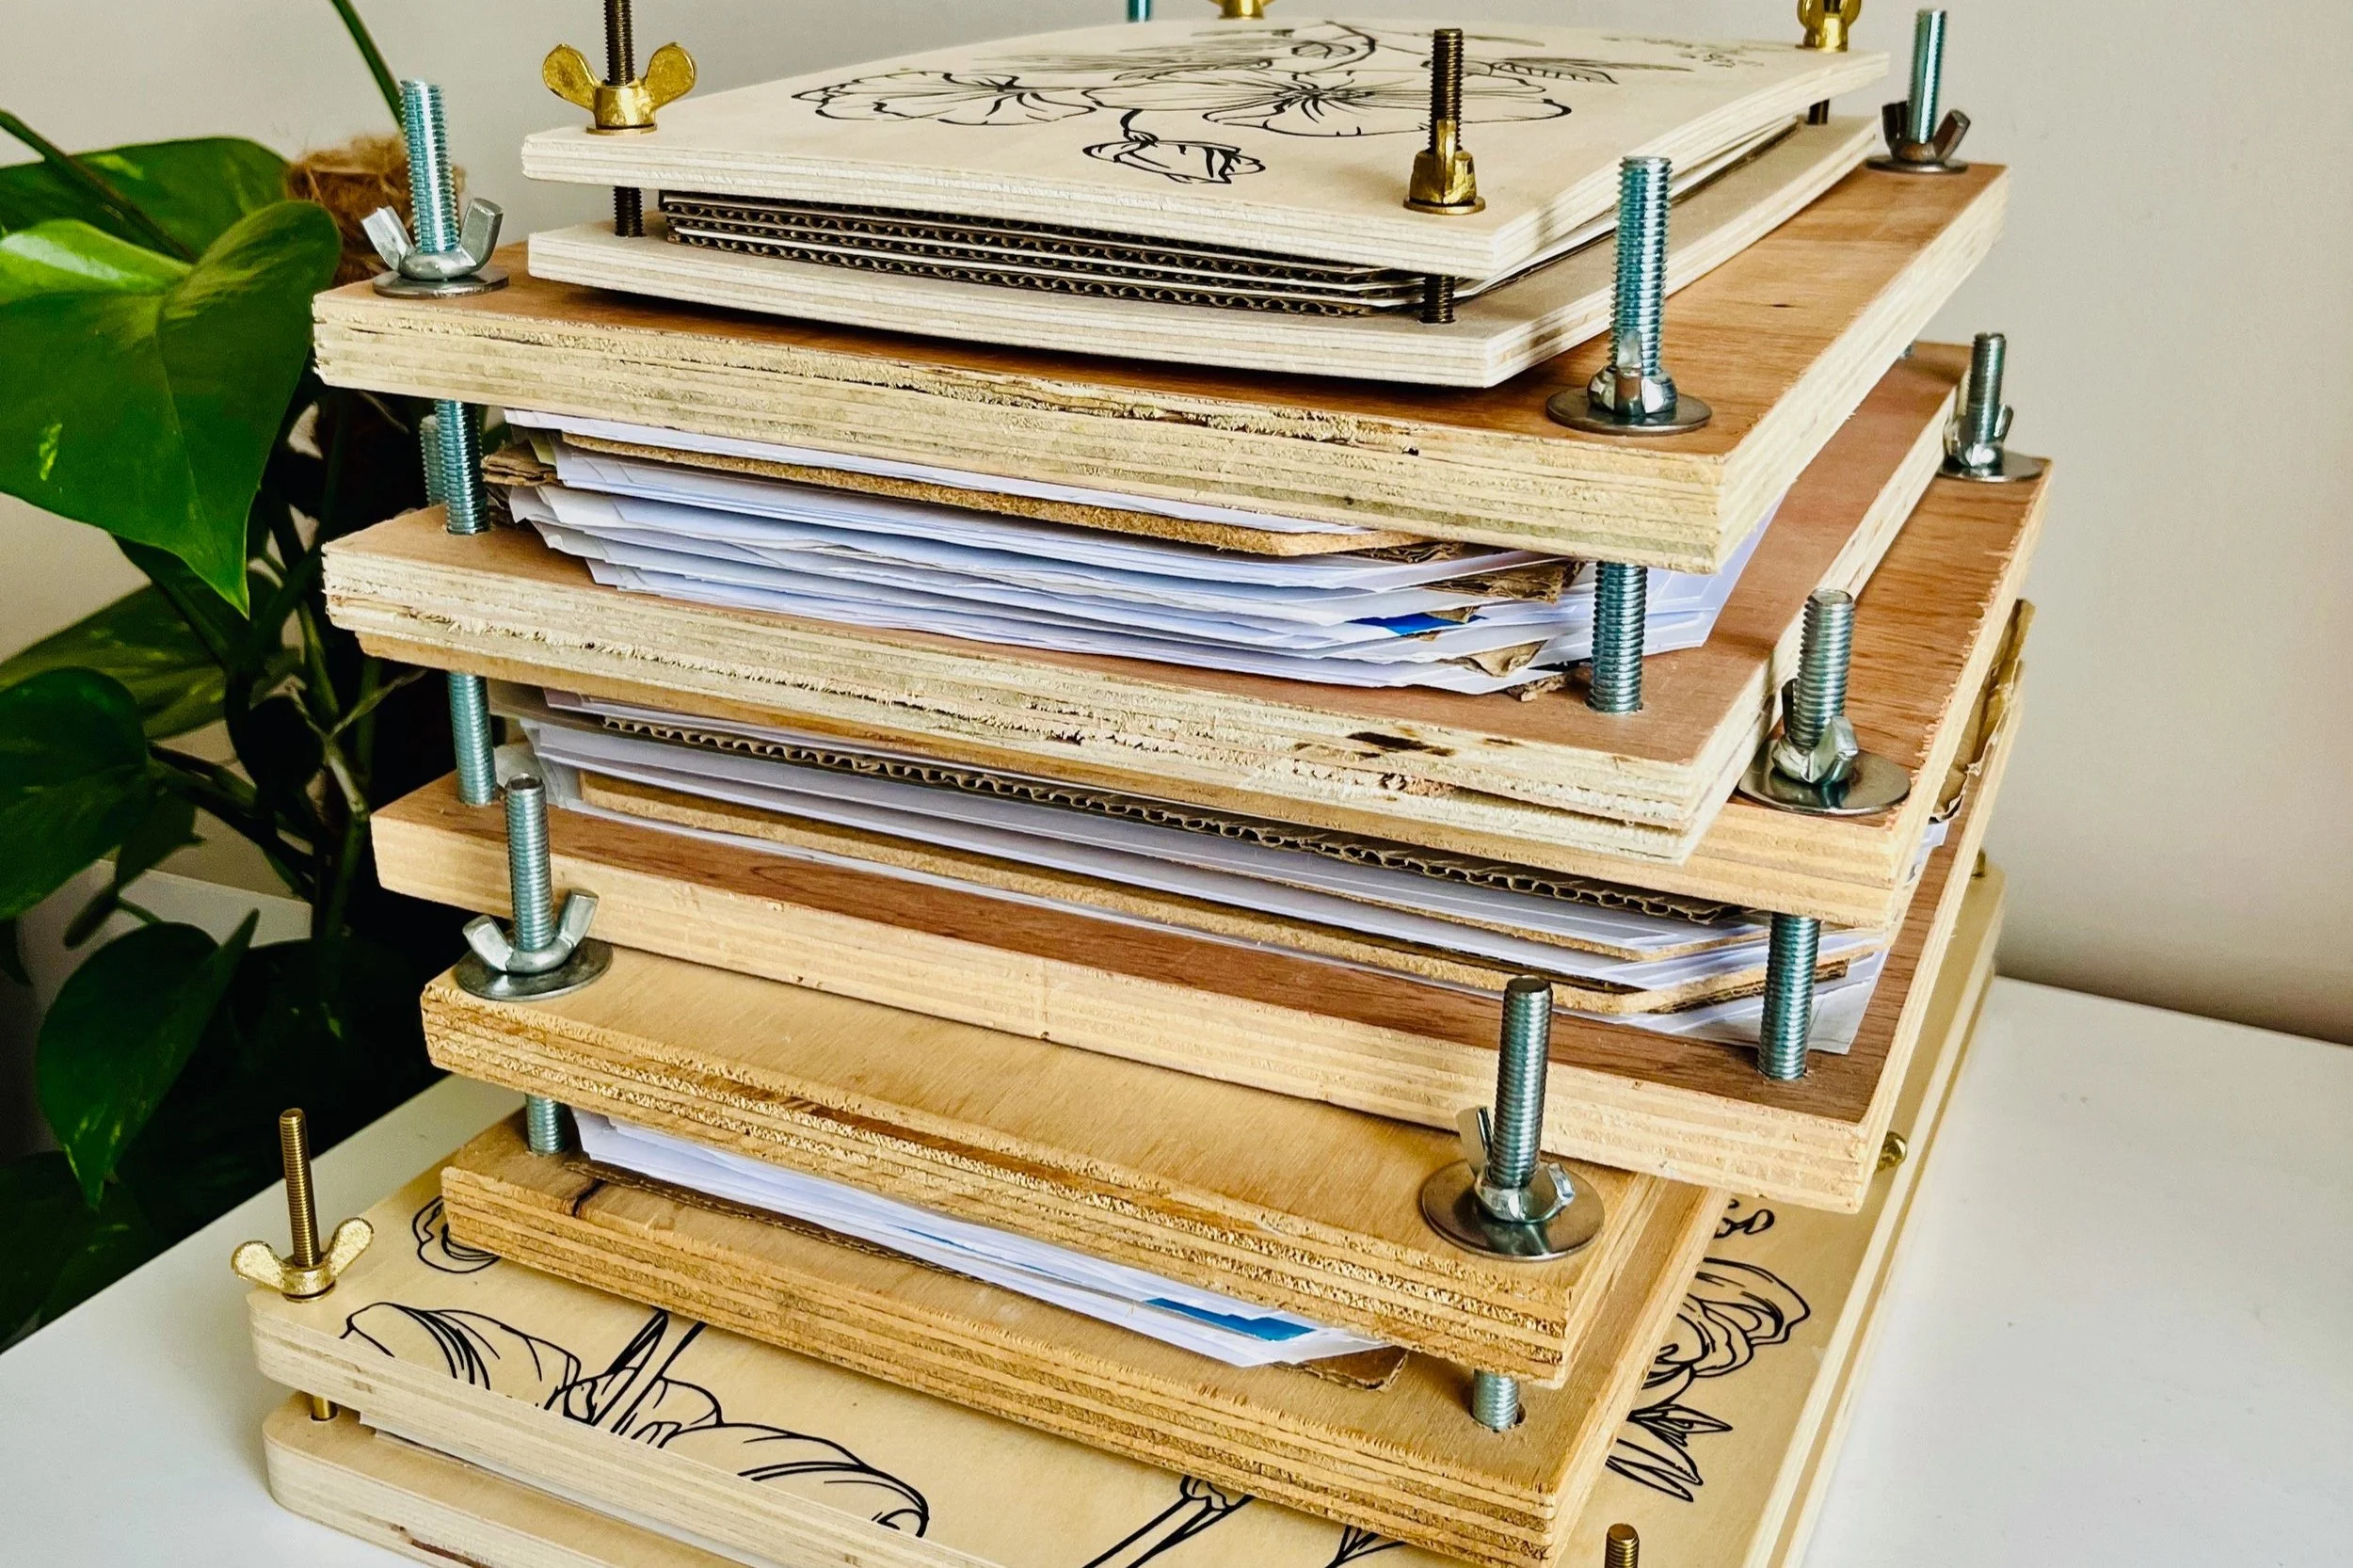
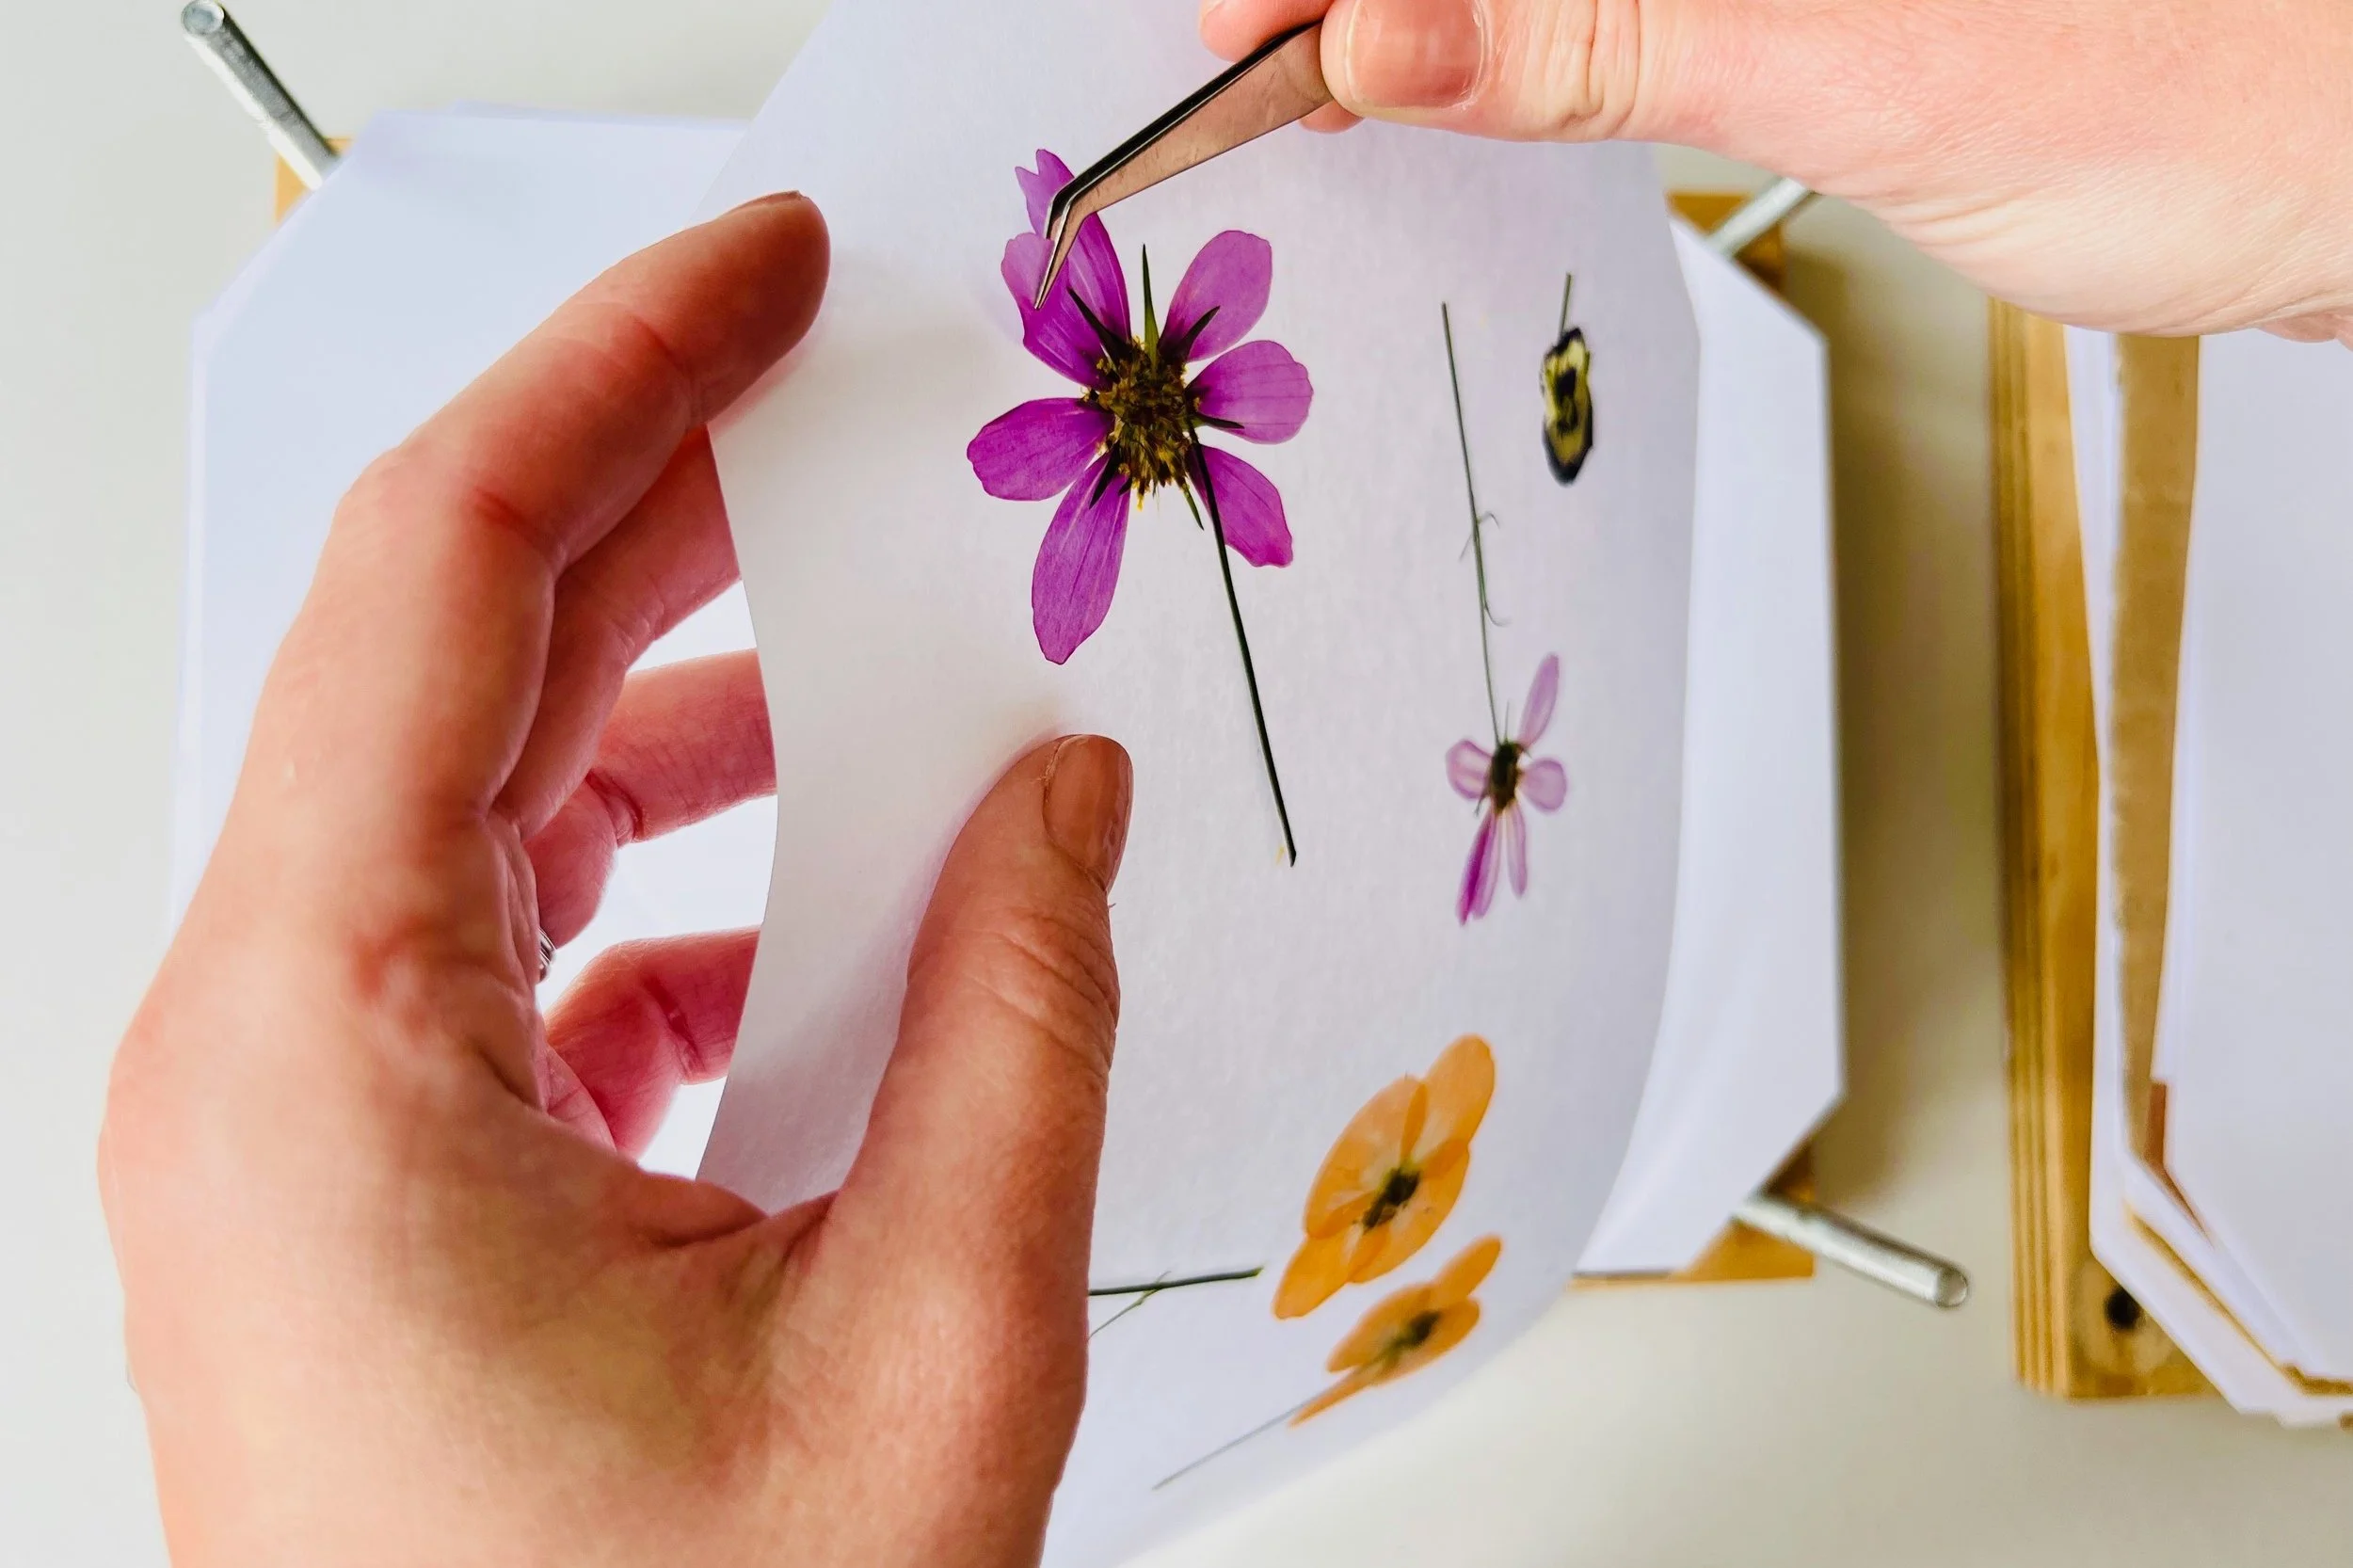
A4 paper, such as old bills, receipts or copy paper, is just as effective in pressing as buying specially designed papers for your press. Blotting paper is, of course, the most absorbent paper but it can be expensive, especially when you’re changing it out regularly; it’s well-used and you need to replace it; or you have more than one press. Copy paper (without too much text or pictures as these areas inhibit the extraction of moisture from your flowers) can be just as effective in your press, and is the perfect size to fit an A4 press. I use around 4-5 sheets of paper, then place my flowers on these sheets and place another 4-5 pieces on top. These papers need checking and changing out regularly to ensure moisture is kept away from your flowers and they dry out successfully. For more on how to press flowers, see our Courses and Guidebooks.
Pressers have often used kitchen towel in their presses to help to absorb moisture too. These sheets still need to be changed out, as moisture is often retained in them inside a press. They regularly leave patterns on your petals though as they’re pressed against them. You may prefer to use sheets of kitchen towel between layers of your papers to add absorbency to your layer, but keep changing them and try to use non-patterned towel if you can.
One thing I definitely do not recommend in flower pressing is parchment paper, or anything with a shiny surface. You need moisture to escape from your flowers and for something to absorb it; parchment paper will not do the job and often increases the likelihood of mould and browning.
It’s also becoming increasingly popular amongst flower pressers to use sheets of felt, wool or cotton fabric inside their press. The idea is that these fabrics are more effective in absorbing moisture and you need to change them out less frequently. Continue to use caution with these methods though, as fabrics and fibres can often retain moisture. Flowers are organic matter, making them prone to mould if they’re in contact with moist, warm conditions. Fabrics and fibres can exacerbate this if not monitored closely, and the pattern in them can also be left on your petals, so keep an eye on your flowers if you’re using this method.
Another essential item in your press though is a divider. Many pressers, including myself, use cardboard dividers. These dividers not only allow you to separate each layer of flowers in your press, but they also act as an additional layer of absorbency and rigidity in your press. Papers flex around flowers which affects the pressure they gain, so a layer of cardboard can provide more even pressure against them. I often recycle cardboard dividers from old boxes; but try to choose cardboard that isn’t too corrugated or patterned as this will leave an impression on your flowers and often causes petals to dry with a striped effect.
To increase the level of even pressure in your press, I’d recommend using wooden dividers alongside your cardboard too. Thin chipboard or MDF works well, especially if you have thicker flowers inside your press. The wooden divider adds an extra layer of rigidity between each section of your press, therefore increasing the distribution of pressure and helping your flowers to dry out.
Closing a Press
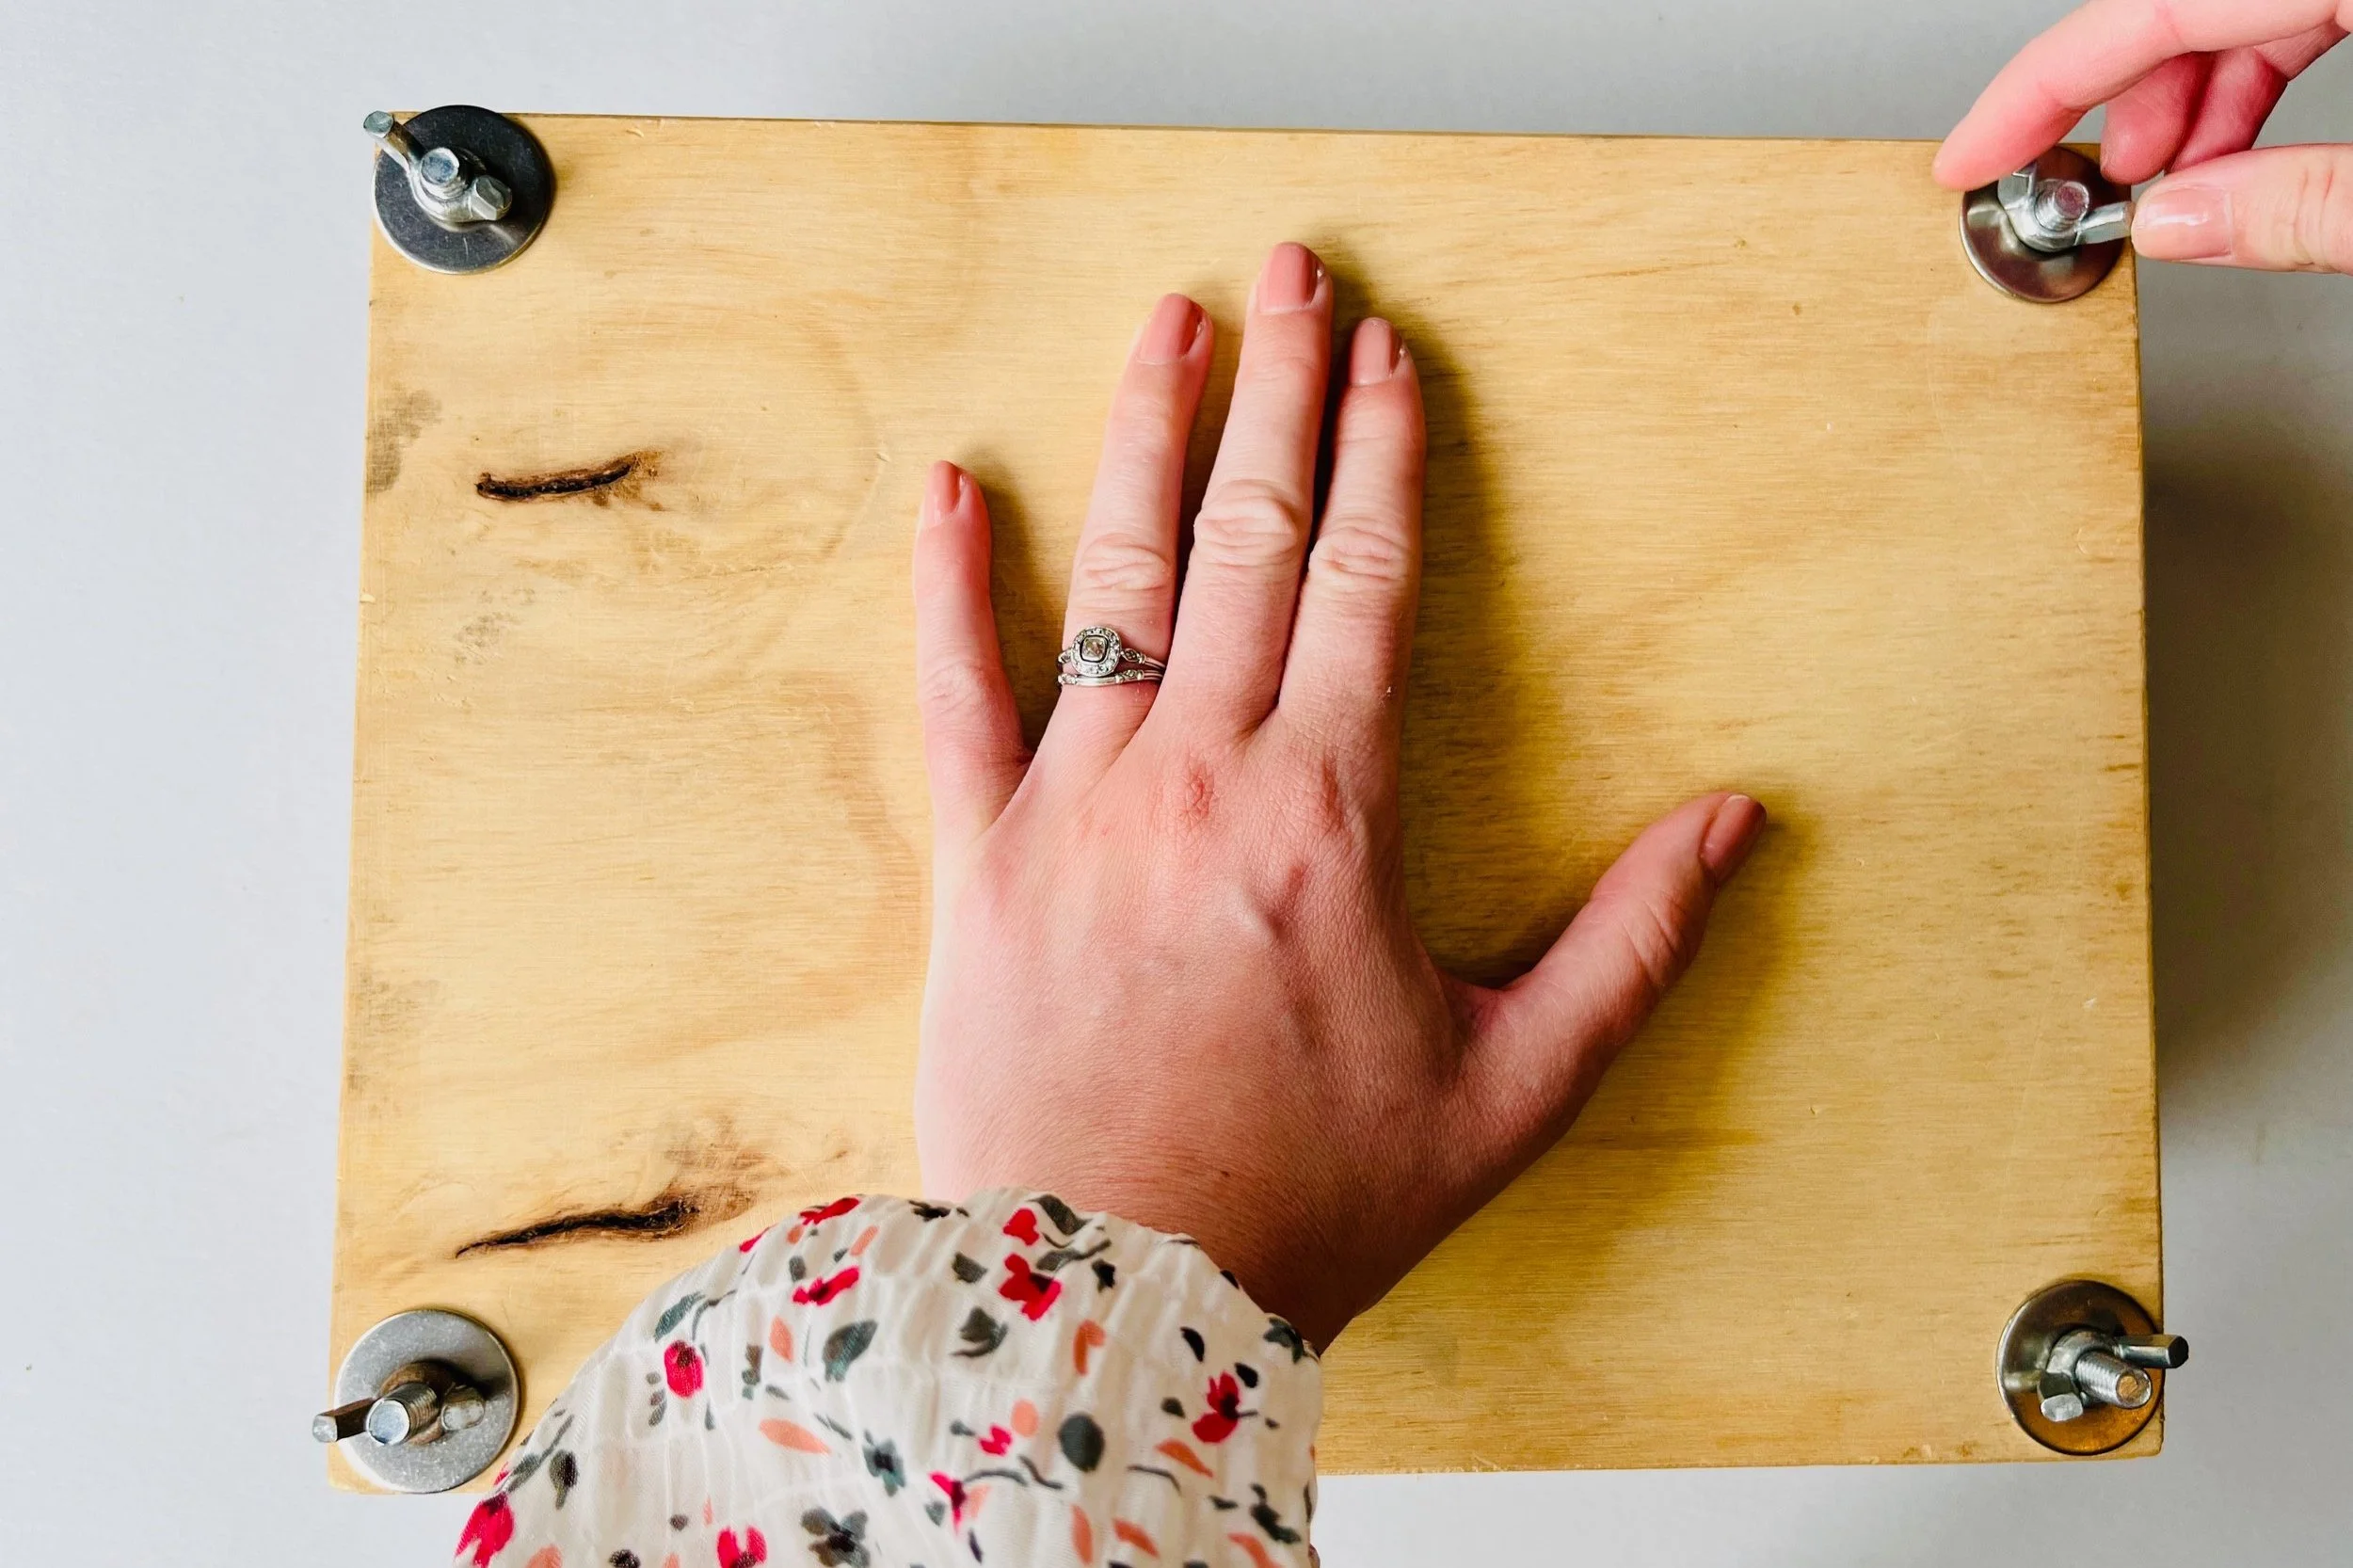
Using bolts and wing nuts allows you to tighten down a press and ensure even distribution of pressure against your flowers. However, there are other methods of closing a press.
Some presses use straps around the press instead of bolts and wing nuts. These straps can be tightened over time and often close in different ways, such as using slider buckles or side release buckles.
However, straps can become damaged with wear and elasticated ones can deform and stretch out of shape, which means you lose the pressure against your layers.
Looking for a Press?
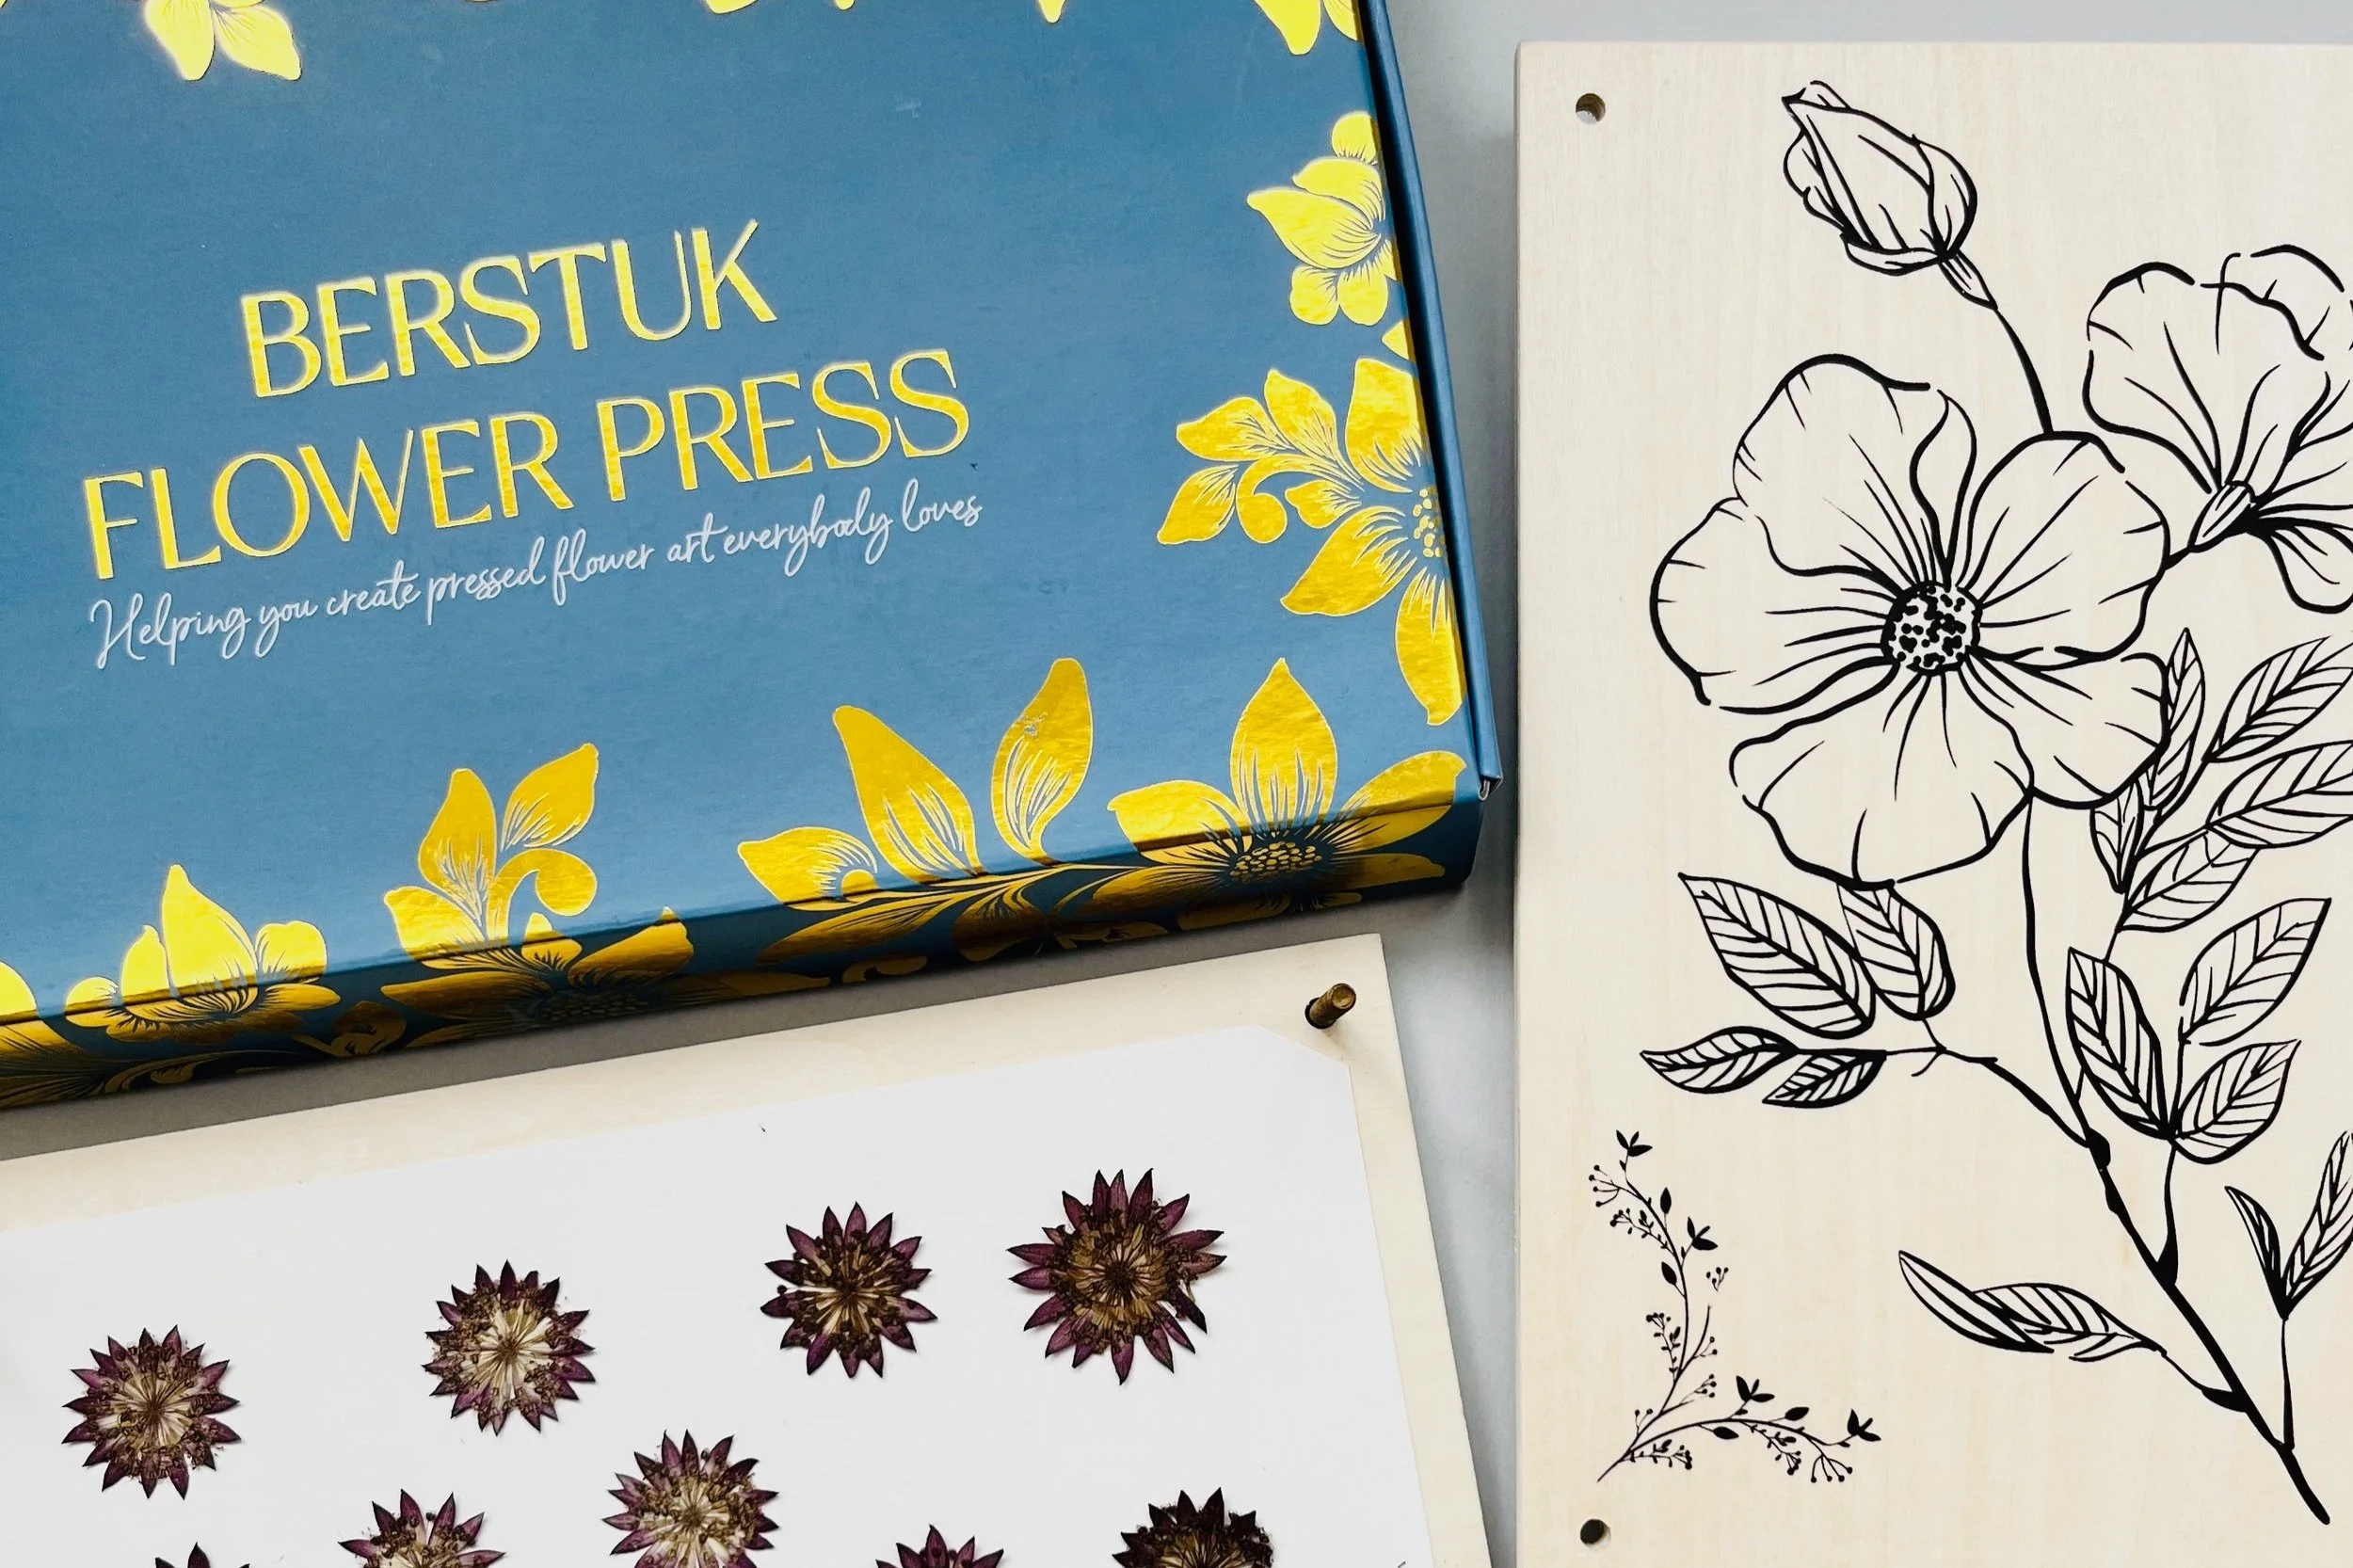
If you’d like to purchase a press of your own, take a look at the beautiful Berstuk presses. They’re lightweight and easy to use with the most beautiful packaging. Use the code LPF10BERSTUK for 10% off too. (Little Pressed Flower earns commissions from this storefront.)
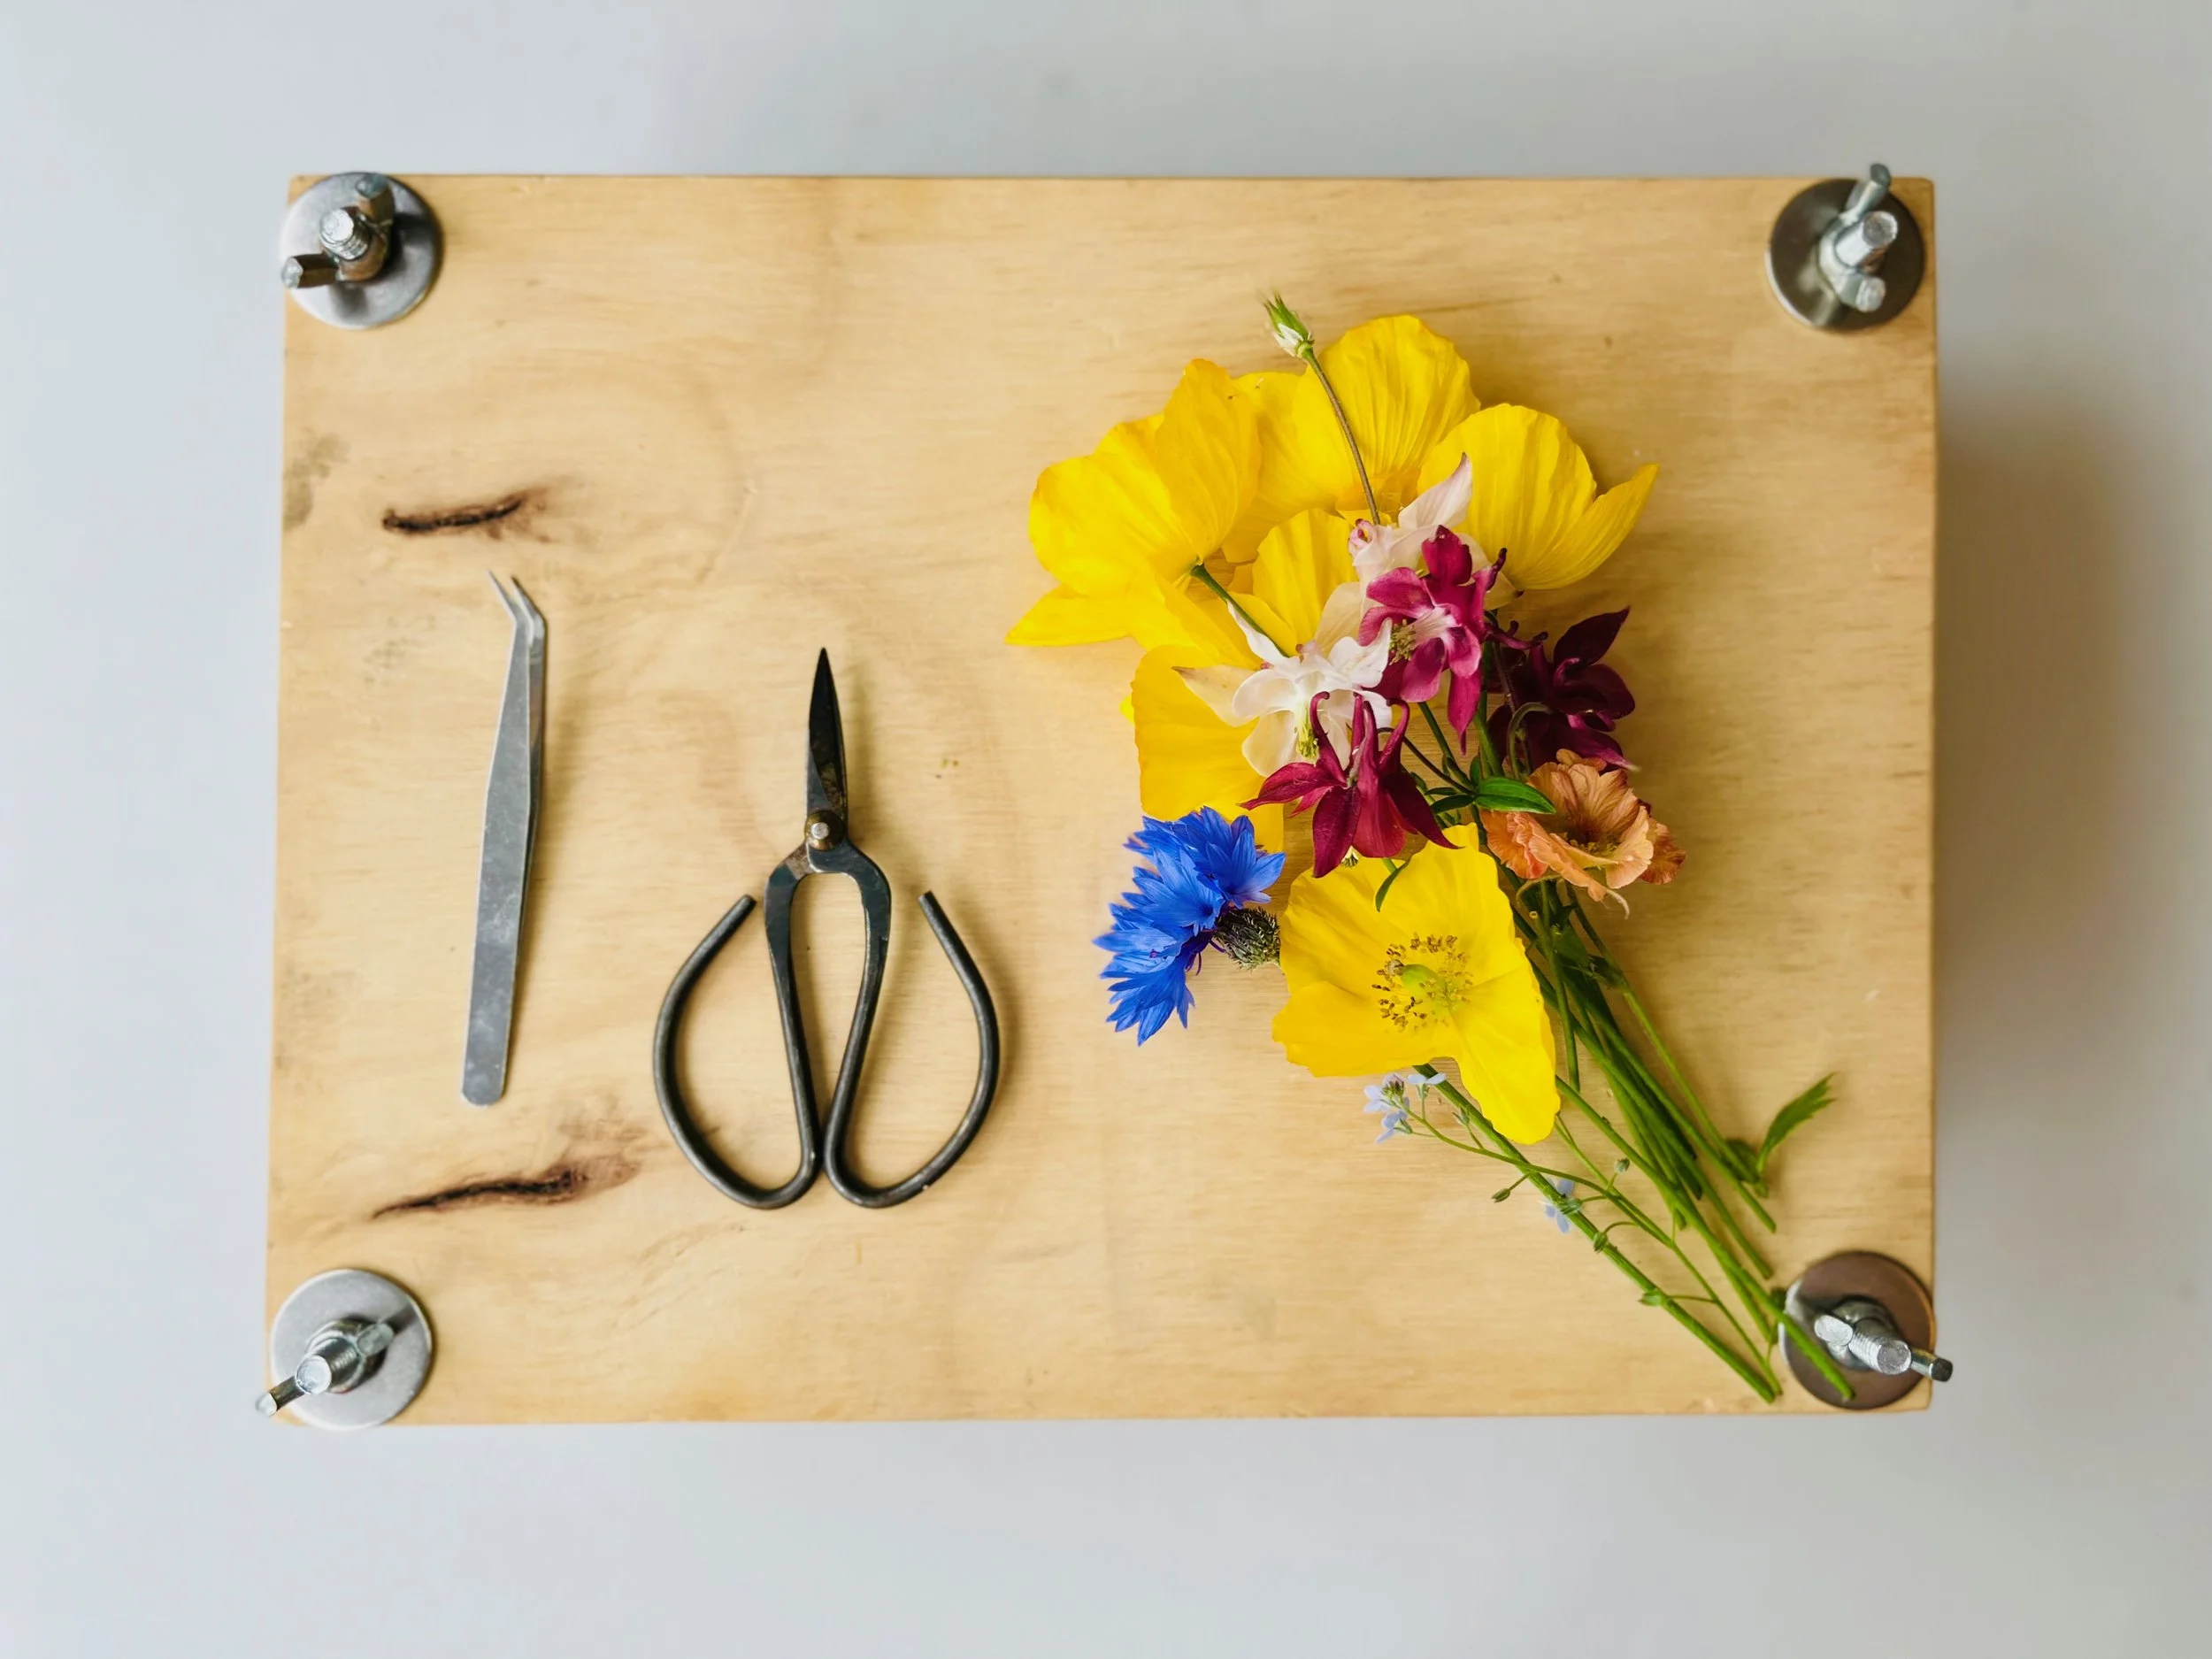
Making Your Own Press
Making your own press can be very simple. The materials are available from DIY stores or online. I’ve even purchased the hardware from eBay in the past.
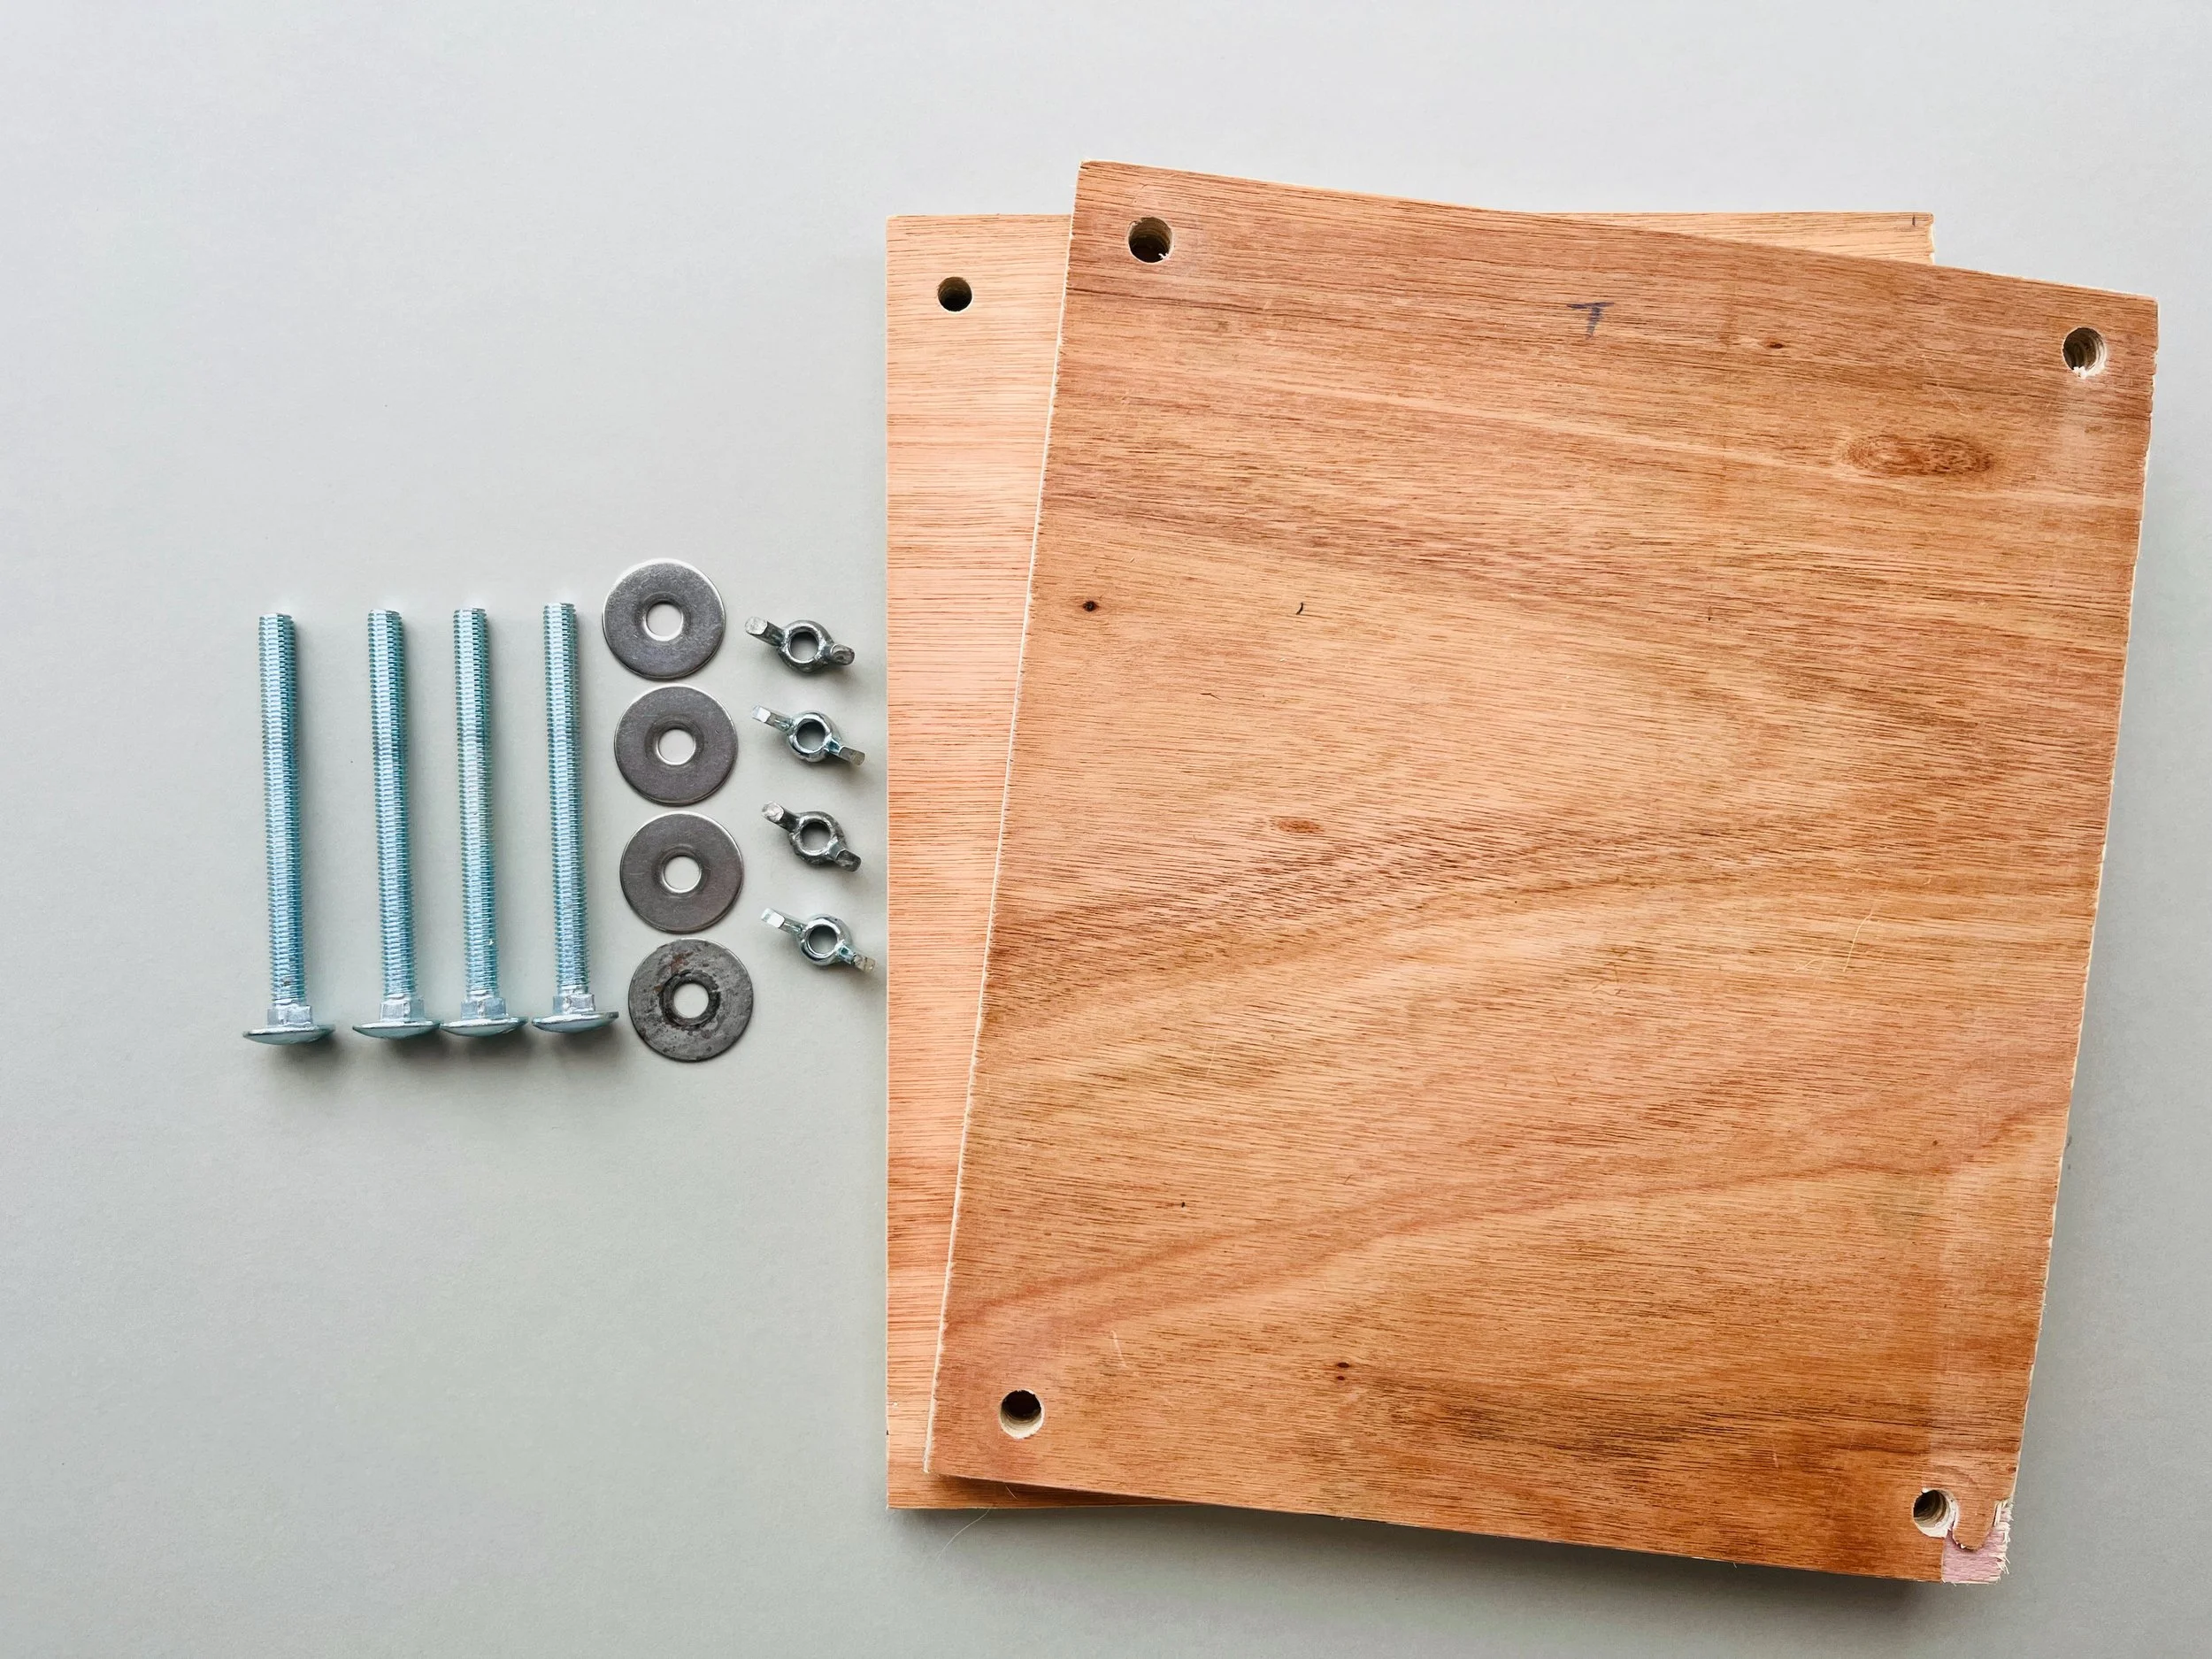
Here are the materials and approximate dimensions for my presses:
Top and bottom wooden panels: 15mm plywood cut to 30cm (L) x 25cm (W)
Four pan head bolts: M8 x 100mm
Four wing nuts: Check the size fits the metric thread of the bolt screw above (e.g. M8)
Four penny washers: Check the size fits the metric thread of the bolt screw too (e.g. M8)
Method:
Cut and drill your panels
Measure out and cut your panels to size. You can sand down the sides and corners to smooth them and prevent splinters.
Place your panels on top of one another. Drill an 8mm hole straight through both of the panels in each corner, to fit your bolt. (I usually drill around 1cm in from the corners. Use a marker to help to guide you.) This way you’ll know the bolts will line up through both panels.
Then, drill back through the holes in the top panel to make them larger (around 10mm). This is to make the top panel easier to place on and off your press.
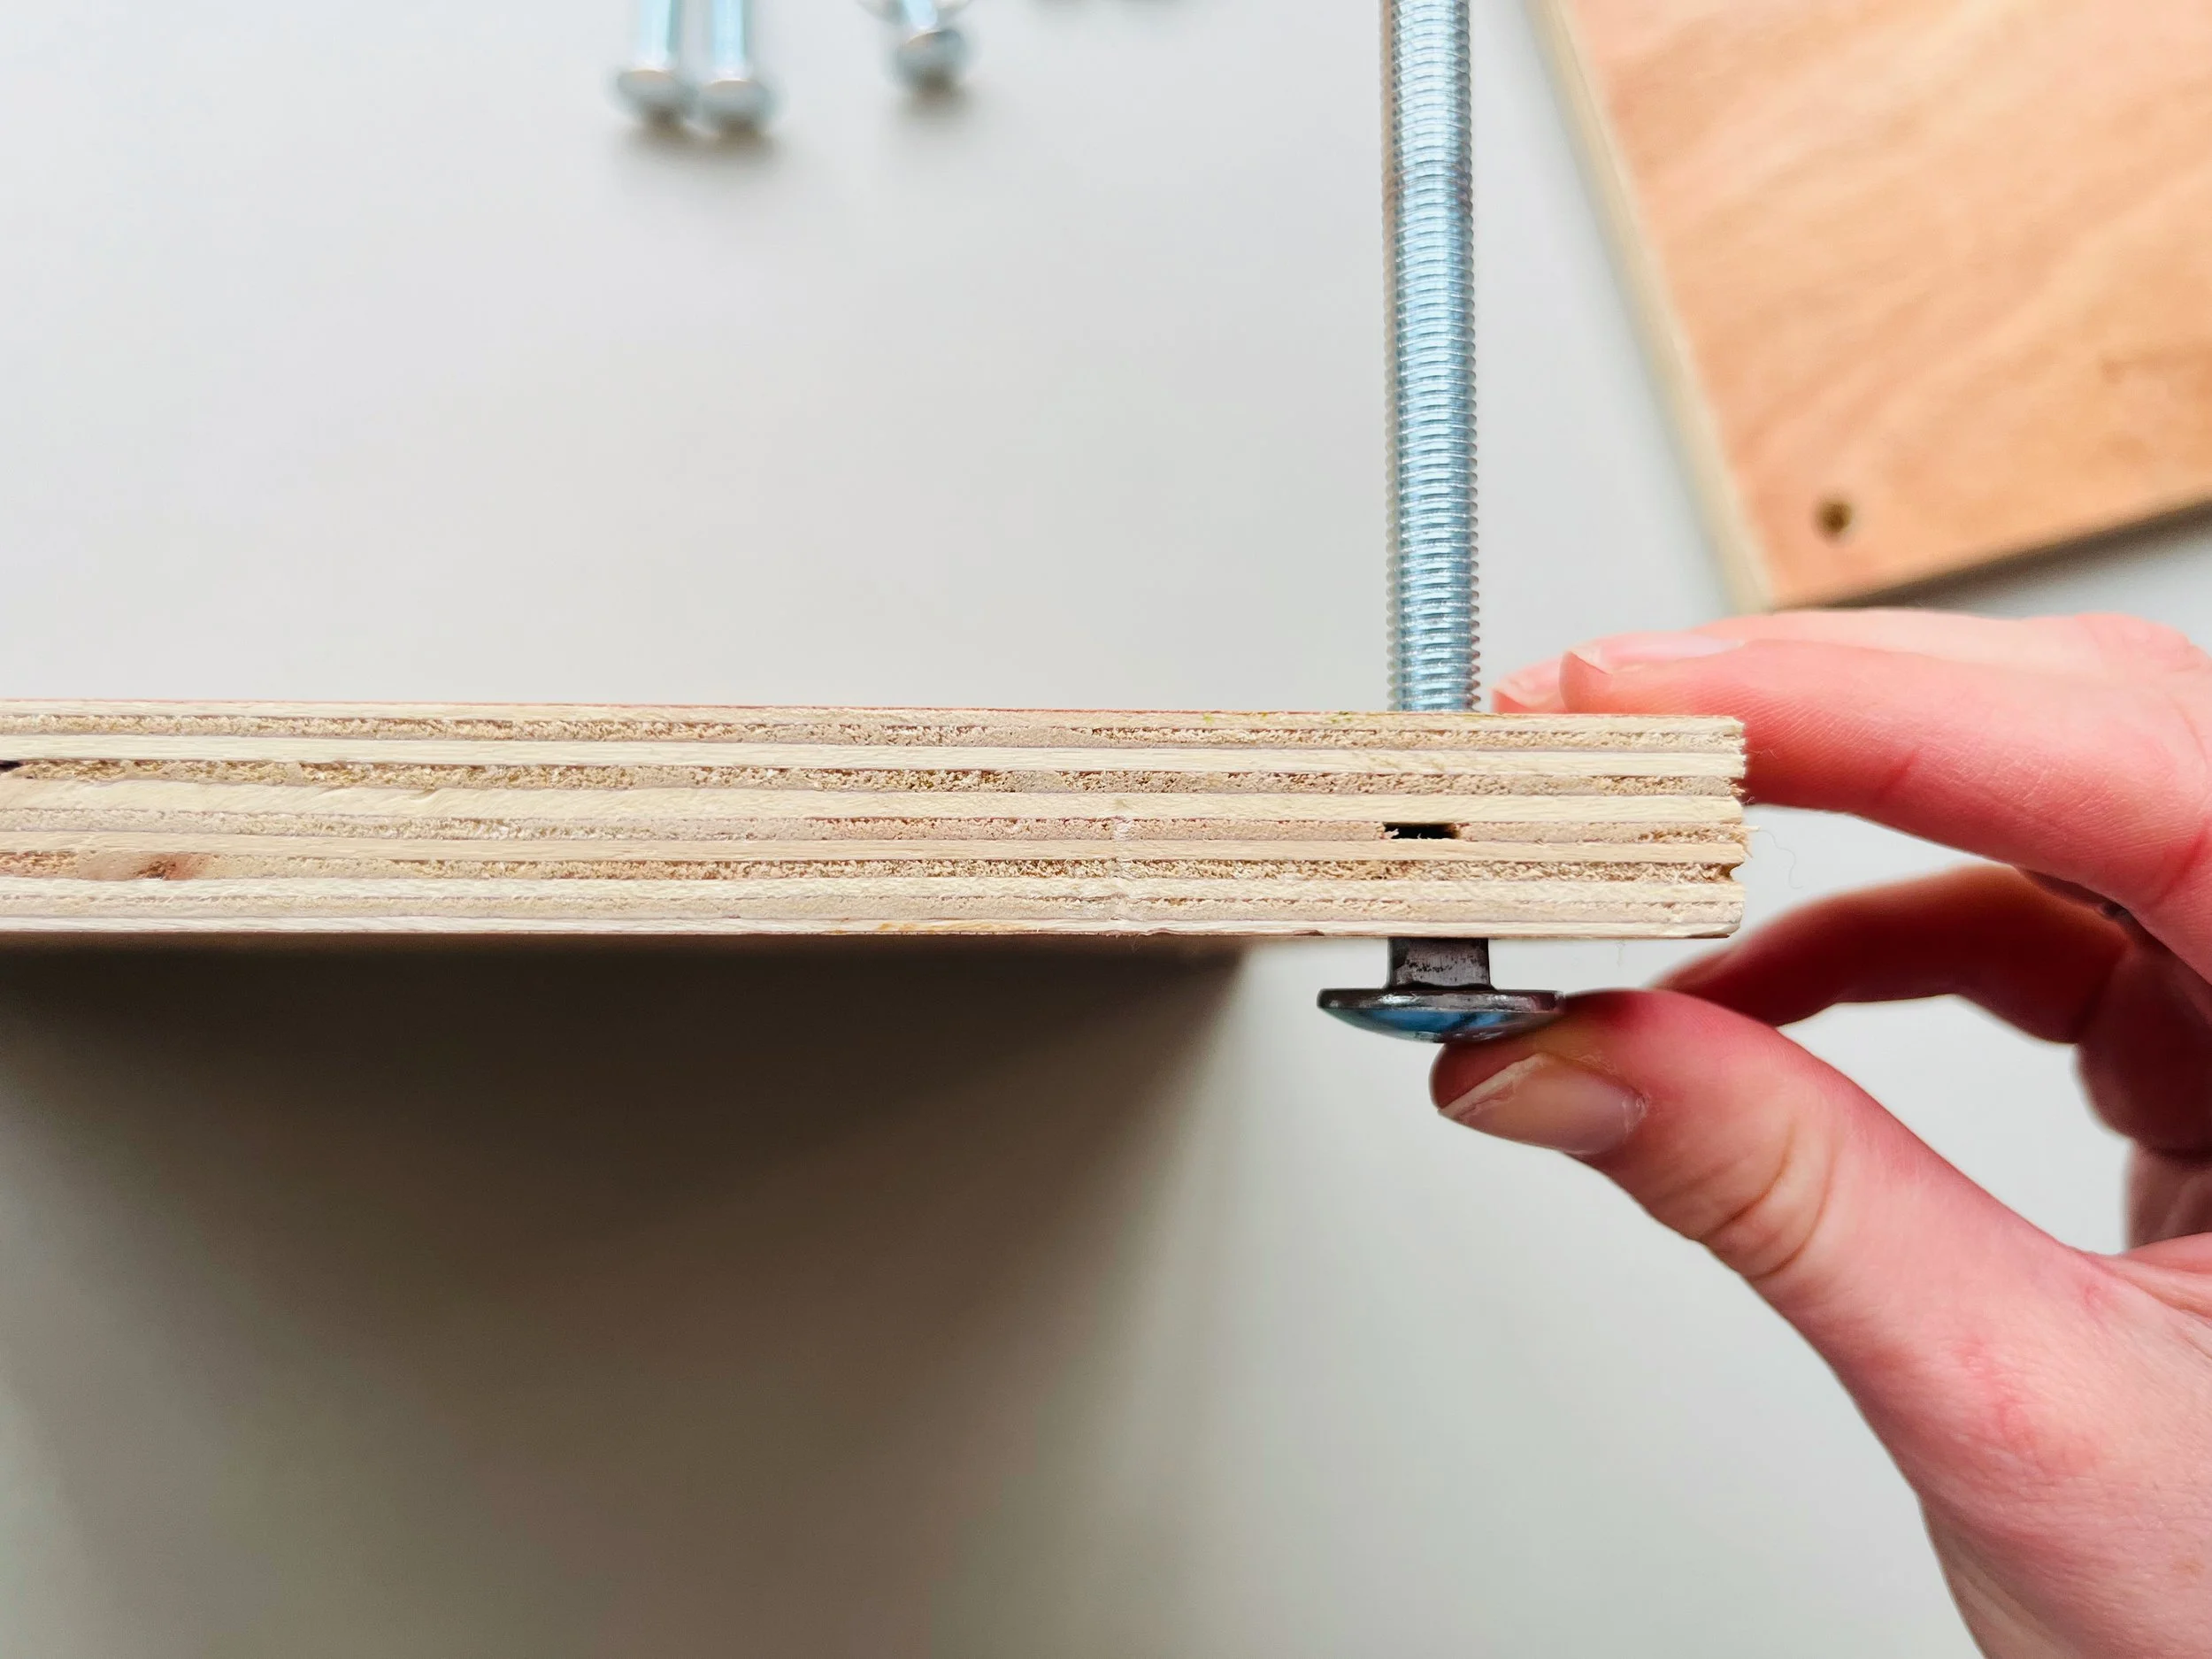
Assemble your panels
Place each of your bolts through the base panel. To prevent them from falling out each time you open your press, you can screw an M8 nut onto each bolt to secure it to the panel. Some bolts step out slightly before the pan head and you can hammer this into the hole of your panel to secure it if you prefer.
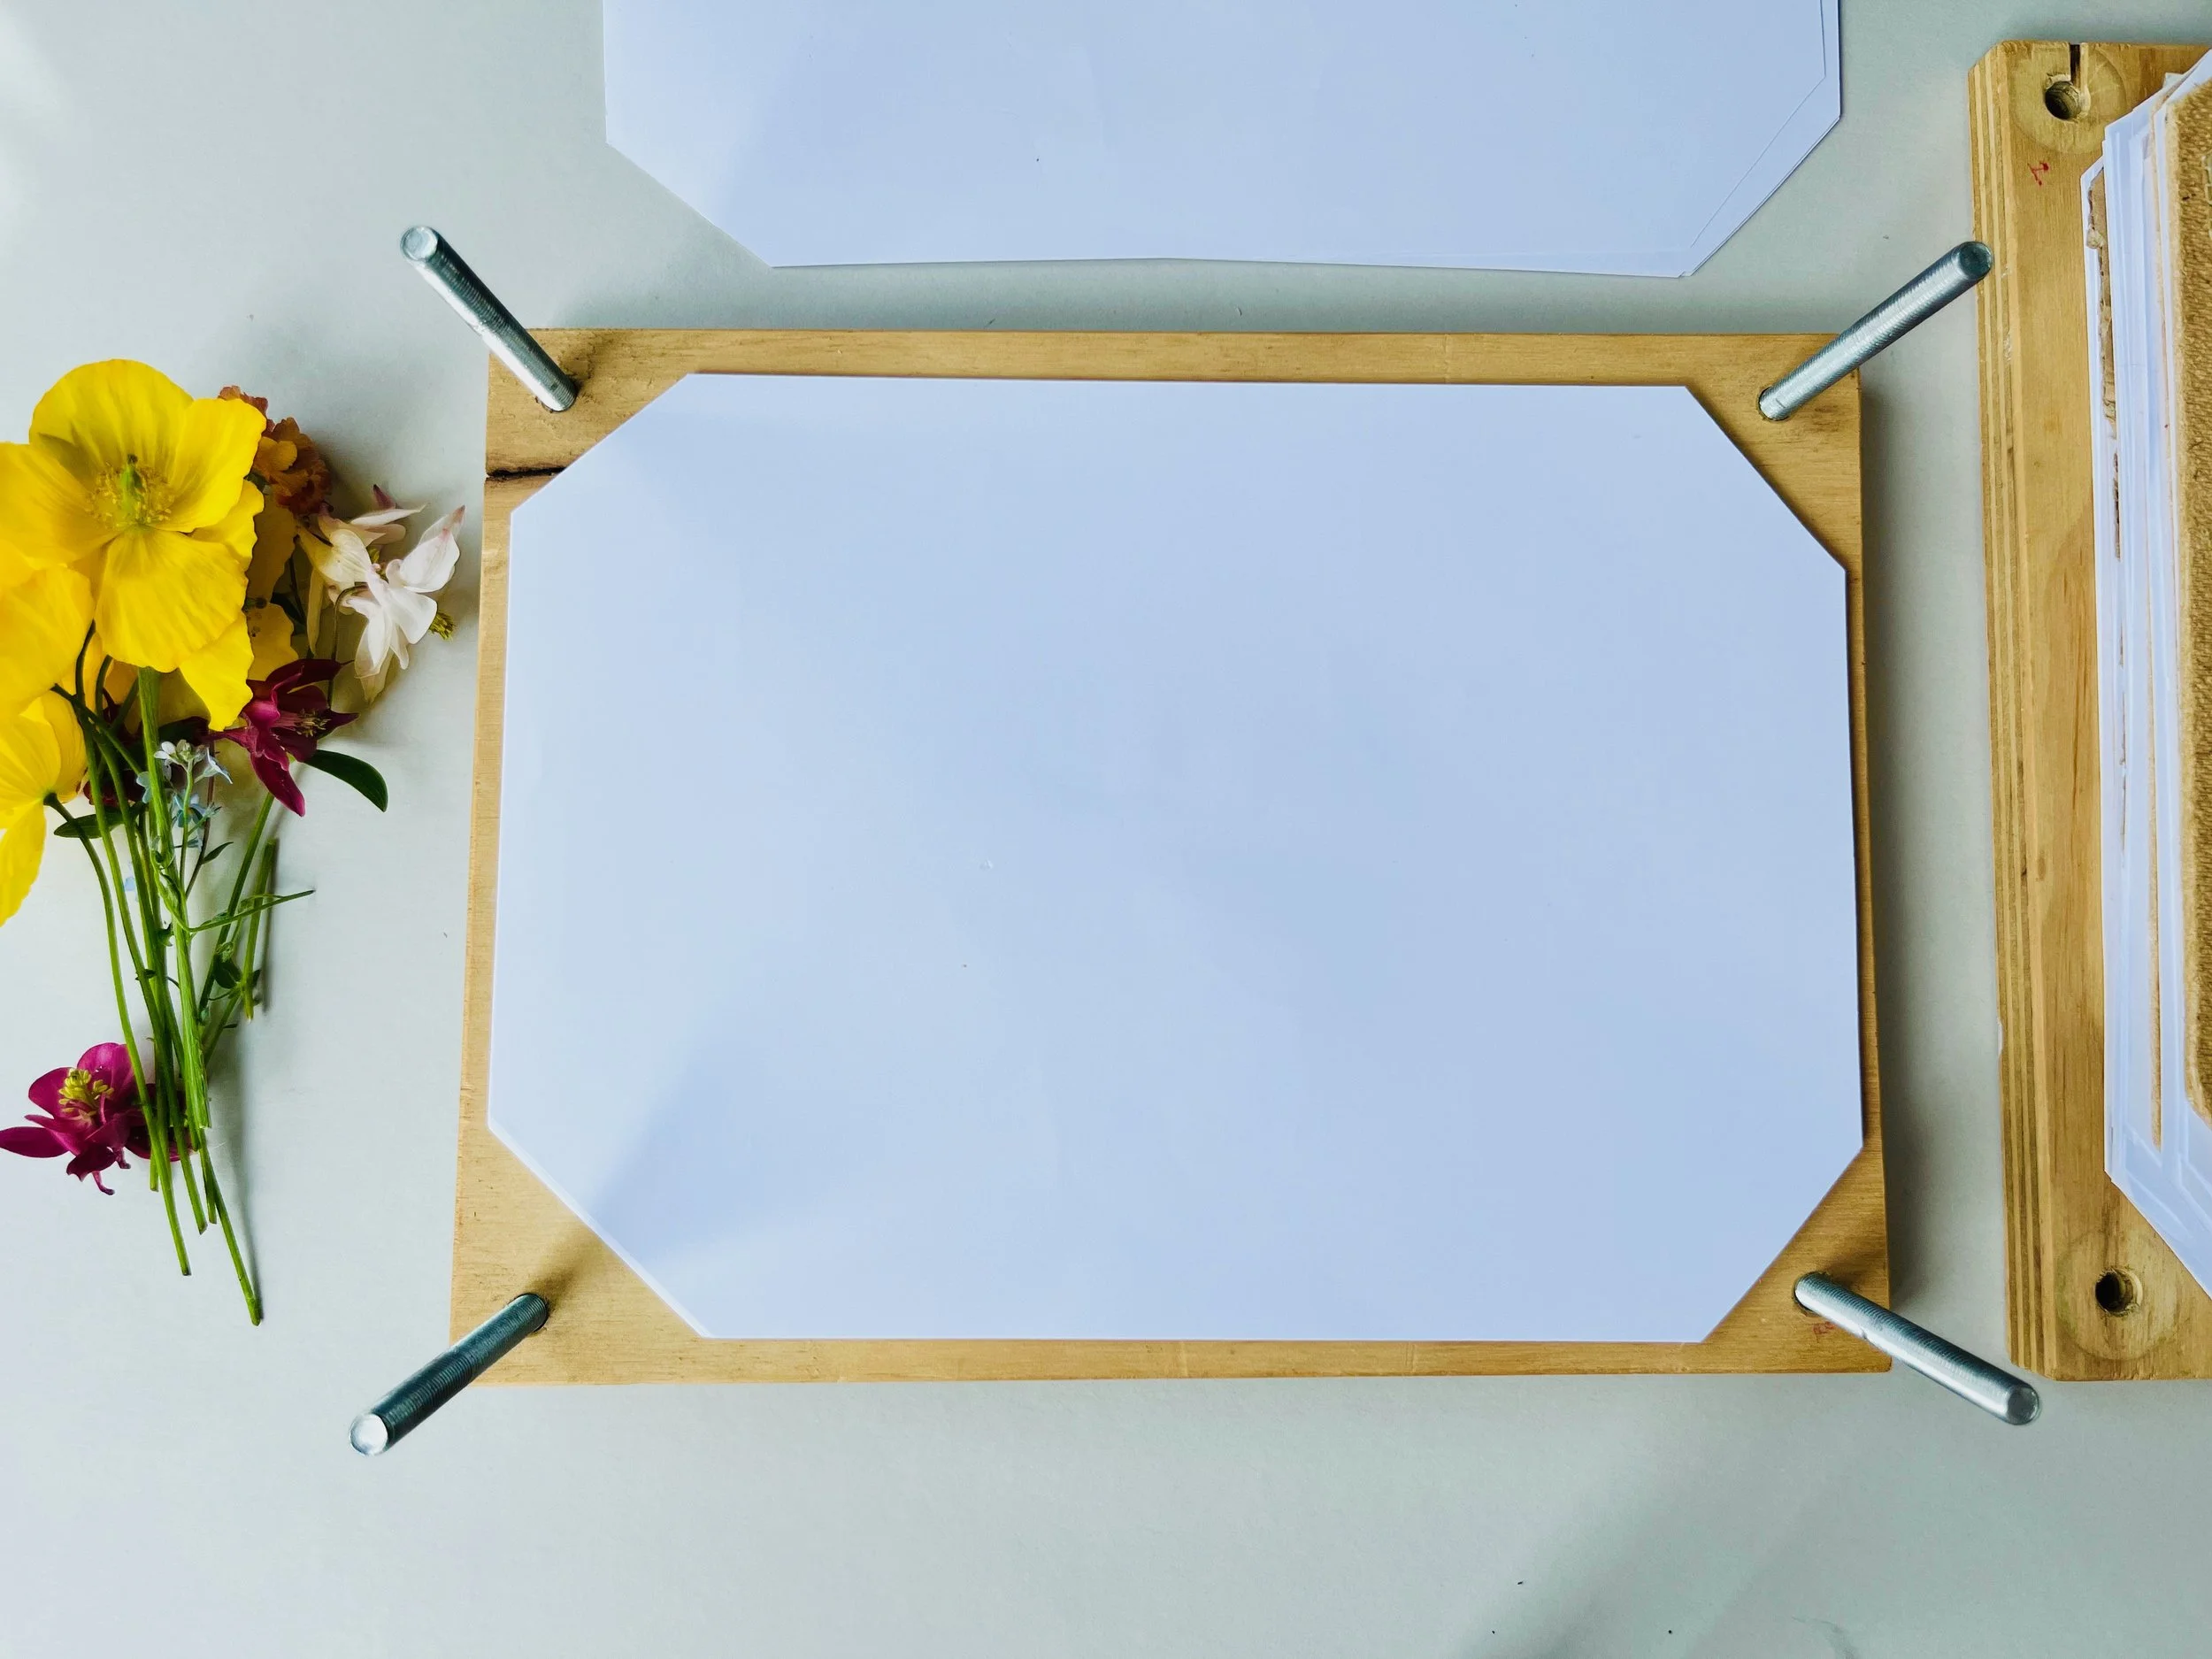
Fill and close your press
Once your bolts are in place you can place your papers and dividers inside (you may need to cut the corners off to help them to fit). Place your washers on each bolt and then your wing nuts.
Voila!
Your very own, handmade press! You can even decorate the top panel with your own design too. Why not try sealing pressed flowers on the top panel, or even try pyrography or decoupage.
Other Types of Presses and Helpful Items
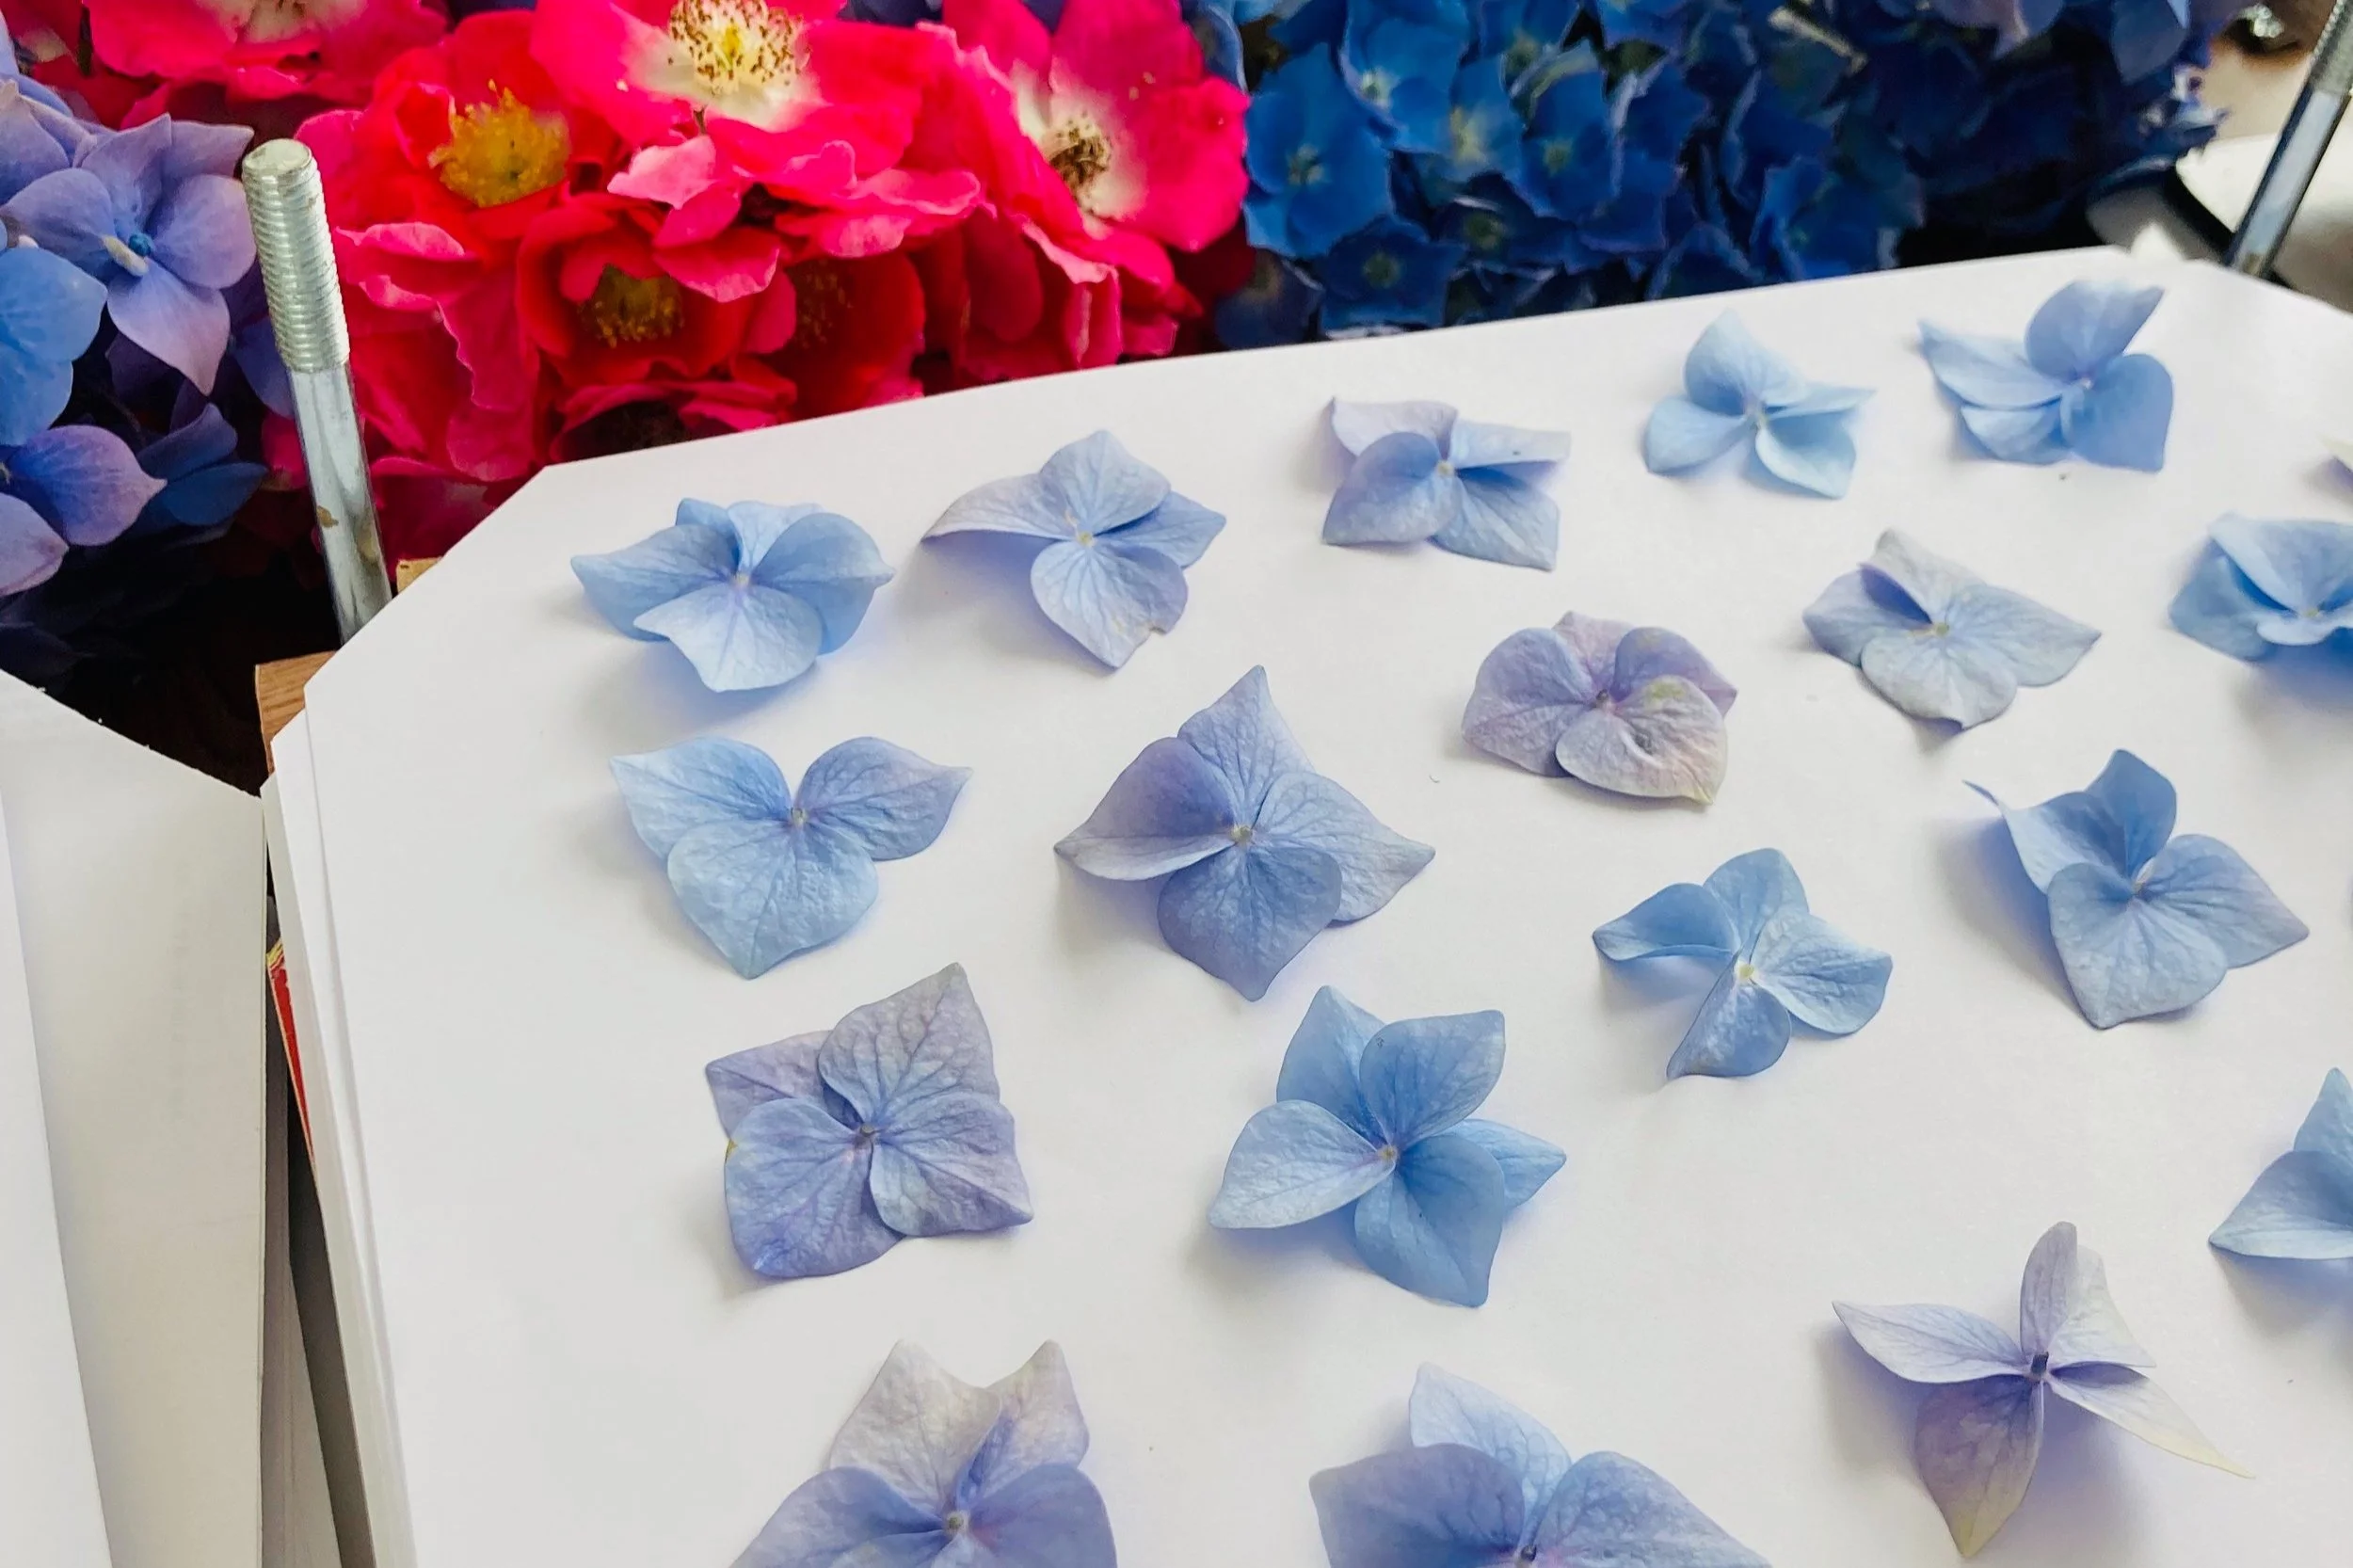
Something pressers often look for is how to speed up the process of pressing. Not only is this about saving time and not waiting weeks for flowers to press, it’s also because the faster moisture is extracted, the more likely you are to preserve the colour of your flower too.
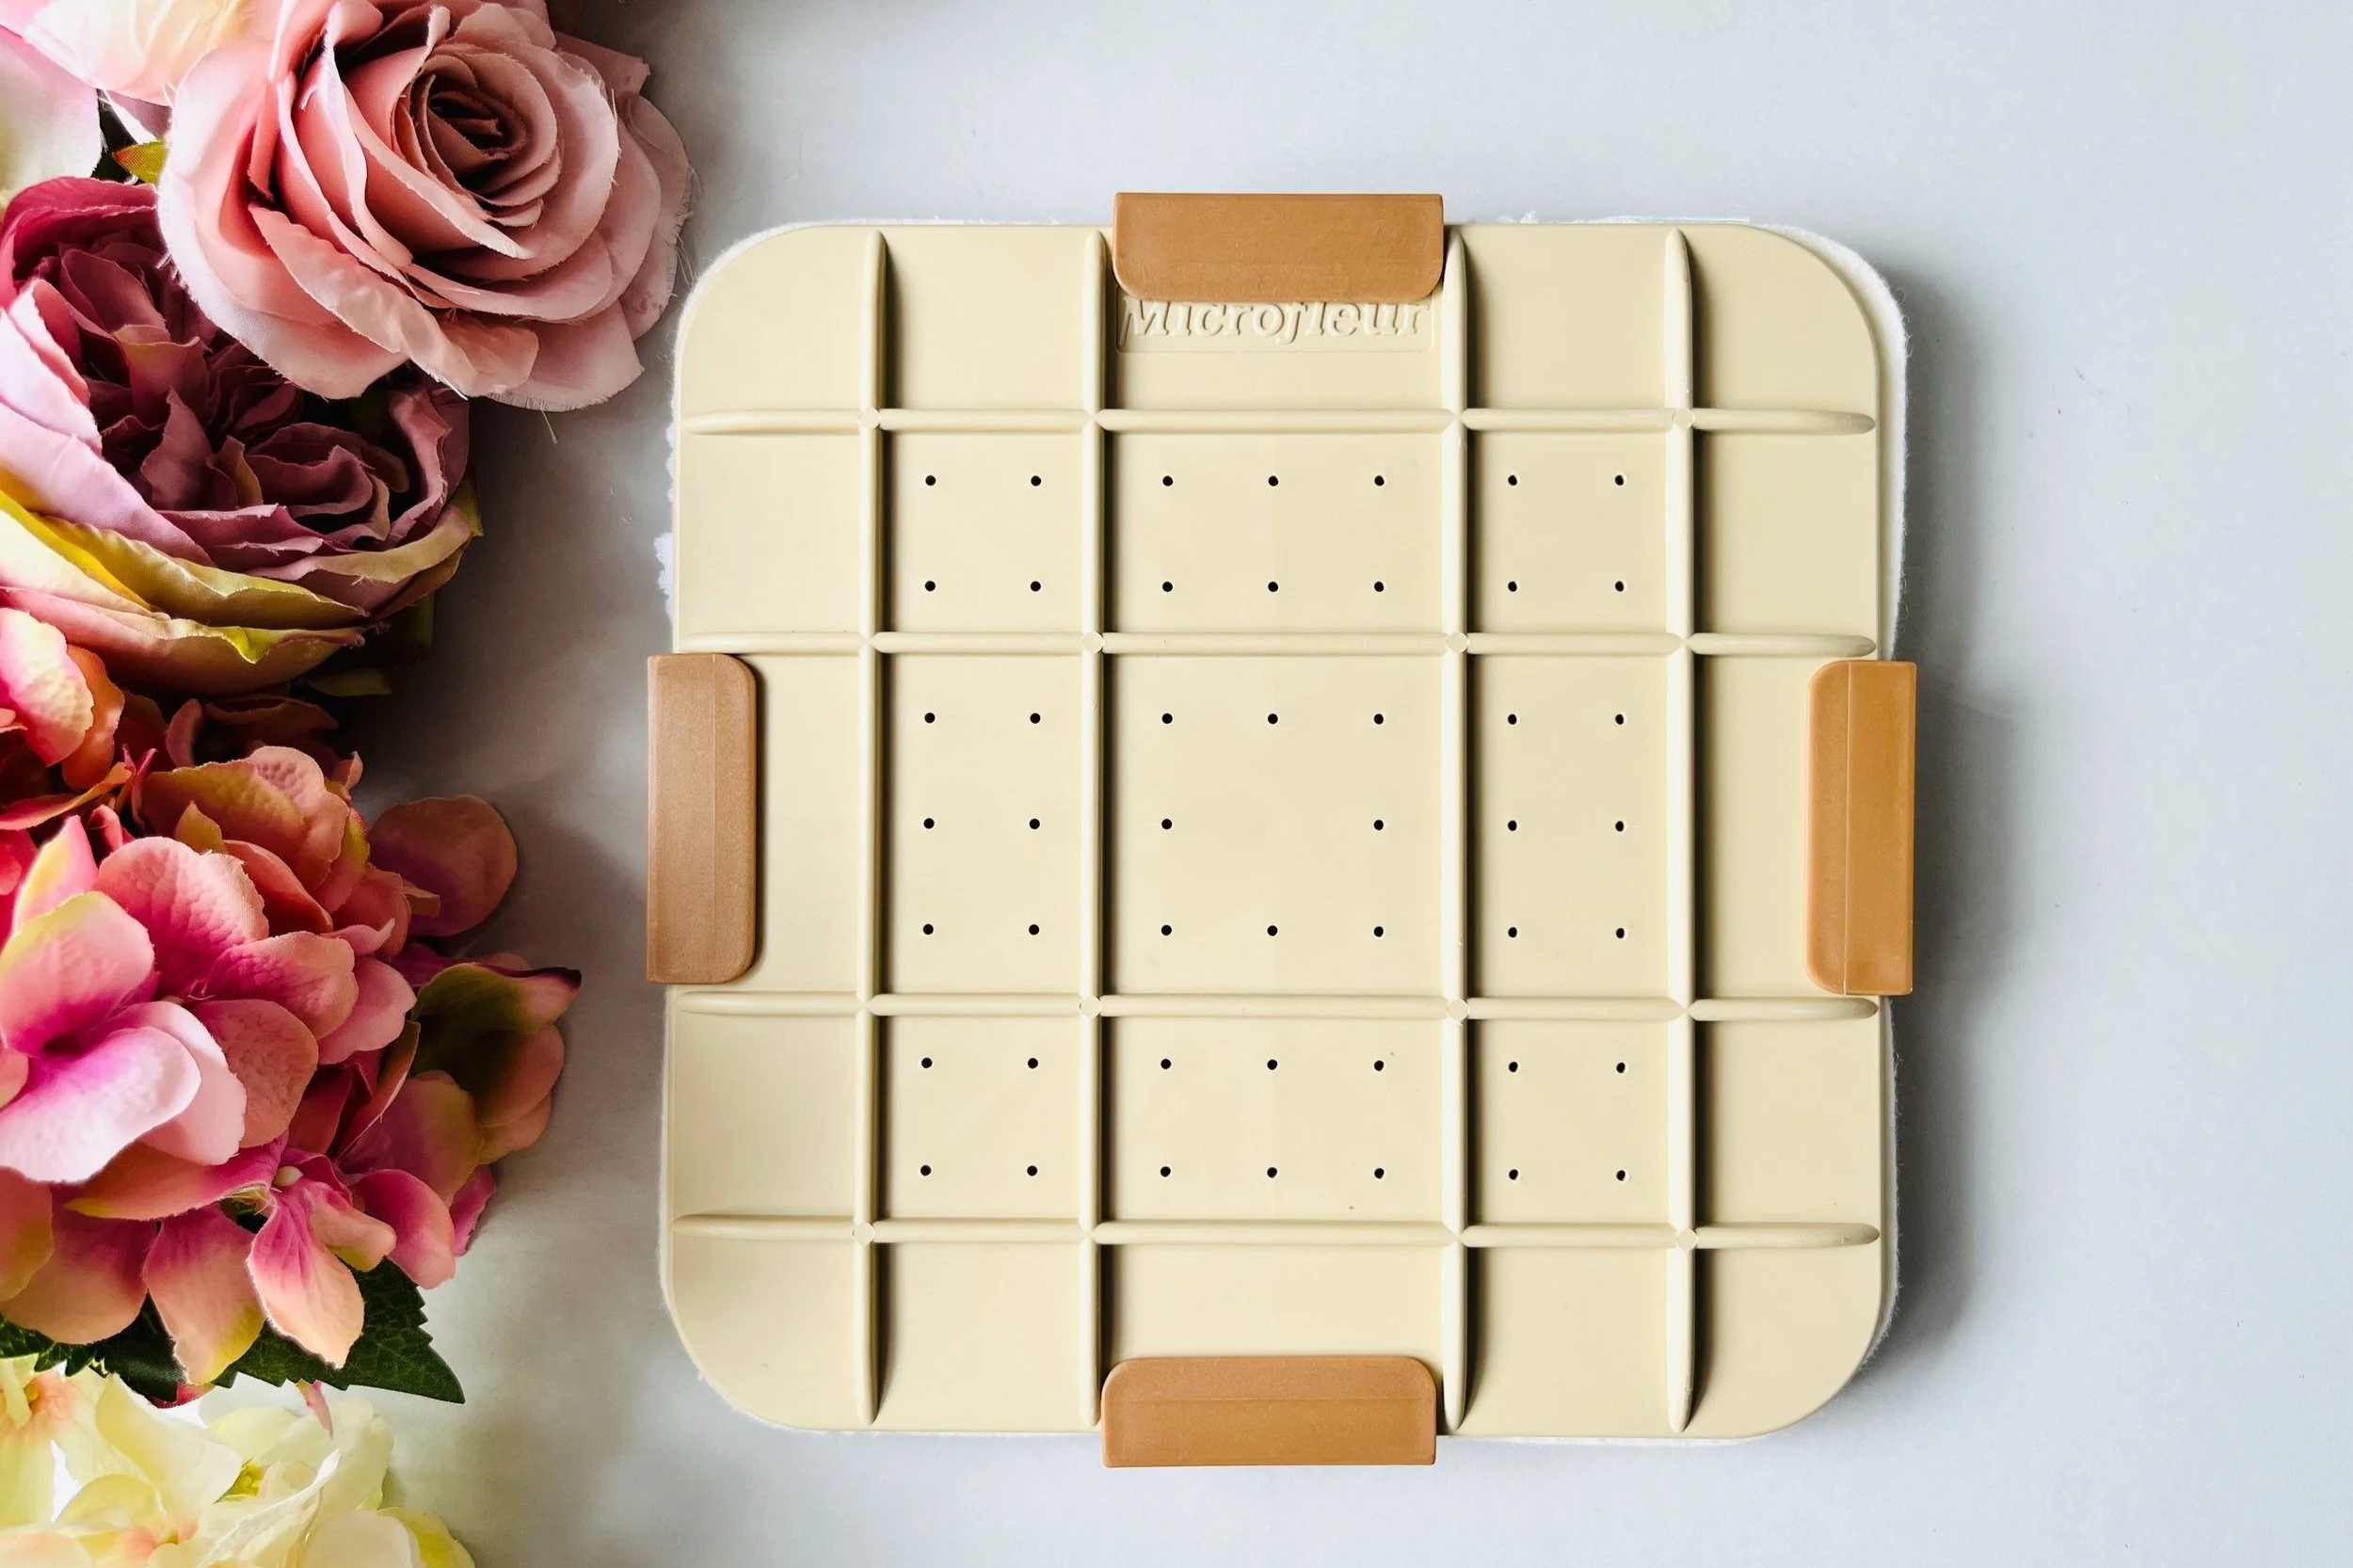
Some pressers use a microwavable press to help with this. They’re available online (I recommend the Microfleur) but there are also instructions online on how to create your own. Always read the instructions on a microwavable press, microwave in short bursts and keep checking on your flowers.
I always recommend continuing to press your flowers after using the microwavable press in either a book or a traditional press too. Be aware that it won’t completely dry out the flowers immediately.
The microwavable press works by exciting the water molecules in your flowers, which heats them up. This does, however, mean it can also lead to ‘hot spots’ and areas of your flower are more likely to burn or brown in the microwavable press. Petals can also easily lose their definition and become mushy in a microwavable press, so exercise caution.
Learn more about traditional pressing vs microwavable pressing in my blog.
Finally, another type of press often promoted in the flower pressing world is the foam press. It’s made up of peg boards, foam and sometimes paper. Like a traditional press, you layer the peg boards, foam, papers and flowers, tape them up and place the whole thing into a dehydrator. This speeds up the process of pressing. However, like a microwavable press, it does have its downsides too. Parts of a flower can dry more quickly than others, some can wither or burn and you need to experiment a lot with temperature and often the placement and layering of the flowers.
You can, however, speed up the process of pressing depending on the environment you press in too. Humidity can have a huge effect on the rate of pressing, and the outcomes. Use a dehumidifier or even place your presses closer to a radiator in colder months. Avoid placing your press in close, contained spaces though. They need to be somewhere well-ventilated, warm and dry.
If you’ve enjoyed this blog, you can support my work here - thank you!
Flower pressing takes time, patience and often a lot of experimentation. Try to enjoy the process. See our helpful Courses or Guidebooks for more information on the process of pressing.