

Traditional Flower Pressing Vs. Microwaveable Pressing: Which is Best for your Blooms?
Flower pressing has evolved over the years; from centuries-old wooden presses tightened slowly with wing nuts, to modern microwavable devices promising results in minutes, there are now more options than ever for creating beautiful pressed blooms.
As someone who presses flowers professionally (and has tried a variety of methods over the years!) I have always advocated the traditional method of using a wooden flower press. But microwavable pressing does have its advantages and I am often asked: “which is better - traditional pressing or microwavable pressing?” particularly when it comes to retaining colour.
The truth is: both methods have their place. Each requires a different skill, has its own outcomes, and its pros and cons.
Let’s take a closer look at some of the strengths, limitations, and best uses for each approach; helping you to decide which is right for you.
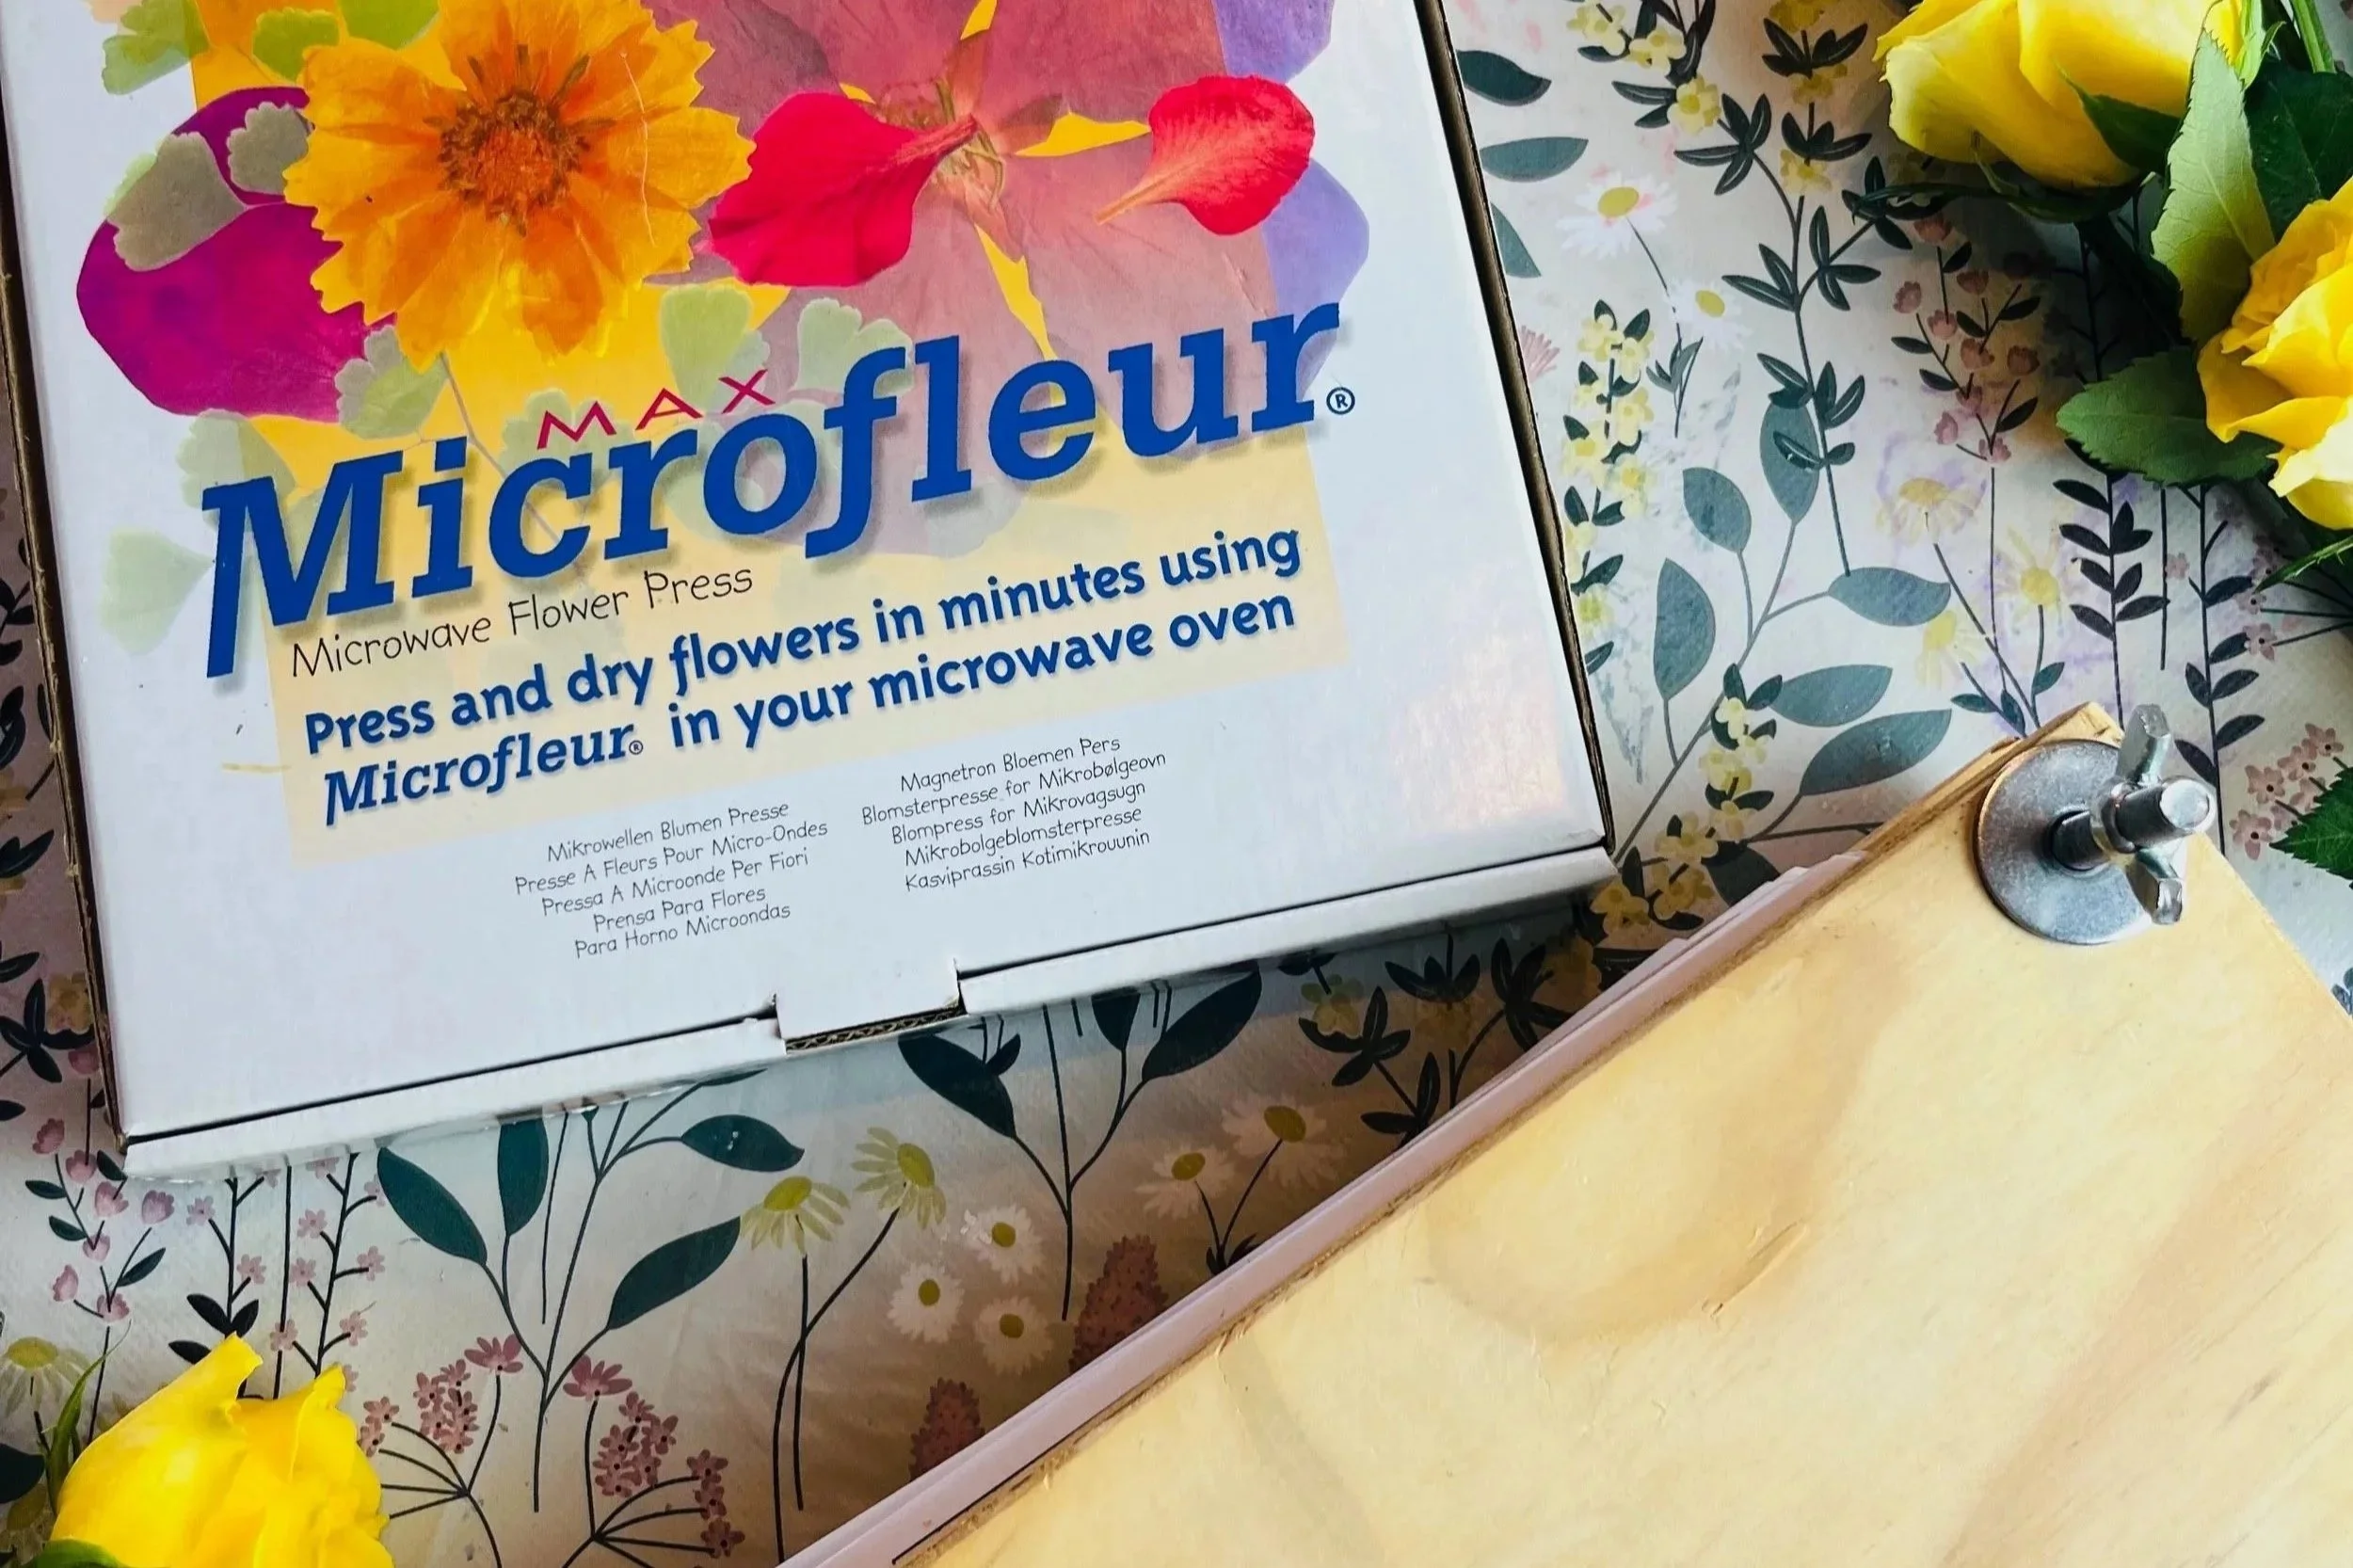
Though I will always choose the traditional method over microwave pressing, the Microfleur® Flower Press is my recommended microwavable press.
Traditional Flower Pressing
For the patient crafter who values detail, colour, and precision.
Why I Love It
Traditional pressing is the method that has stood the test of time for a reason. It allows flowers to dry slowly, naturally, and thoroughly, and when done correctly, the results can be beautifully flat, vibrant, and long-lasting. This gentle, controlled drying method preserves structure and colour in a way that microwavable pressing doesn’t because it offers you greater control.
The Benefits:
Colour retention - Slow drying can help to reduce browning and blotching.
More consistent results across different types and varieties of flowers.
Greater control - my top benefit! Pressing slowly allows you to handle delicate, thick, or moisture-heavy flowers with more precision.
A perfect method for professional or archival- quality pressing.
The Myth of ‘Old- Fashioned’
Some people assume traditional pressing is outdated or overly time-consuming, but with the right techniques, materials, and guidance, it’s a wonderfully reliable process.
To learn professional methods of pressing using a traditional flower press, explore my online courses or guidebooks, for in-depth, detailed guidance.
Traditional flower pressing can help you to control the results of your pressing.
Microwavable Flower Pressing
For the creative who wants quick results, the curious beginner, or the spur-of-the-moment maker.
Microwavable pressing has grown in popularity thanks to its speed. Instead of waiting weeks, you can create pressed flowers in a matter of minutes. It’s especially appealing for those who like experimenting or creating small, quick projects.
The Advantages
Quick results - perfect if you need pressed flowers quickly! Microwaveable presses extract moisture rapidly and therefore speed up the process. More on this in a moment…
Beginner-friendly - a fun, low-commitment way to try out pressing. I see more and more children’s microwavable flower presses on the market too.
Ideal for casual pressing or trying ideas quickly without the commitment of traditional presses.
How it Works and Things to Keep in Mind
While microwave pressing can be fantastic for quick results, it does come with limitations.
Without getting too technical, a microwave uses invisible waves of energy (called microwaves) to make water molecules inside food, or in this case flowers, vibrate. These vibrations create heat from the inside out, which is why things warm up quickly.
When microwaves heat the water inside the flowers, that moisture doesn’t just “leave”, it evaporates into steam. Because a flower can be delicate, the steam escapes quickly, sometimes stripping pigment or causing uneven drying. You will find this when microwaving flowers with different levels of thickness, such as a stem or receptacle attached to very thin petals - the petals will dry rapidly, whereas the thicker parts will retain some moisture.
If too much moisture turns to steam too quickly, it can scorch the tissue, that’s why petals may brown or curl in microwavable pressing. If there’s too much moisture or the heating is uneven, parts of the flower can get too hot, too fast, leading to browning or burning.
Despite this, if you get your timings right, sometimes the rapid extraction of moisture can help to preserve colour.
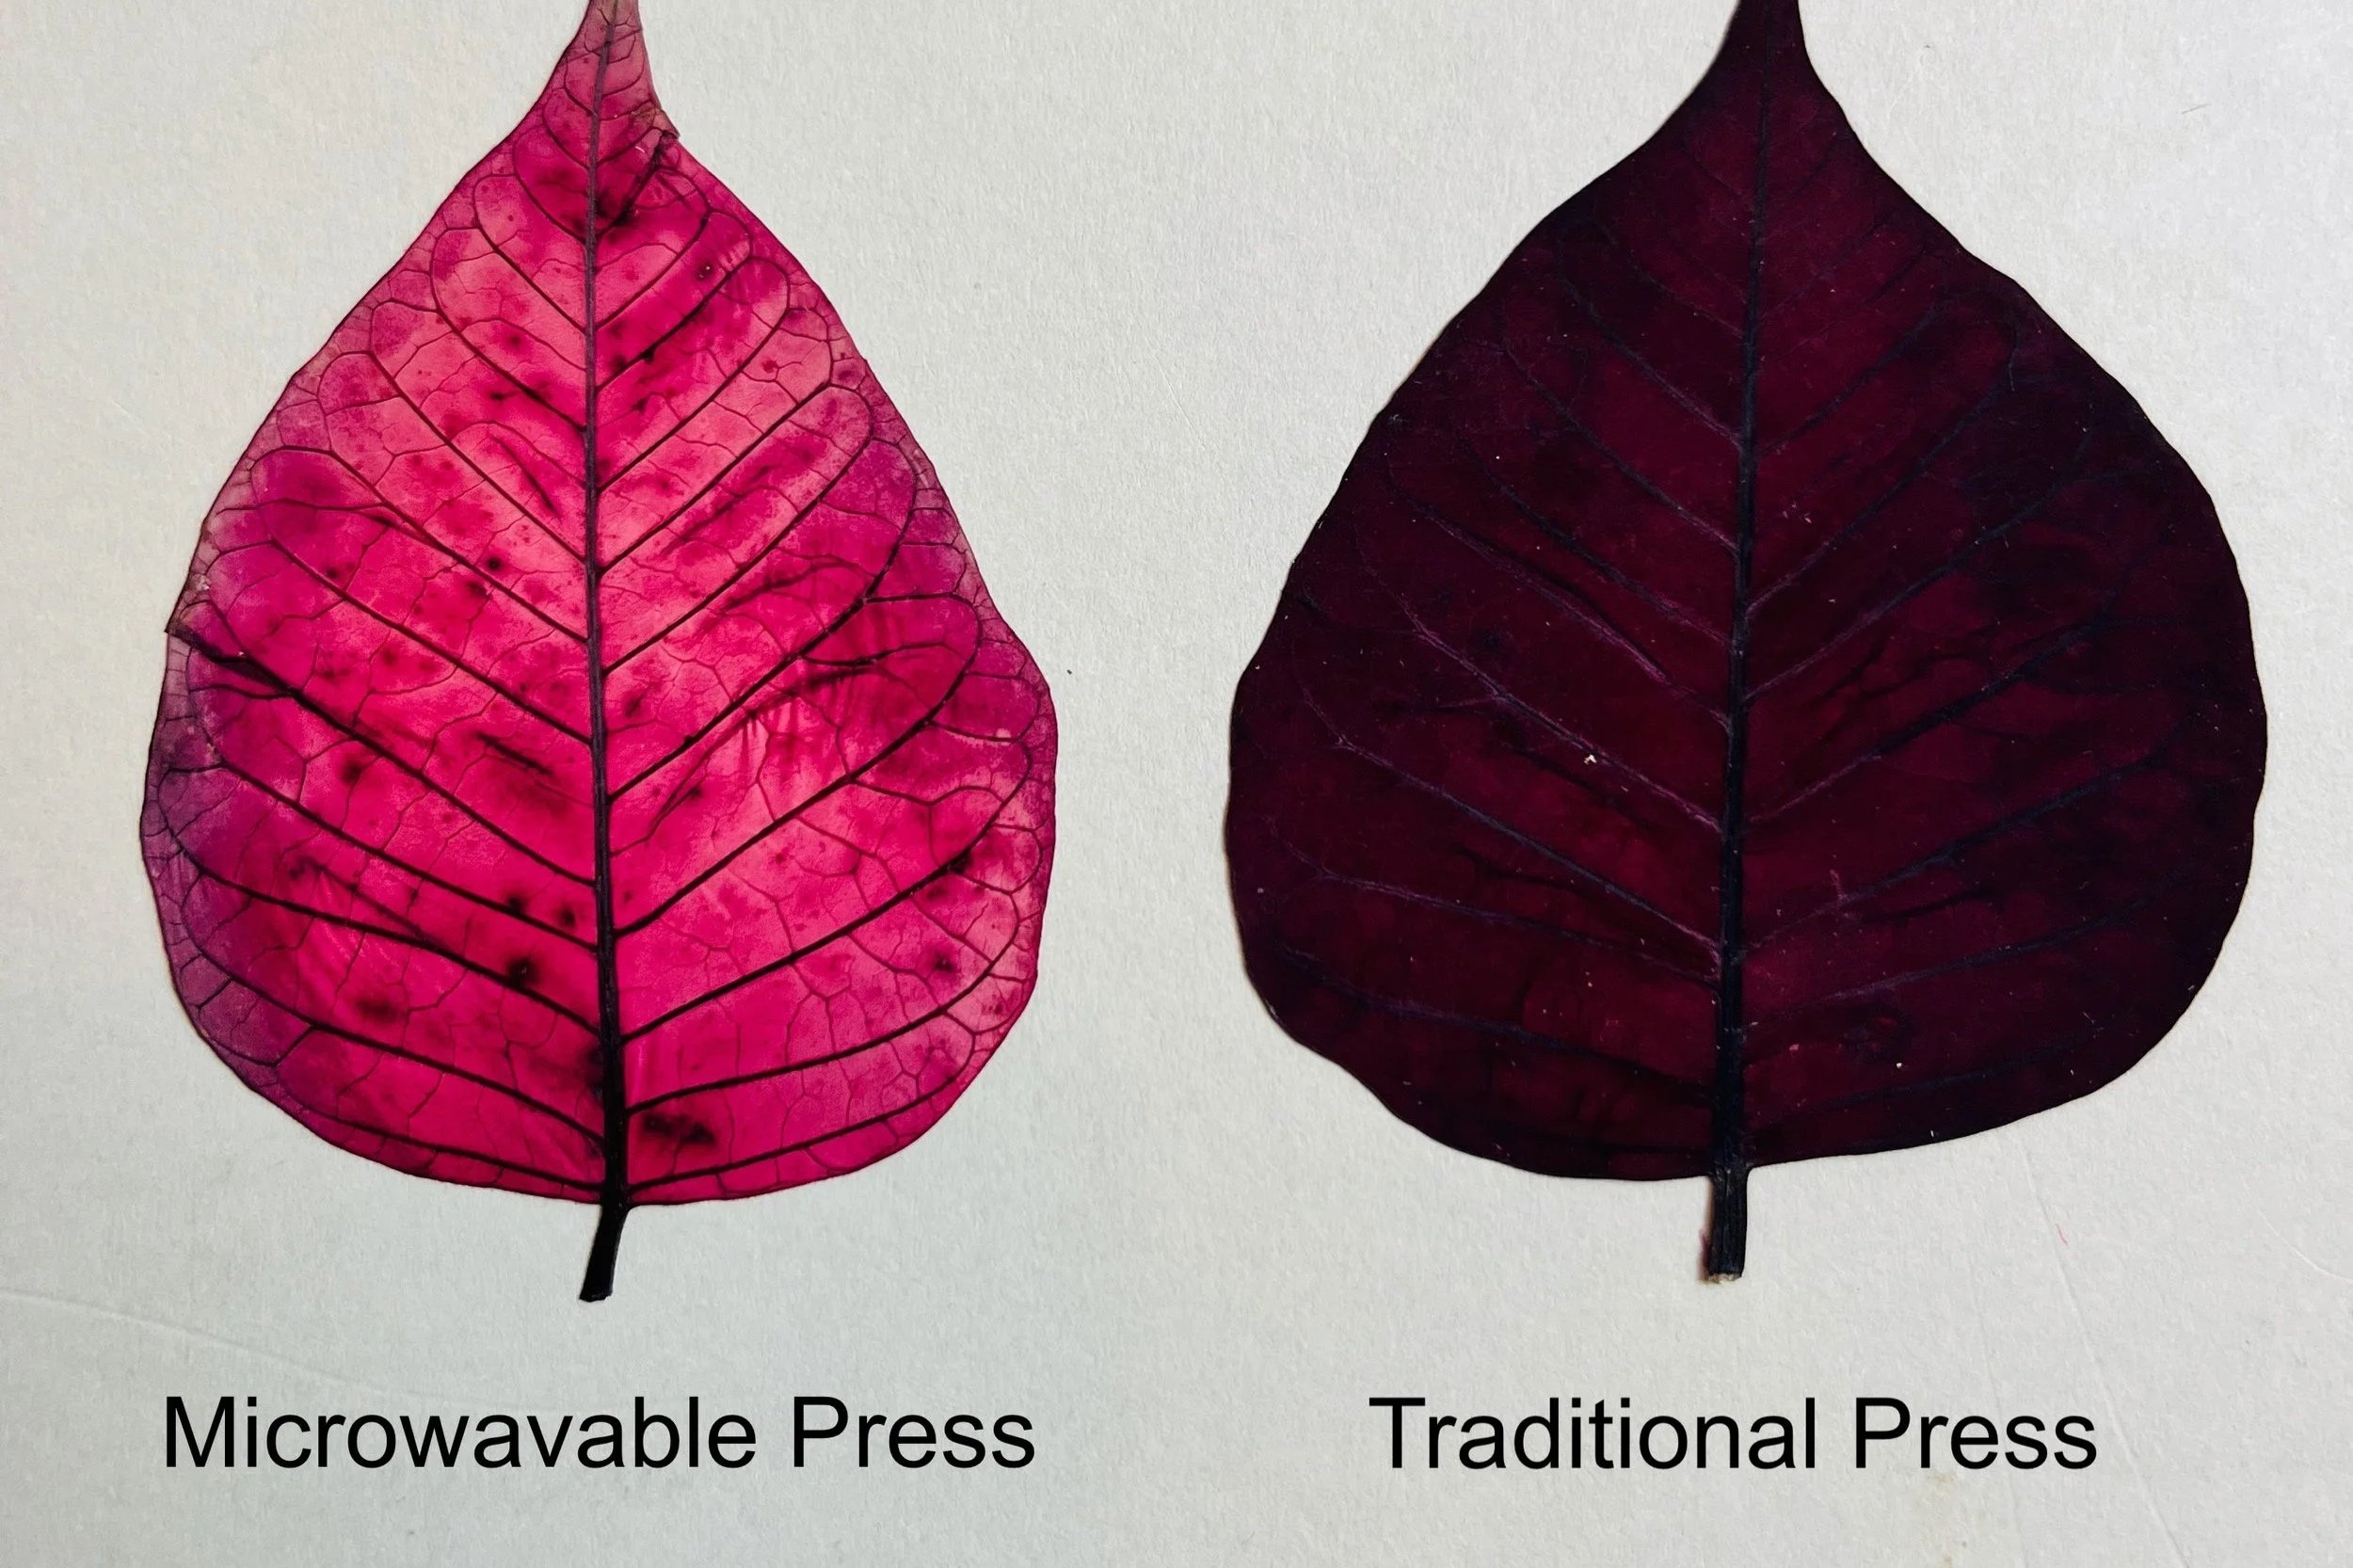
Though the traditional method has caused the poinsettia to darken, the burgundy colour will last for longer. The microwavable press has stripped some of the poinsettia’s colour and caused blotchiness; the colour will now also fade more rapidly.
My Top Tips for Better Microwavable Results
If you’re keen to try microwave pressing, here’s some tips on what helps:
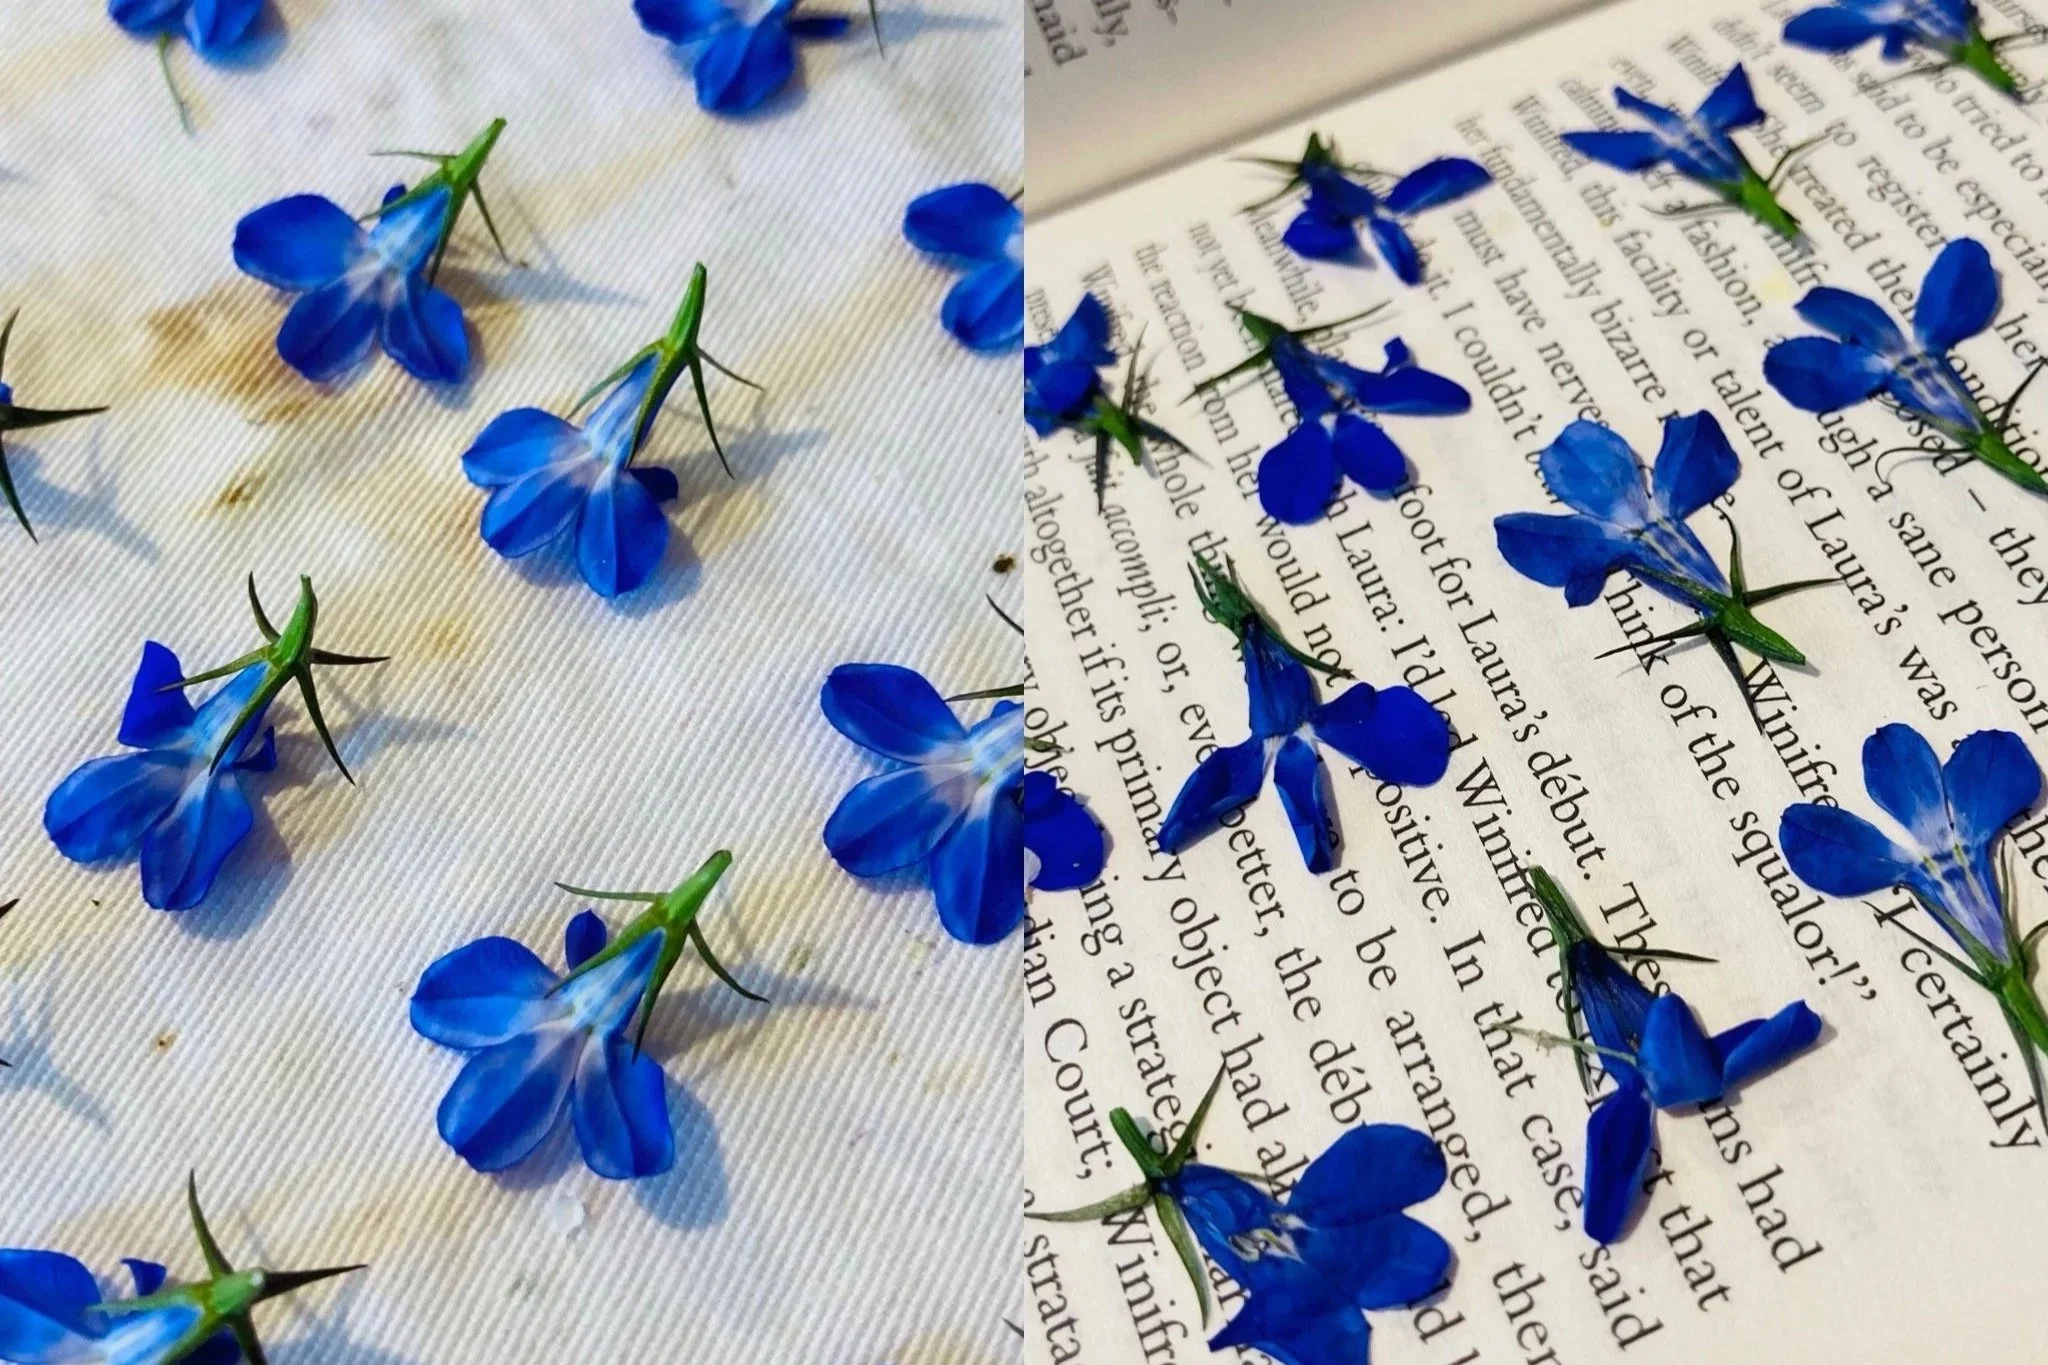
Use smaller, thin-petalled flowers, like daisies, violas and forget-me-nots.
Position your flowers carefully. I find flowers dry much more rapidly at the edges of the microwavable press, compared to the centre. As you experiment, you will get to know your microwavable press and the best positions for flowers.
Start with short bursts of heat. Check your microwave’s settings, and the microwavable press’s manufacture’s guide for any advice first, but I usually start with a ten second burst (sometimes even less!), then check on the flowers before putting them in for another burst.
Between bursts, I often leave the flowers against the fabric they are pressing against and flip the thick felt pads. These pads get damp as the moisture evaporates in the press, so placing the drier side next to the flowers can help whip that moisture away and allow for more to be extracted in the next burst.
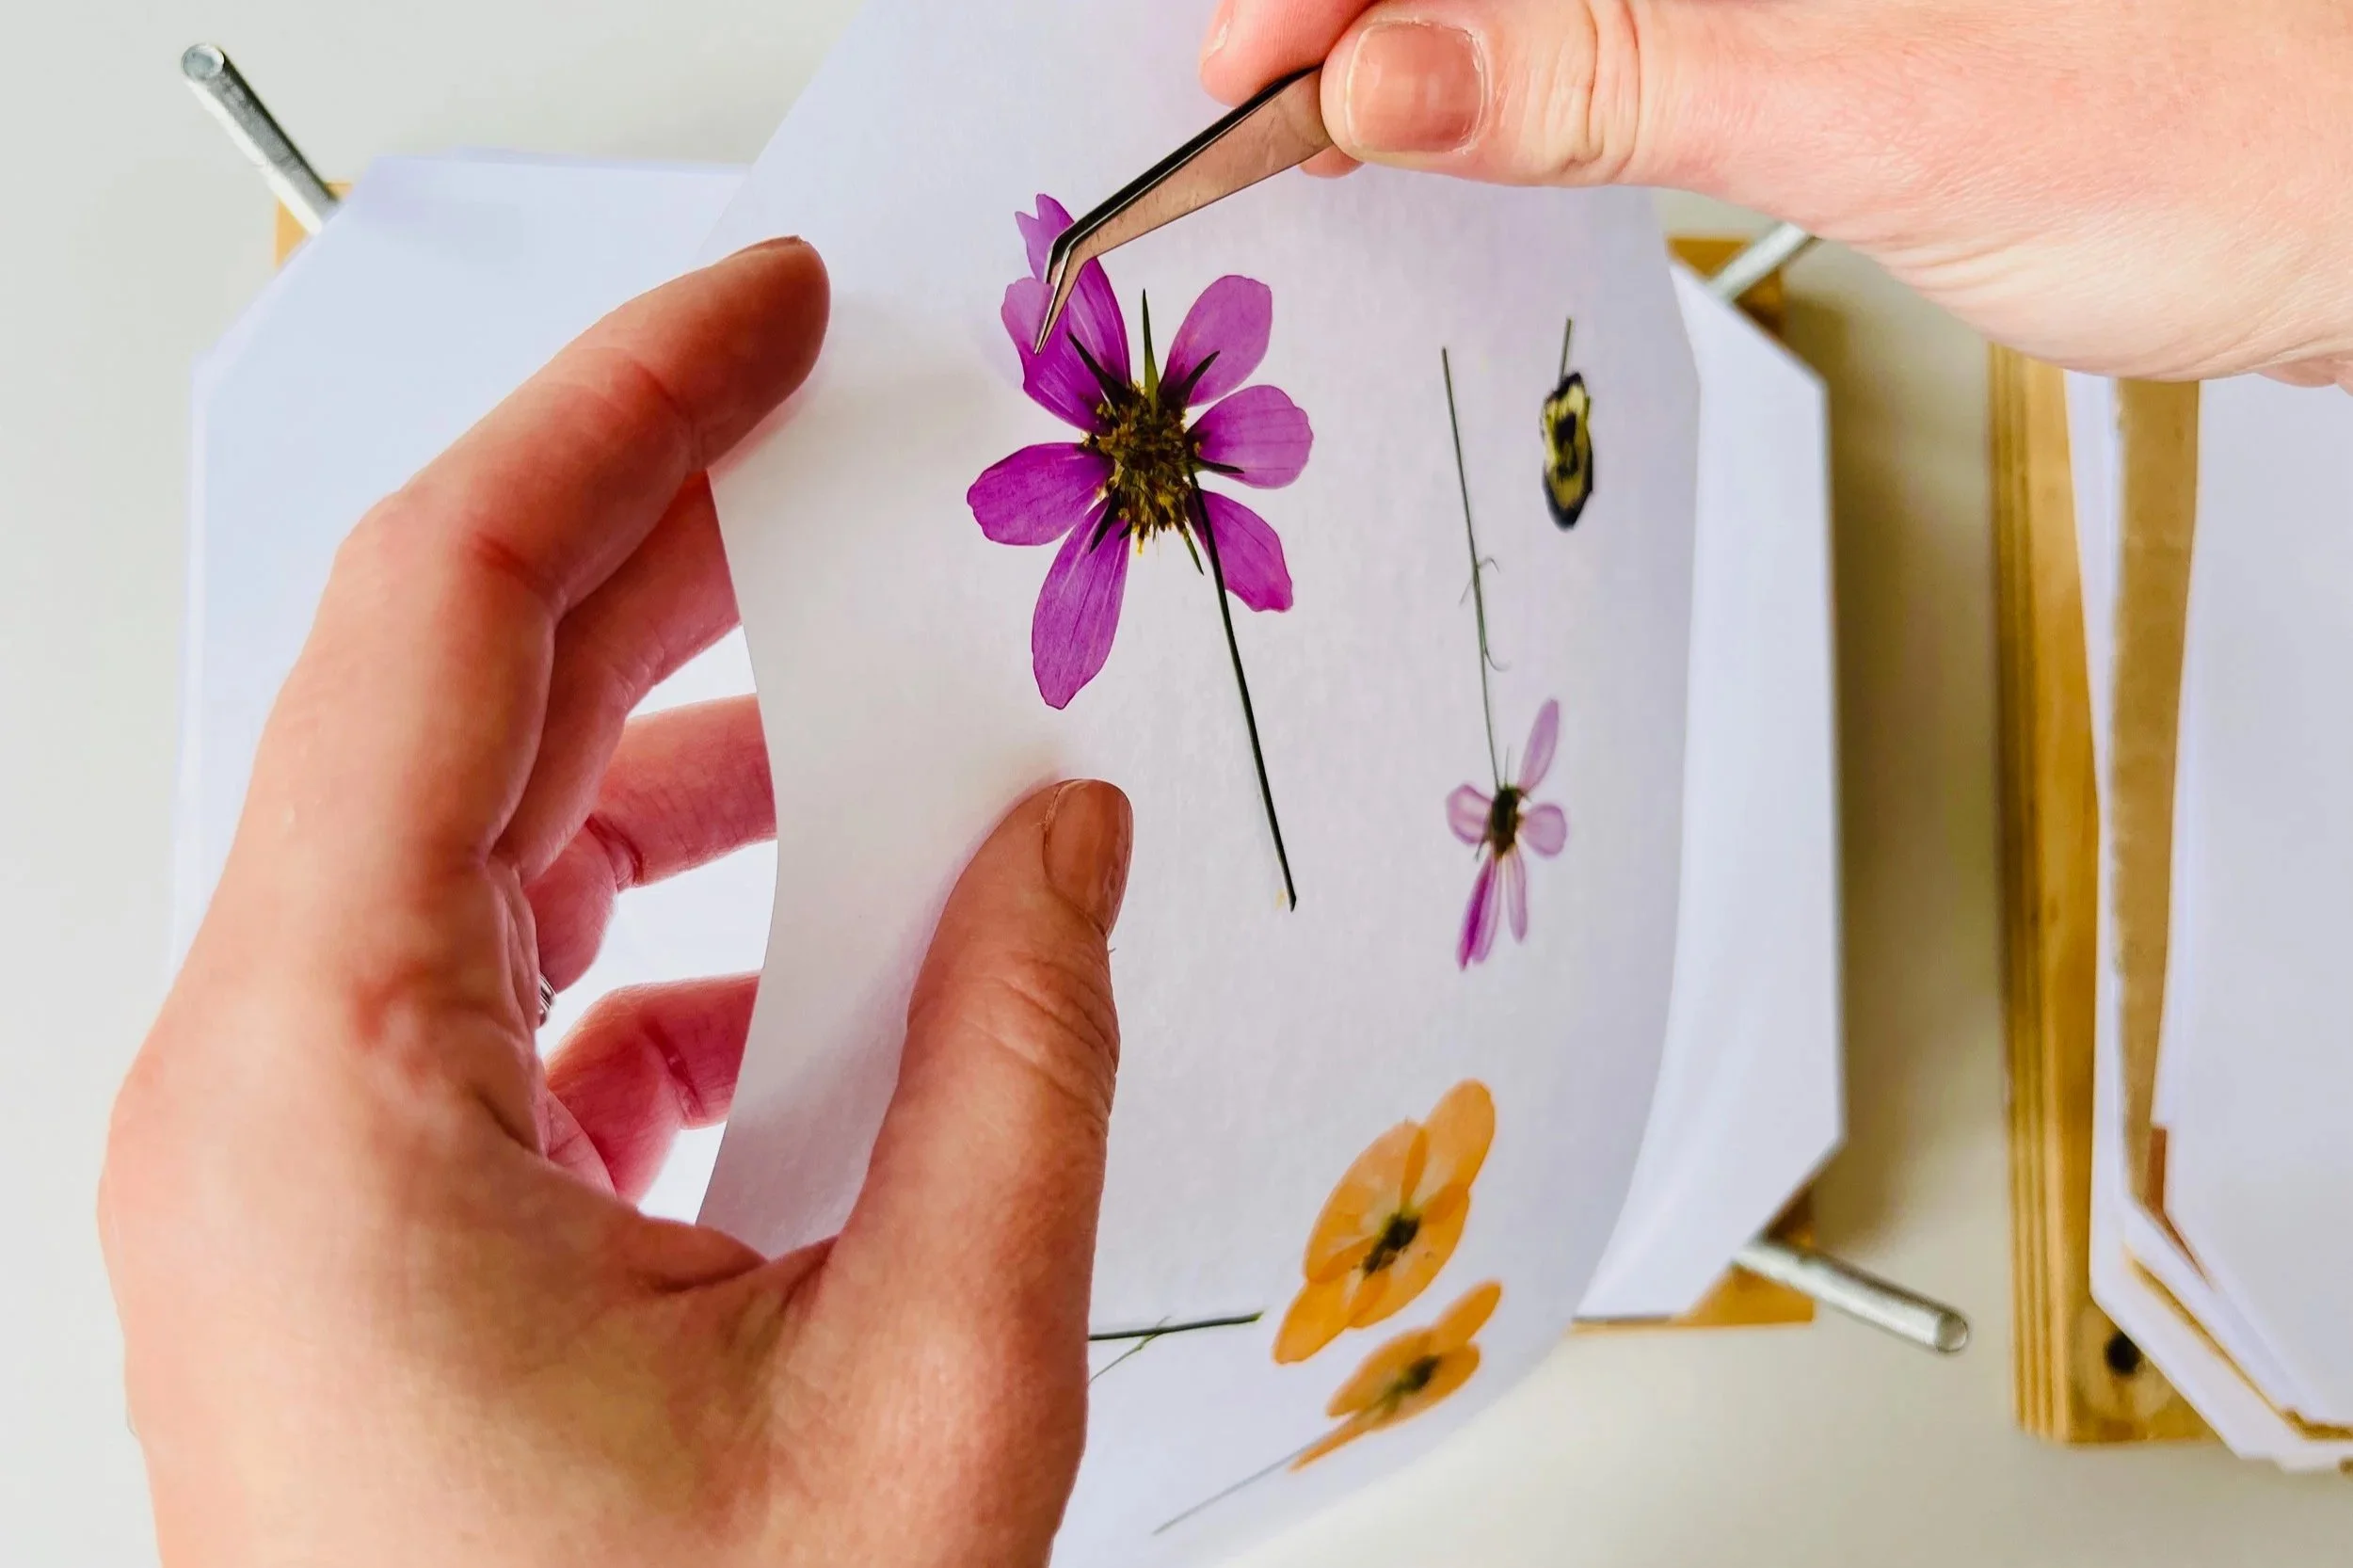
Allow the flowers to cool fully before removing them from your microwavable press. When removing them, gently bend the fabric and peel your flowers away. A pair of tweezers can come in useful.
Place your flowers in a traditional press, or a book, for a few days. For thicker flowers, you will want to do this for longer. A microwavable press can be helpful in kickstarting the pressing process, so if your blooms are still floppy and soft, don’t dismay! place them in a book or traditional press to finish the process.
After using the microwavable press, place your flowers into a book or traditional flower press to completely dry out.
My Personal Take
Whilst I love the speed and spontaneity of microwavable pressing, my heart (and my professional practice) belong to traditional pressing. The quality, colour, and longevity simply can’t be matched and watching a flower dry slowly into something delicate and extraordinarily beautiful is one of the quiet joys of this craft.
However, having said that, I do think microwavable pressing has its place. It can be a fun way into the world of pressing, and for certain quick makes, it’s handy!
If you’ve enjoyed this blog, you can support my work here - thank you!
Looking for a Press?
If you would like more advice on traditional presses, there’s lots more information in my blog, ‘Choosing a Flower Press’, where I also explain how I make my own. If you’re looking to purchase a traditional flower press, I recommend the Berstuk® press. Use the code LPF10BERSTUK for 10% off.
If you would like to try the microwavable method, there are an abundance of microwavable presses on the market. However, I have only ever used the Microfleur® and highly recommend it.
Please note, I earn commissions from purchases made through my Amazon storefront.
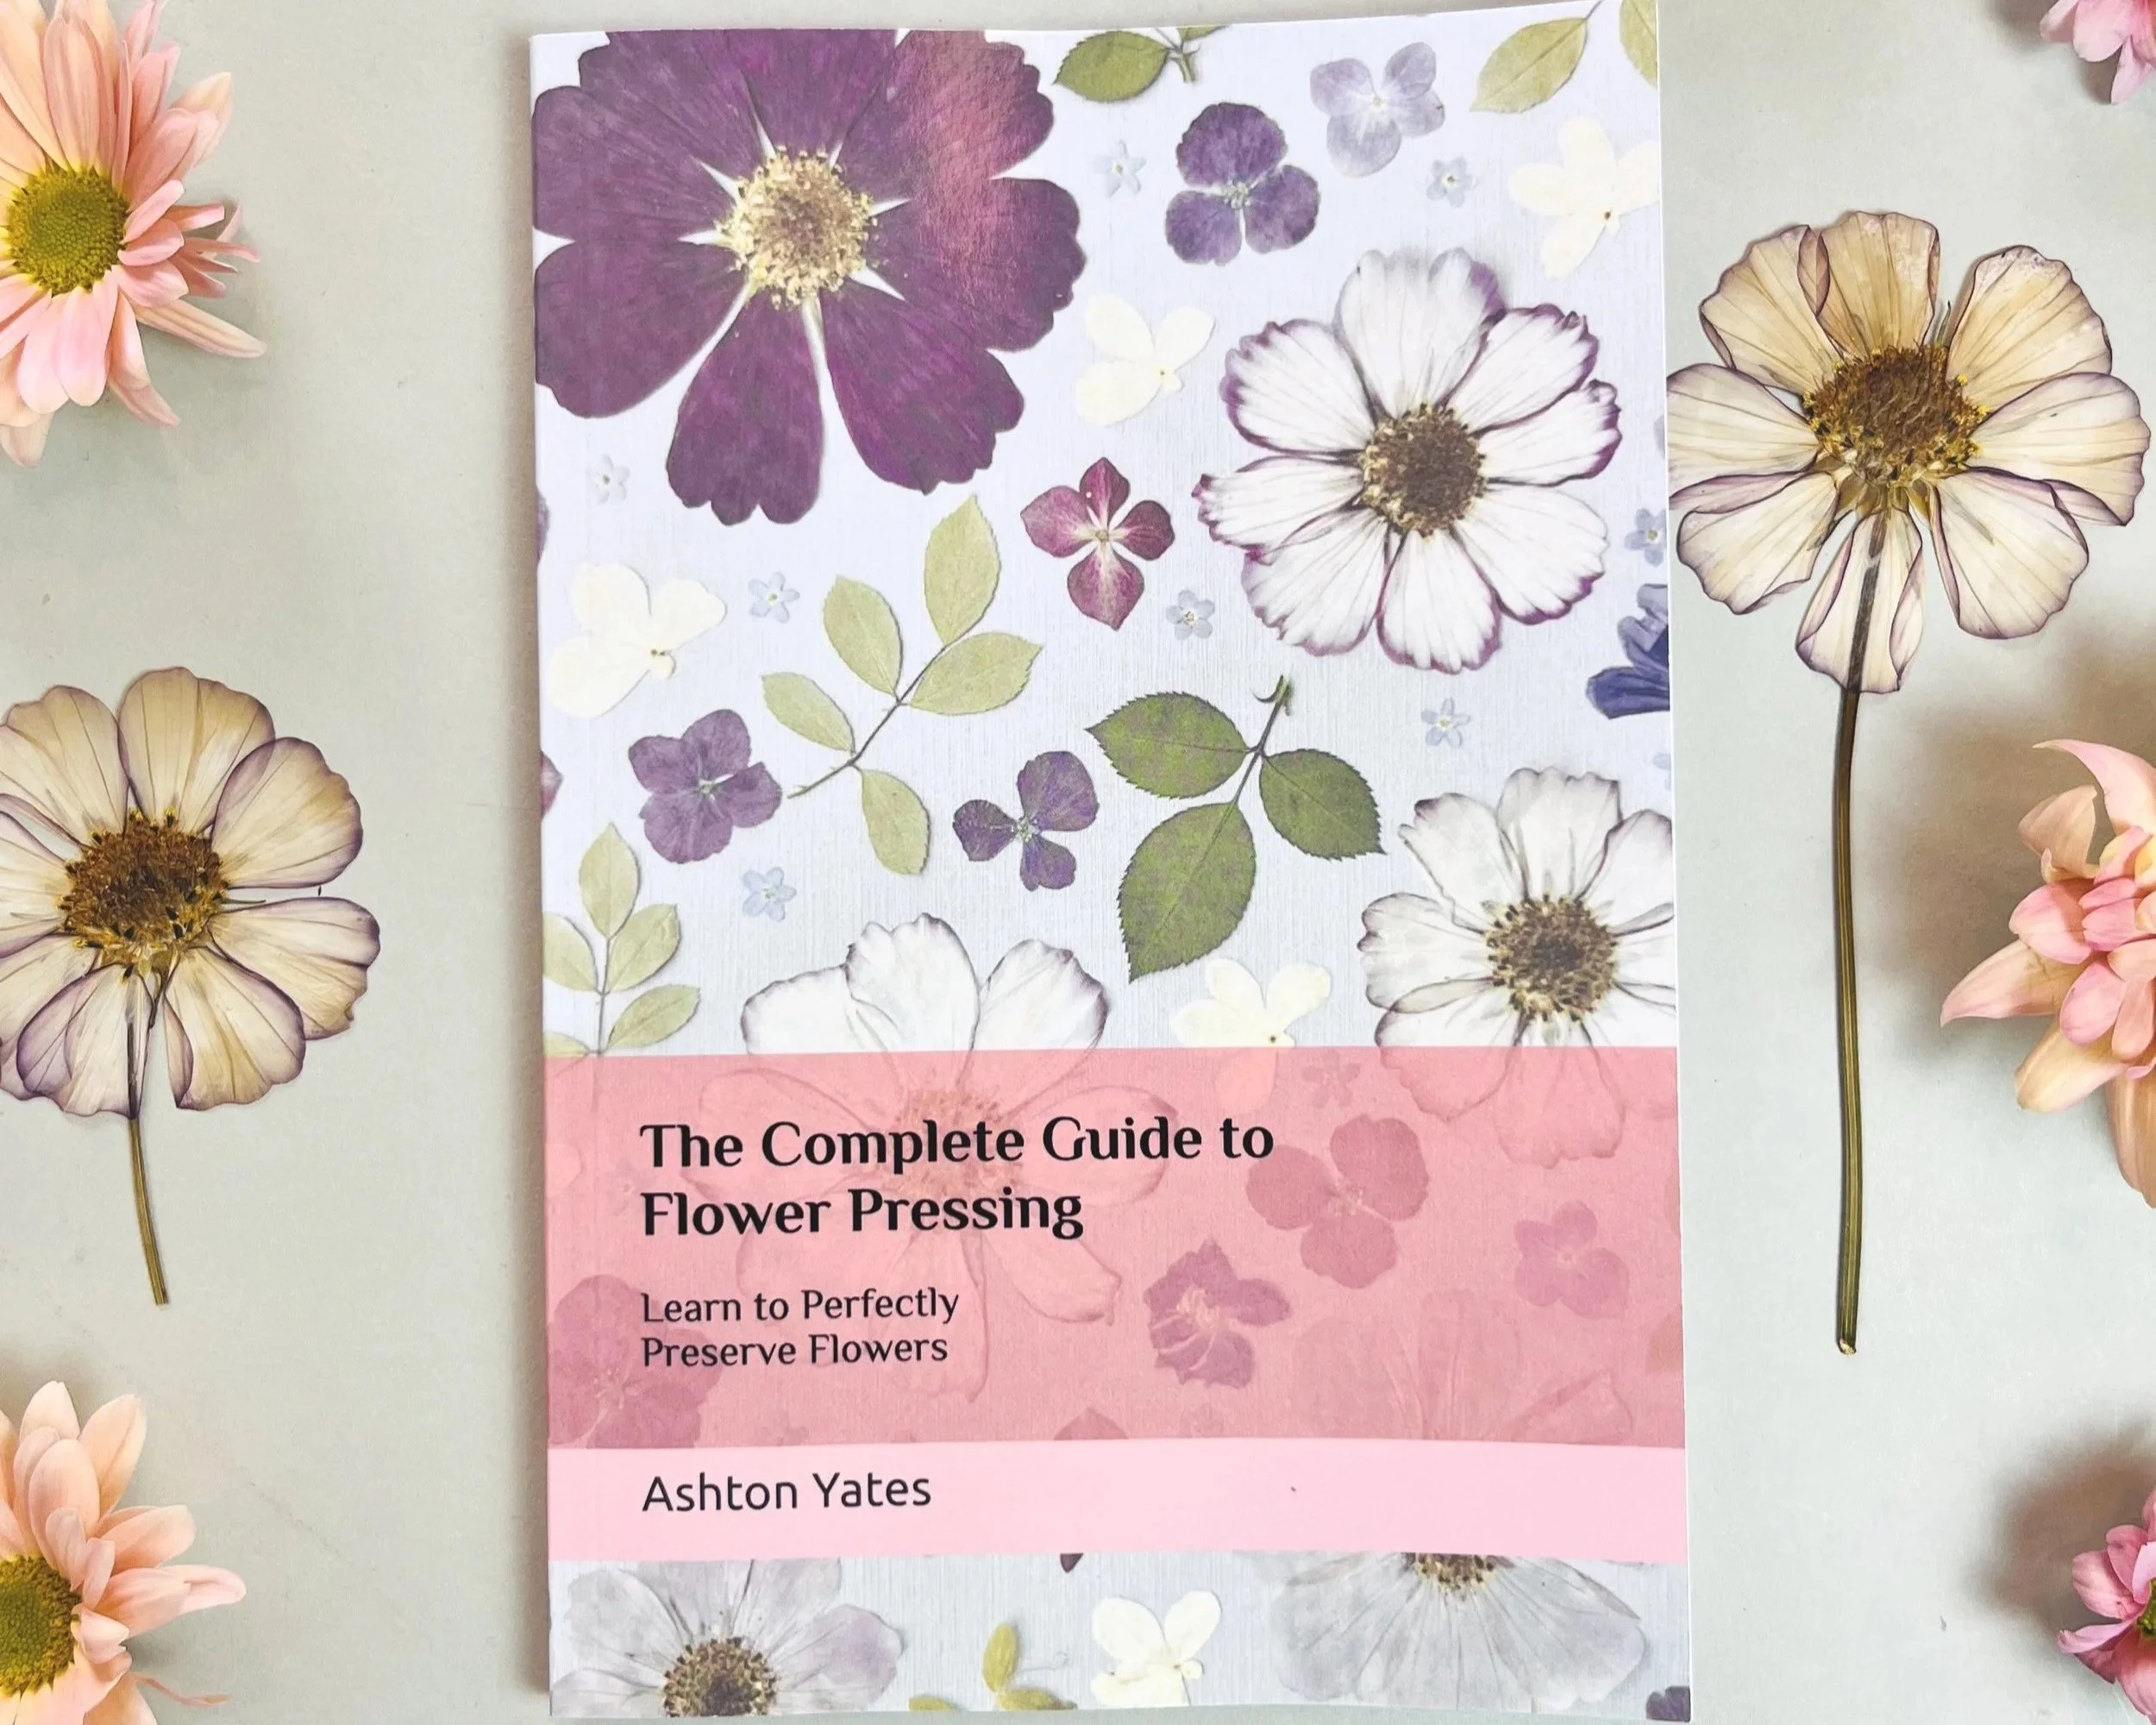
Looking for more guidance? Discover my comprehensive flower-pressing guidebook, available now from Amazon.