

Pressing Flowers in Books
Pressing flowers is a centuries old pastime; it originates from 16th Century Japan (where it’s known as Oshibana) and was believed to teach patience and a harmony with nature, which resounds with us today. Botanists in Europe soon adopted the art form as a way to document specimens they had collected. However, the hobby soon boomed in popularity during the Victorian Era, when flowers would convey significant meanings and even messages.
The most accessible form of flower pressing is pressing in books. The joy of this craft is the ease of accessibility: it doesn't require sophisticated equipment or knowledge and is a lovely activity to do with children too. There’s a certain whimsical joy in discovering preserved flowers between the pages of books.
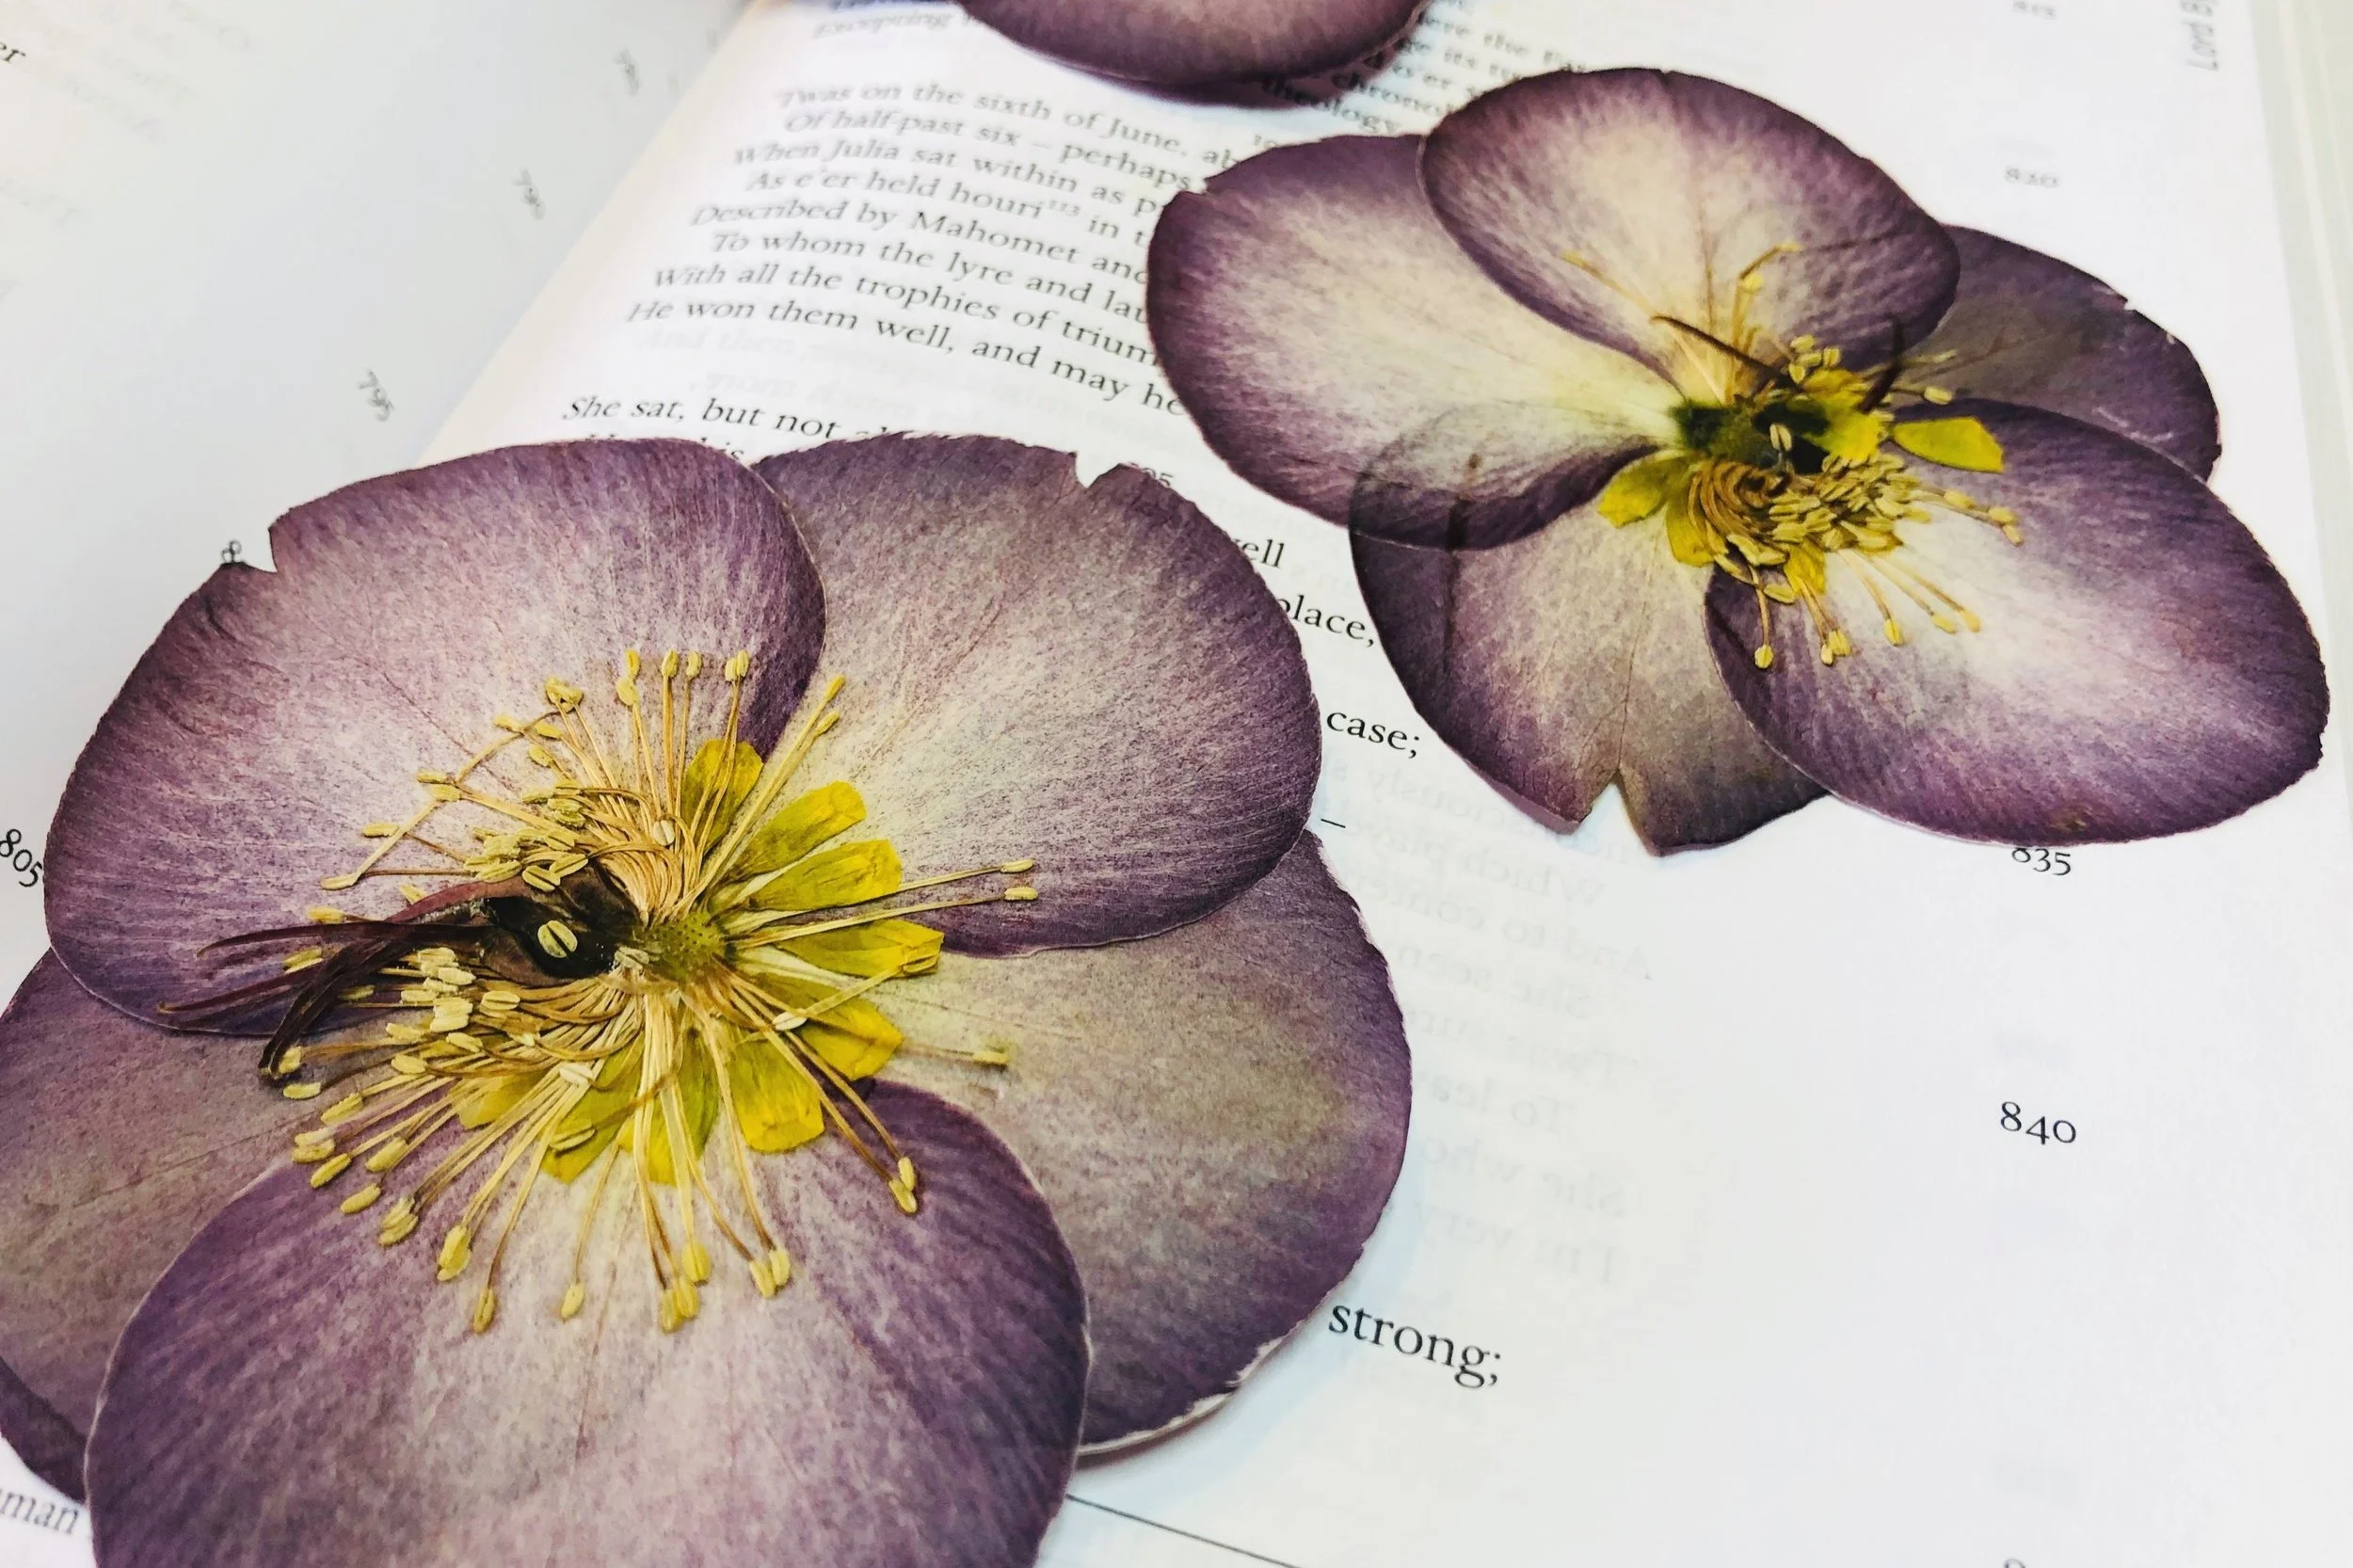
Despite this, it’s still worth bearing in mind that some flowers will achieve better results in a traditional press, rather than in a book. I’d recommend pressing trickier flowers, such as roses or chrysanthemums, in a traditional press. Don’t get me wrong, it can still be done, but if you’re a first-time presser, I’d suggest starting with less dense flowers.
Some great flowers for books are:
Daisies,
Buttercups,
Gypsophila,
Lobelia,
Forget-me-nots (myosotis),
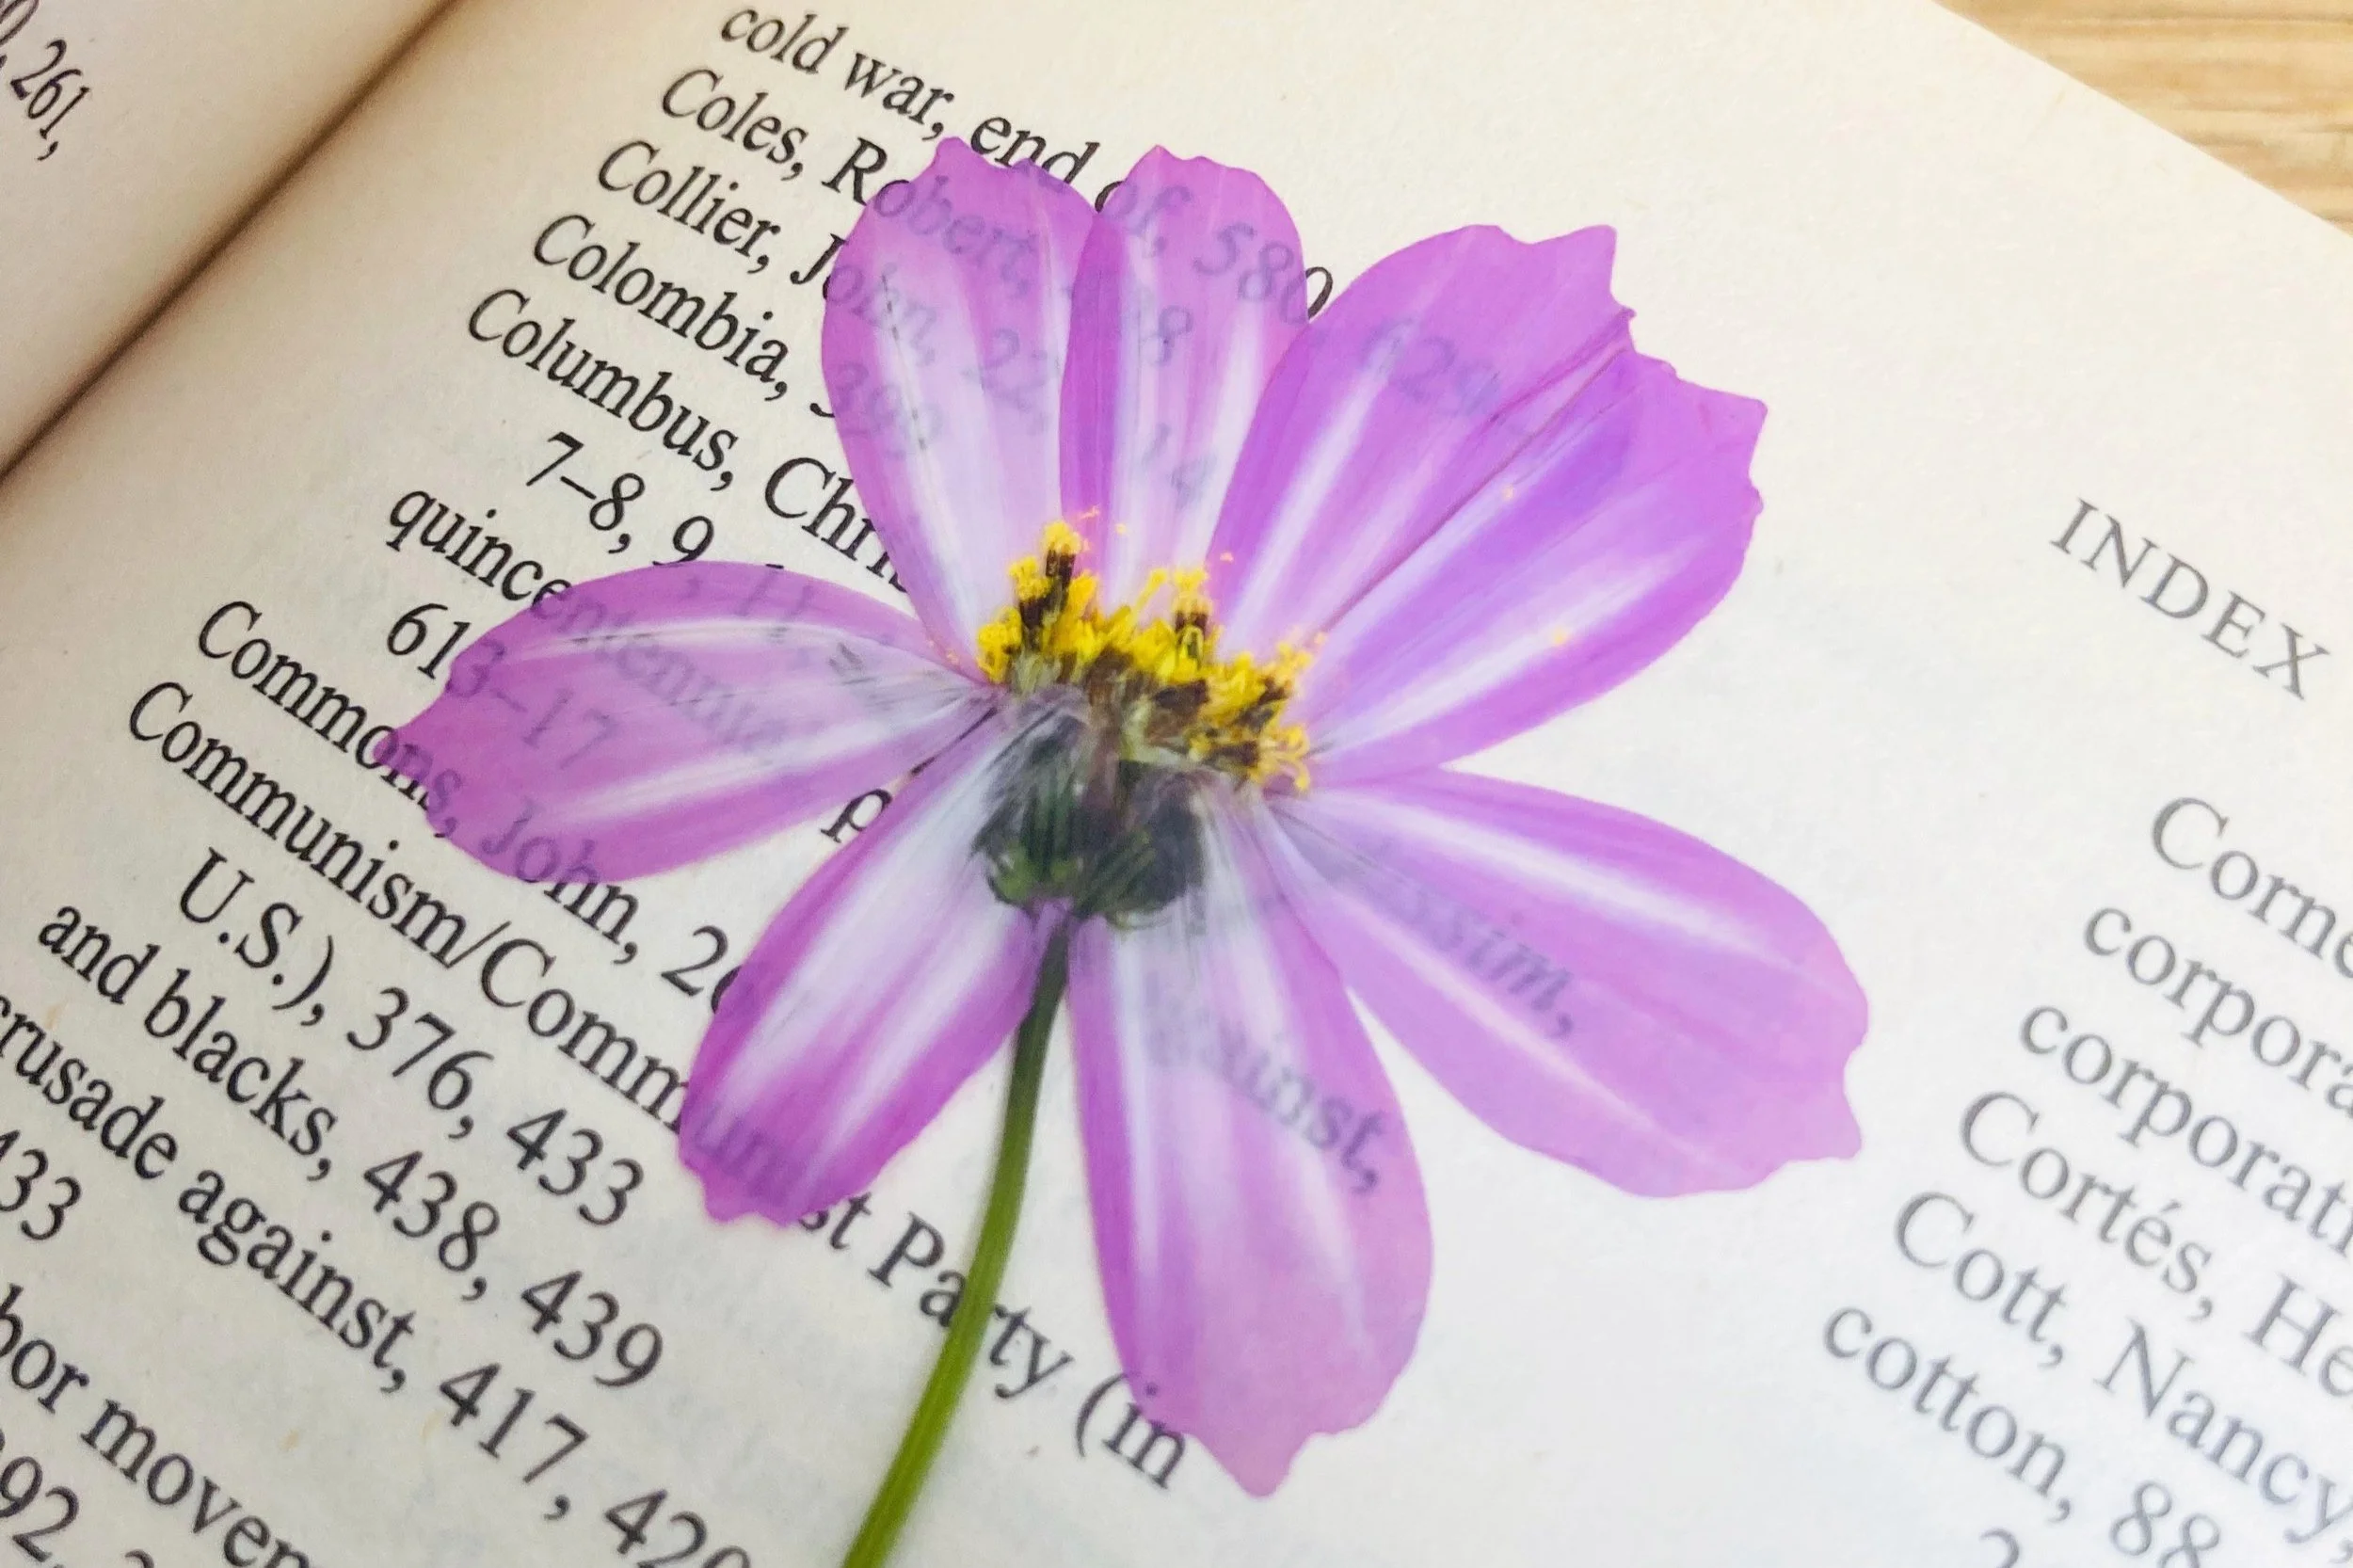
Cosmos,
Calendula,
Meadow flowers, like cornflowers and poppies.
Whether you are looking to begin a new hobby, wanting to press sentimental flowers, or simply want to have a nosy at how I do it, use the following guide to get started on achieving beautiful results from pressing flowers in books.
Prep before you Press:
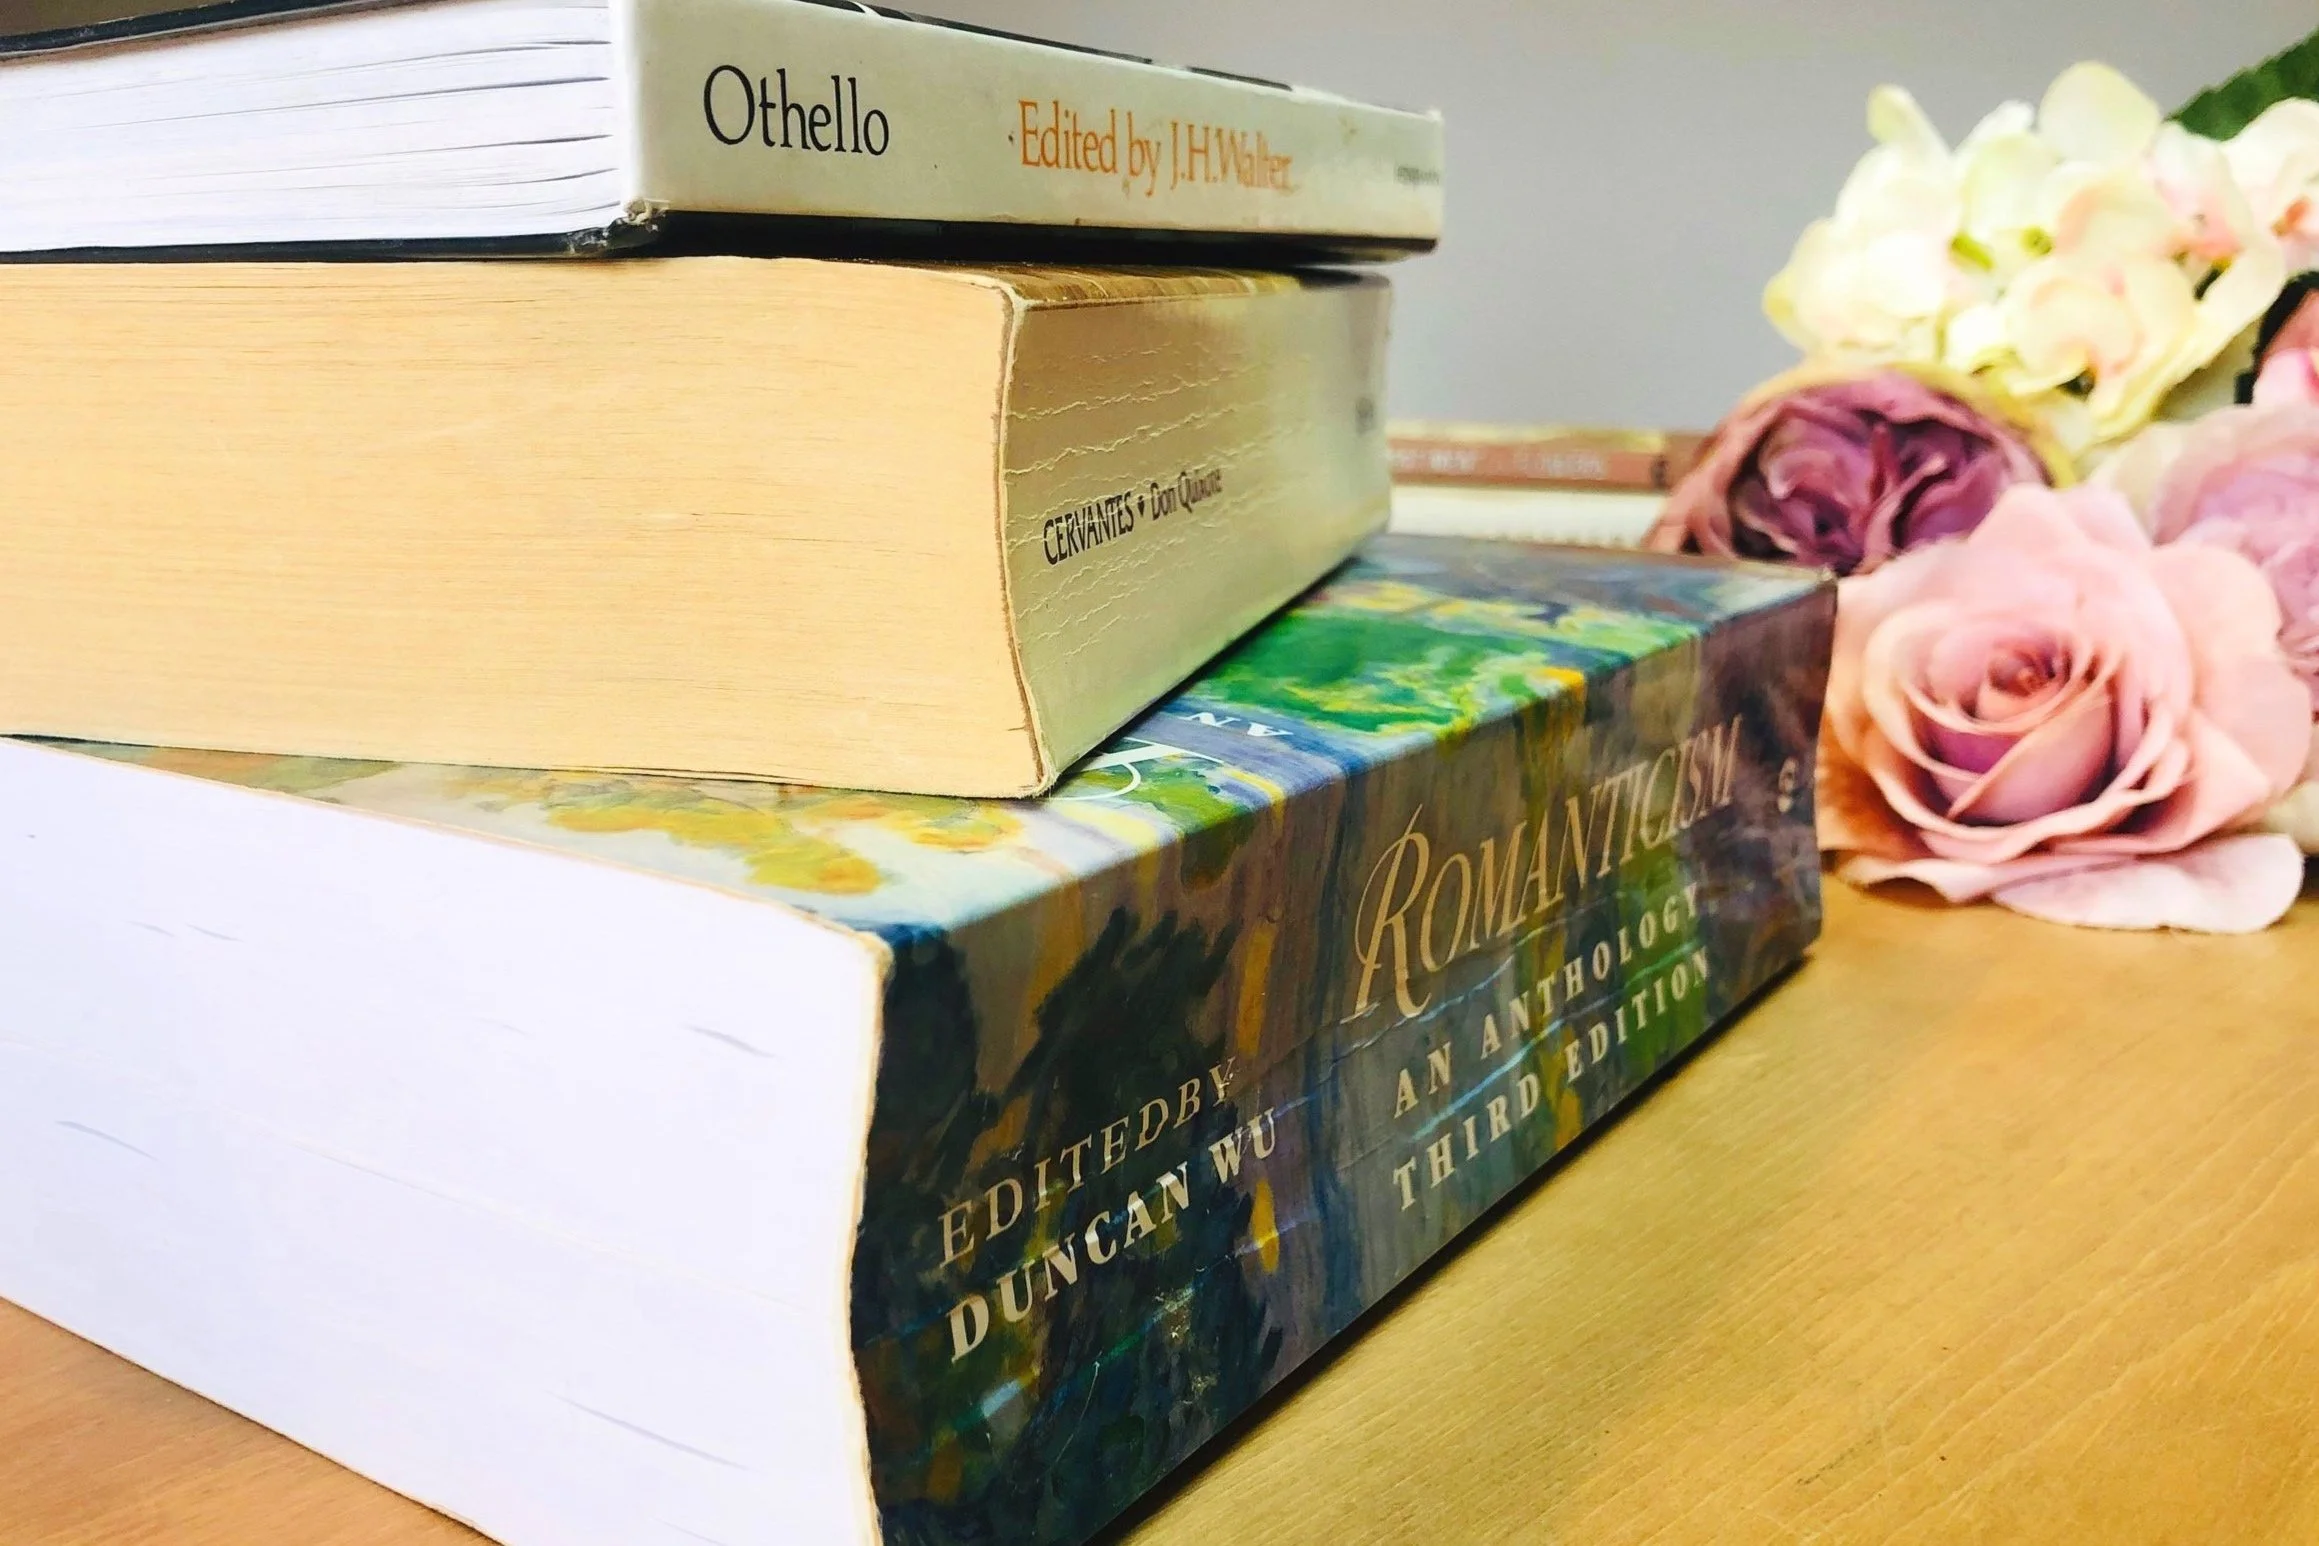
Begin by carefully choosing your book. Avoid books with laminated or shiny pages, as they won’t absorb the moisture from your flowers, which will only lead to mould and browning. Try thicker books, like:
manuals,
phone books,
anthologies or
text books.
All are perfect for providing plenty of pressure across your flowers. If you don’t have much to press, smaller hardbacks or thick paperbacks will work just as well. I don’t recommend kitchen towel, as this can leave an impression on your flowers, and it’s much more difficult to check on them (more on this later!).
Next, pick your flowers carefully; you’ll achieve better results from flowers that have only just bloomed. Ensure they’re not damp and are free from tears or blemishes (see my blog on Choosing Flowers for your Press for more on this).
Once you’ve gathered your materials, it’s time to prep your flowers. Check there are no insects between petals or leaves (they’ll either wind up squished across your pages, imprinted on your petals, or will simply eat away at your flowers- a certain disaster!) Cut flower stems down to your desired shape or size and remove any foliage you don’t want to press. This is the ideal time to manipulate your flowers into the shape you want to achieve before they dry out.

Press the flower gently between your fingers before placing it into the book.
Let’s Press
Begin at the back of your book, leaving a few pages against the very back page. Gently press the flower between your fingers before you place it into your book; this way you’re already encouraging the pressing and can start to see the shape it will achieve once pressed.
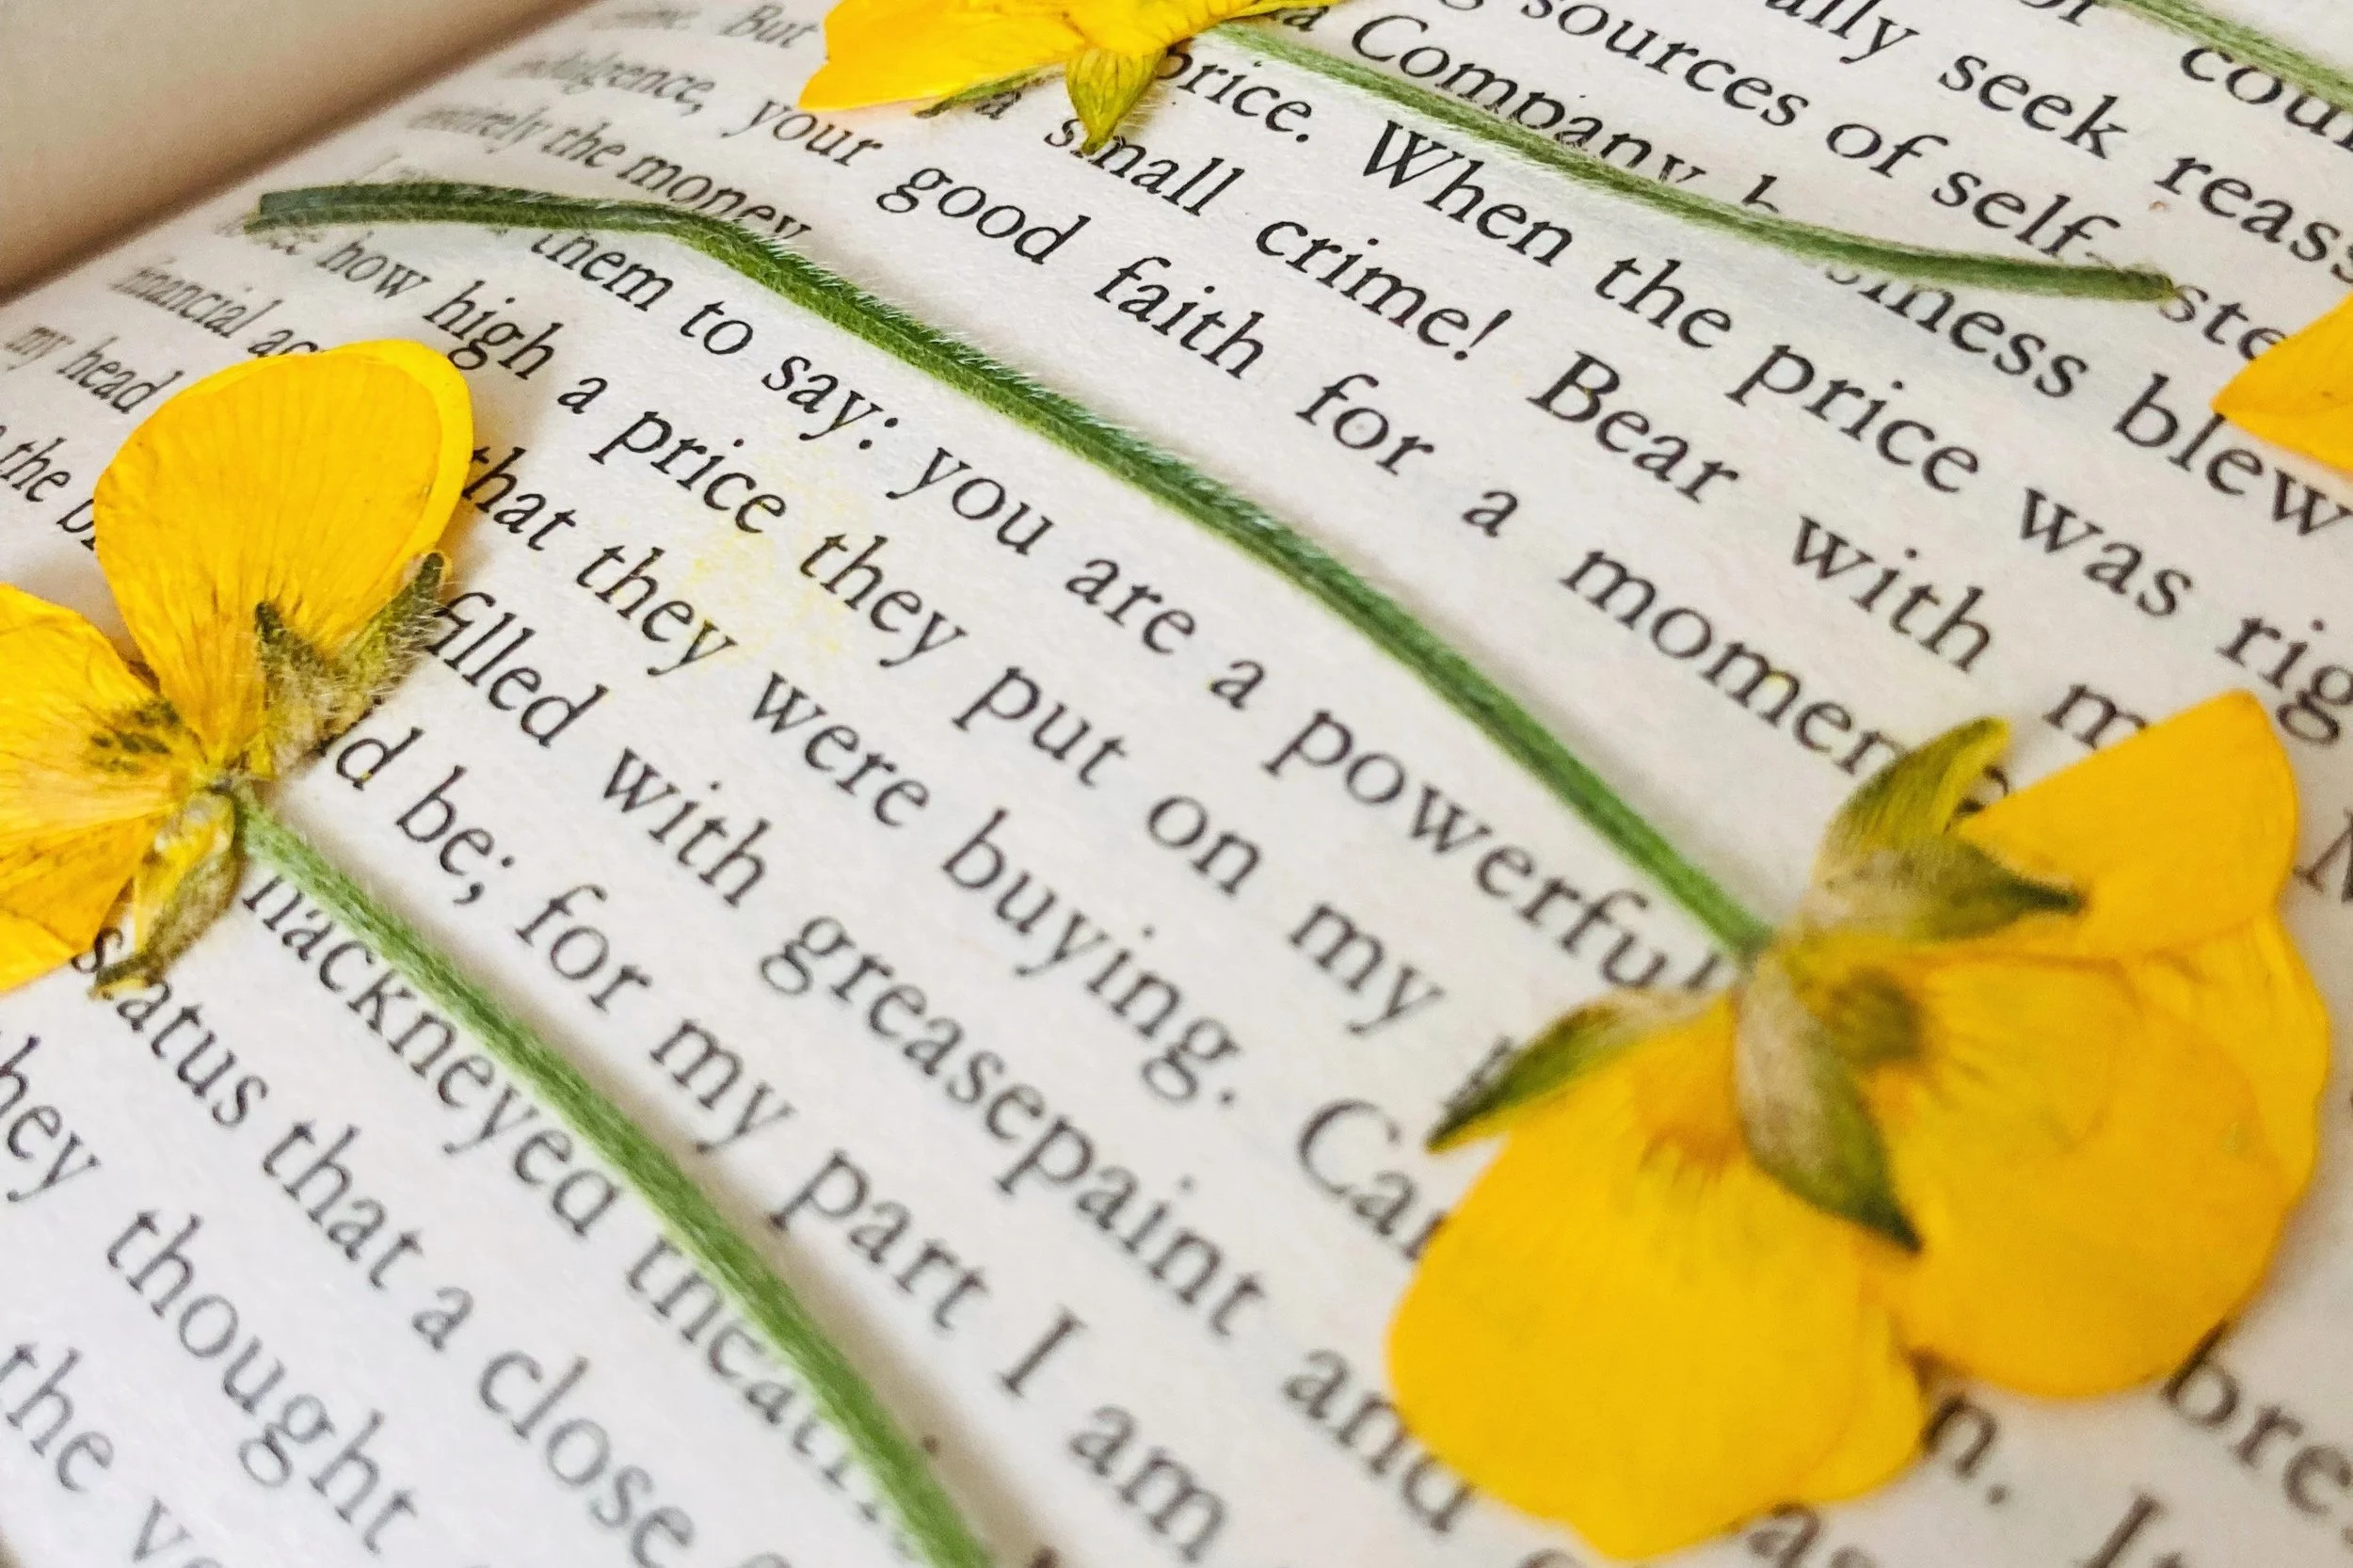
Position the flower, face-down, on to your page. (Keep flowers of similar shapes and sizes together. If a thinner, delicate flower is next to a larger, thicker one, the more delicate is not going to receive the same pressure from the pages and is more likely to wilt or brown.) Try to keep the flowers closer to the spine; those at the edges are more likely to fall out, become damaged or wilt.
Remember, your flowers need their space! Try not to overload the page, otherwise flowers will overlap and won’t press evenly.

Position the flower face-down on your page.
3. Now add a wad of pages on top of your flowers. (Don’t worry if the page bulges slightly, though you can add some gentle pressure at this stage by pressing against them to encourage the flowers to flatten.) Use this new space to place your next flowers, following the steps above.
Try not to overload your book! Too many layers of flowers in a book will only distort it, leading to uneven pressing, which you’ll certainly want to avoid. Keep a good chunk of pages at the front of your book, for added pressure against your flowers, and go on to a new book if you have a lot of flowers to press.
4. Once you have finished positioning your flowers in your book, it’s time to add some pressure to the top. On day one, start by using a few books on the top of your pressed-flower book. You want to extract moisture from the flowers slowly and gently, and to begin with, simply encourage the flowers to flatten out. Too much pressure all at once will either damage them or cause them to ‘bleed out’, which creates a very messy page. Increasing the amount of books, and therefore the pressure, each day will help you to achieve much more beautiful results.
5. Now, this is the important part: check on your flowers. By checking on your flowers, you can examine how well they’re pressing. Assessing them for damp, mould, creases and overlapping early will help you to speed up the pressing process. On day two, carefully open your book. You can (very gently!) peel the pages apart and encourage your flowers back into position. If you feel the page they’re against is damp (which it’s likely to be), then move your flowers to a new section of the book. Use tweezers to help if you need to, and gently bend the pages to encourage the flowers to come away from them. Do this for each layer of flowers and for at least the next week.
Remember when I said I don’t recommend kitchen towel? Not only can kitchen towel leave an impression on your petals, when it’s damp it retains moisture, which will be right against your flowers. This means they’re less likely to dry. It’s also much more difficult removing flowers from damp kitchen towel!
It’s important at this stage to keep a close eye on how your flowers are doing, and intervene if you need to, in order to reduce the likelihood of discolouration or mould.
For very thin petals, such as cosmos or poppies, I don’t recommend moving them, unless you can see mould, in which case they’re probably not going to fare well in the book and it’s best to remove them completely, as mould will only spread. You can leave very fine-petalled flowers until they feel more dry and therefore stable to move around.
Check on your flowers every day, for at least the first week.
6. How to know if they’re dry: Flowers will show different signs of being completely dry. Here’s a few things to look out for and how to check they’re dry:
They start to independently move away from the page. Some may slip around slightly when you open the book or touch them.
They will have a paper-like, brittle feeling to them.
Check test TIP: run the flower across your top lip (it sounds strange, I know!). Your fingers have a deceptive amount of moisture in them, so when you pick some flowers up, they won’t always have a dry, paper-like feel to them. Your top lip can sense if they’re dry much more effectively.
7. Once your flowers are dry, you can either use them immediately, or think about storage. The best storage is the book itself; they’ll be kept flat and away from direct light, meaning they’ll retain their beautiful, pressed look for longer.
Hopefully, you’ve caught the bug for flower-pressing! Whether you’re using pressing as a way to slow down, as an interesting activity to get kids interested in nature, to preserve sentimental flowers, or to get creative; flower pressing is a wonderful pastime to be enjoyed by all. Have fun in your ventures!
If you’ve enjoyed this blog, you can support my work here - thank you!
Interested in learning more?
Discover more insights and detailed information on flower pressing in one of our online courses or guide books.
For more behind-the-scenes, information, tips and advice, why not subscribe to the Little Pressed Flower Instagram or Newsletter.