7 Common Mistakes a Beginner Makes in Flower Pressing
When you’re new to pressing flowers, it’s completely normal to feel a little unsure of what should be happening inside the press. Pressing can be a wonderfully simple craft, but it does have its quirks, and most beginners run into the same handful of challenges in those early attempts.
The good news is that these mistakes are easy to avoid once you know what to look out for. With a few learned adjustments, your results can improve dramatically leading to brighter colours, beautiful shapes, and far fewer surprises when you open the press.
I’ve gathered seven of the most common beginner mistakes below, along with some suggestions to try instead, so you can start your pressing journey with confidence and curiosity.
1. Pressing flowers that are past their best
The outcome of your pressed flowers begins long before they ever reach the press. A flower that’s bruised, wilted, or beginning to fade will only deteriorate further in the press and is far more likely to brown or mould.
Try instead: Choose flowers that are newly bloomed, dry to the touch, and picked during a dry part of the day. A little attention at this stage makes a world of difference later on. For more information on perfect picking, see my blog post ‘Picking a Flower for Pressing’.
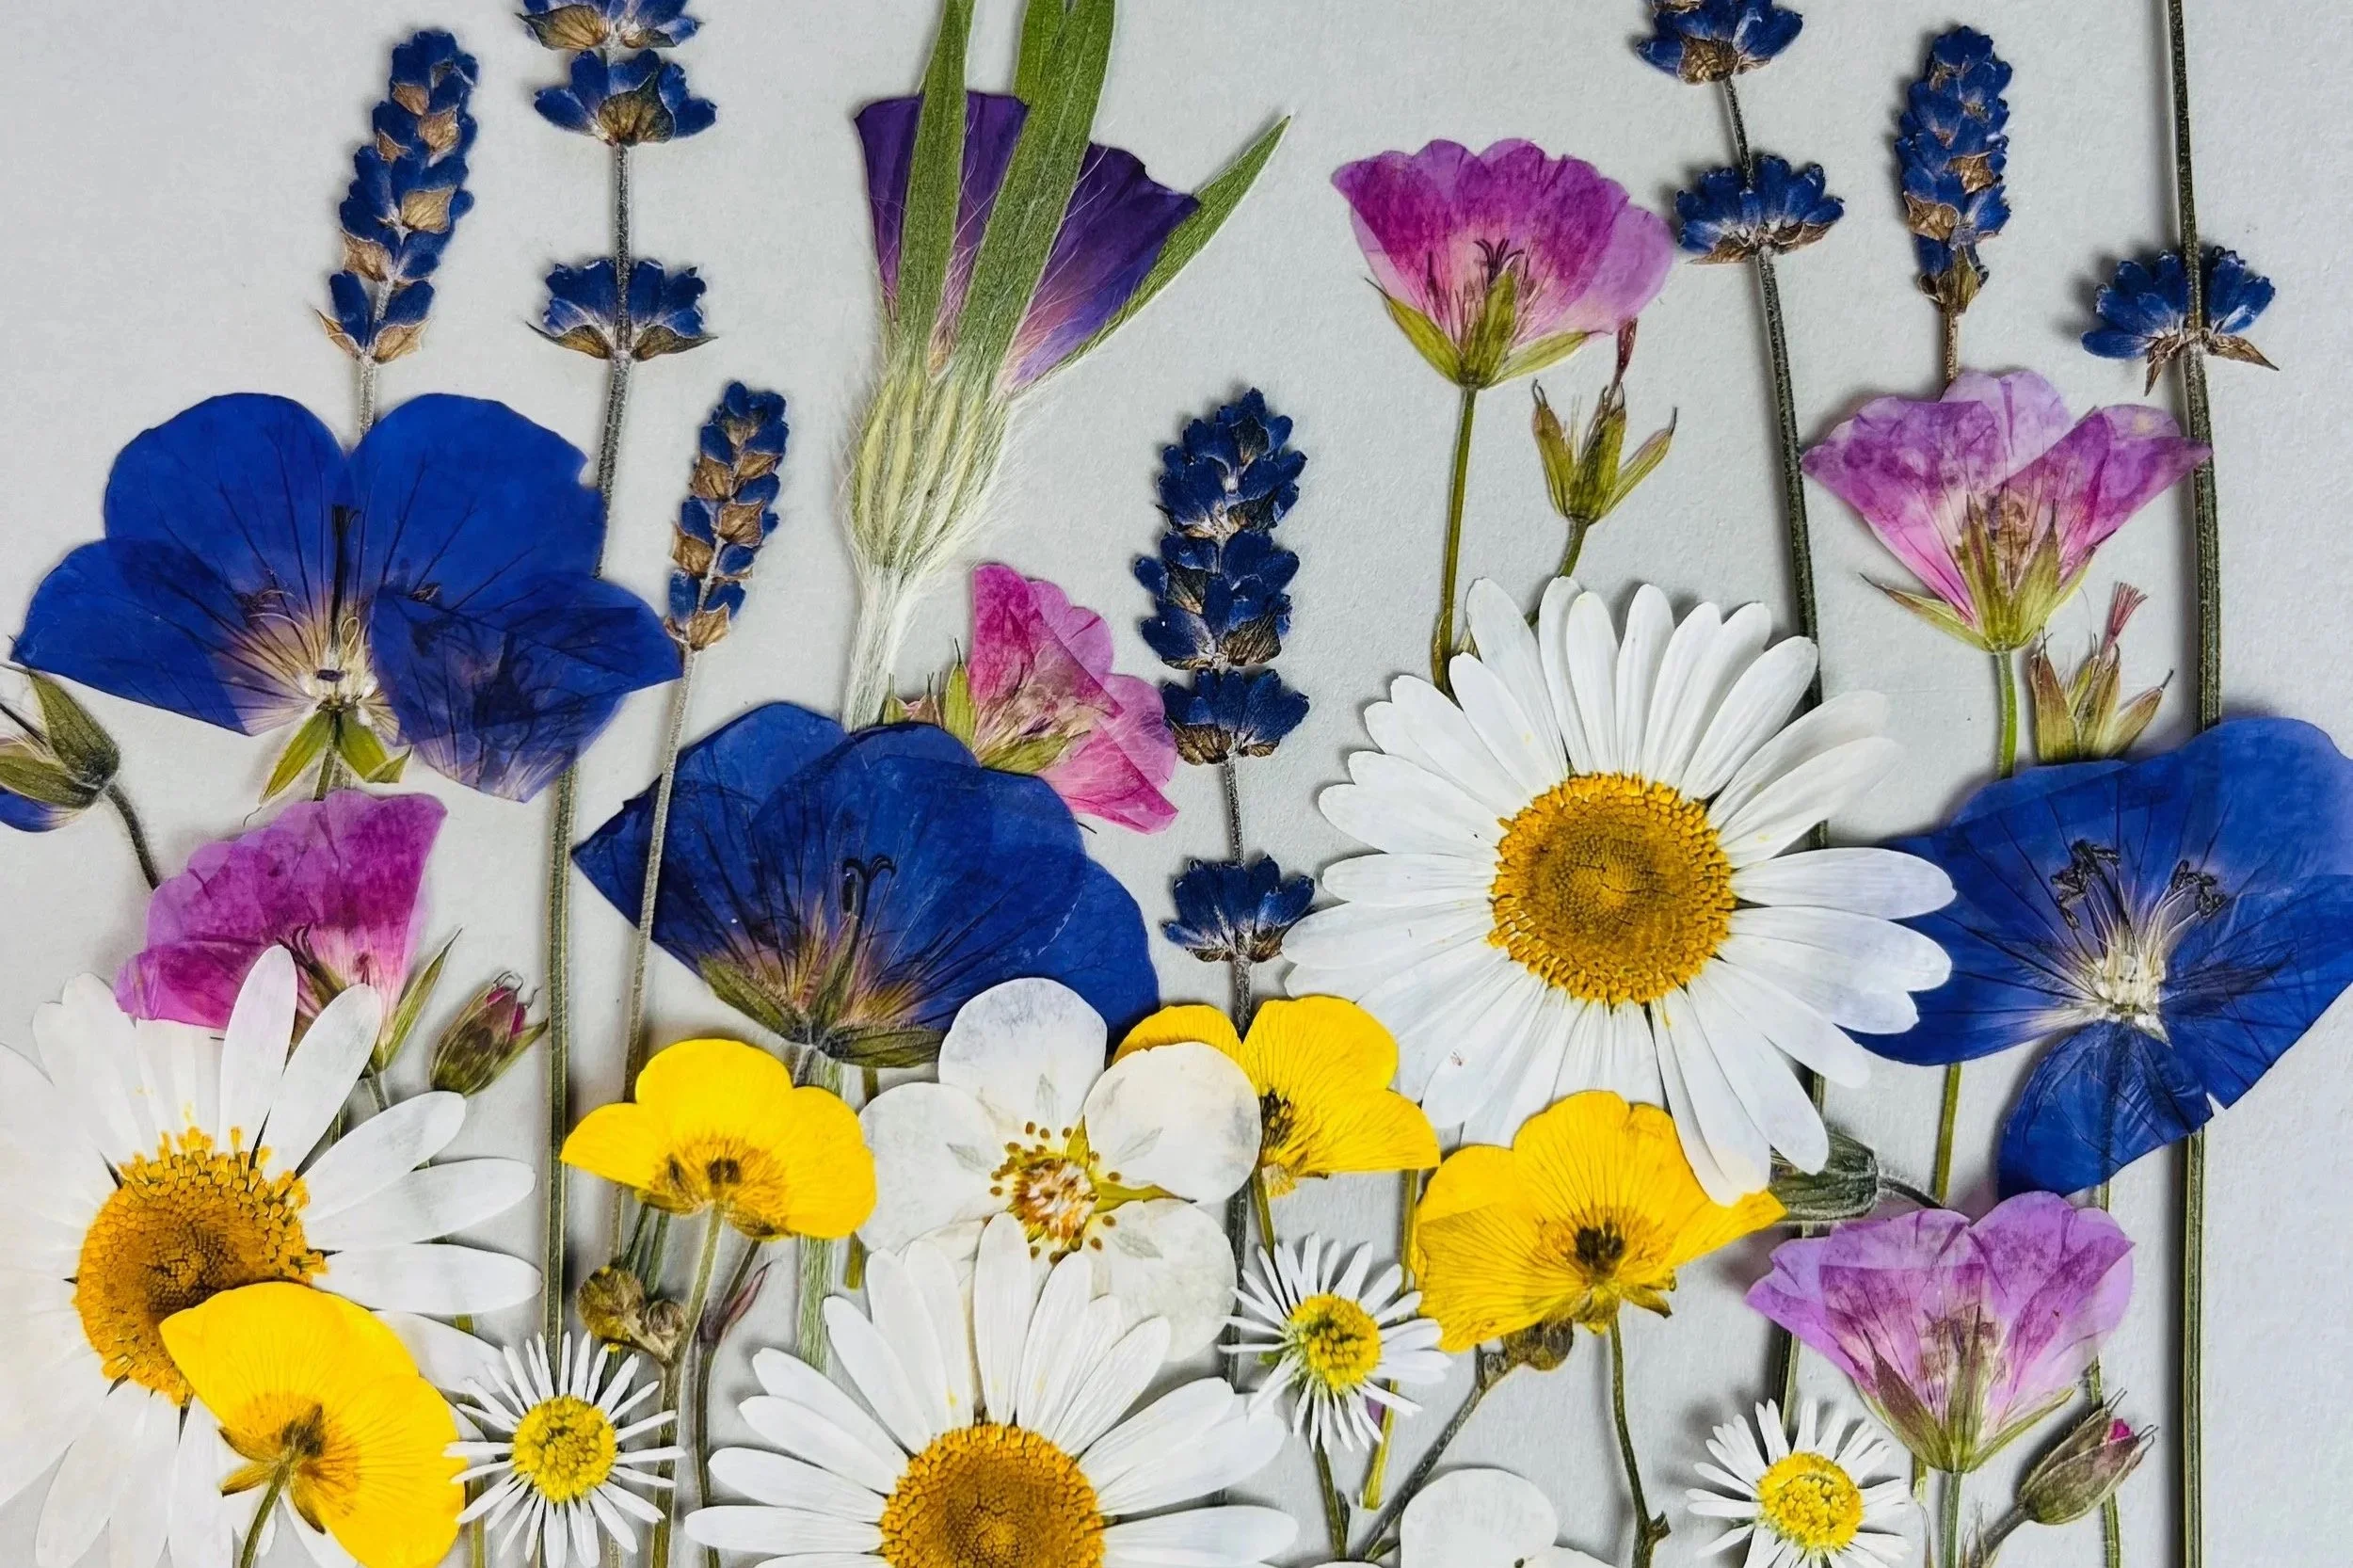
2. Pressing flowers that are too thick
Full, layered blooms like roses, chrysanthemums, ranunculus and peonies can be tricky even for seasoned pressers. Their thickness often means more moisture, which requires additional attention to detail. These types of flowers are prone to browning or uneven results and this can quickly knock your confidence as a new presser.
Try instead: Start with flatter flowers such as daisies, violas, poppies, cosmos, or delphiniums. As you gain confidence, experiment with thicker blooms. To learn more about the specific methods of pressing thicker, tricker flowers, see my guidebooks and online courses.

3. Not preparing the flower properly
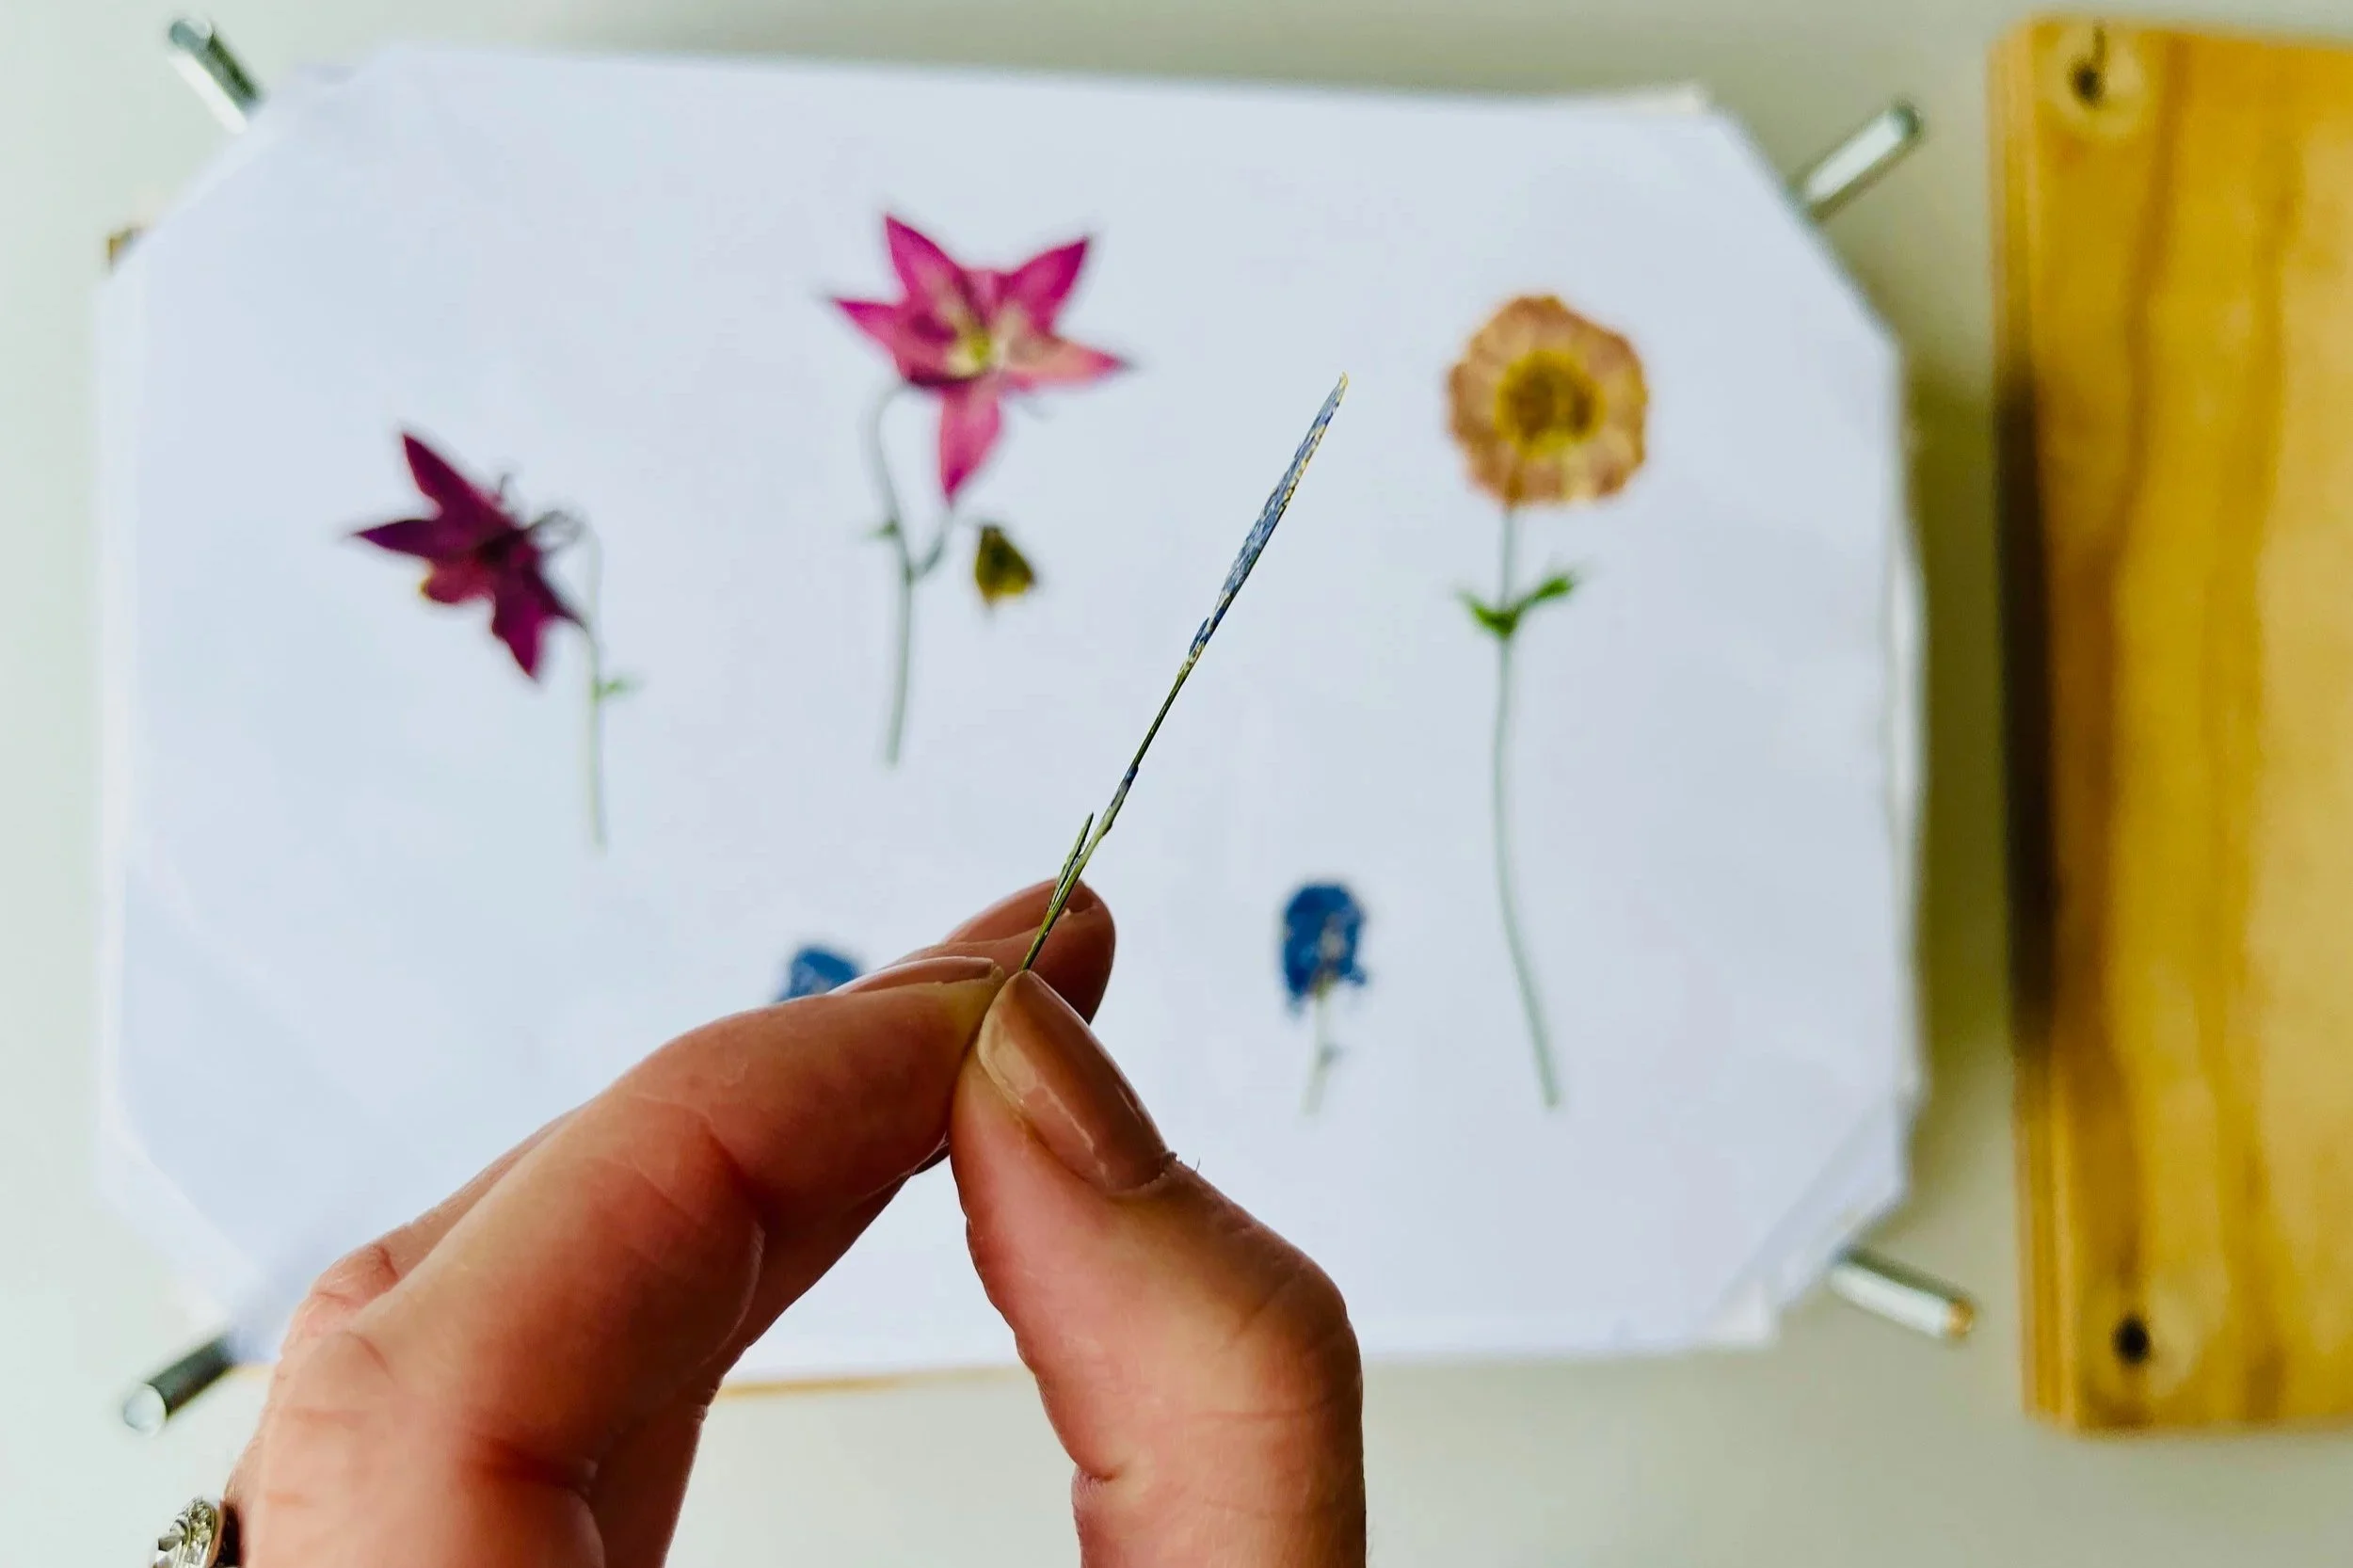
Sometimes a flower needs a little gentle shaping before it goes into the press. Overlapping petals or stems, bulky centres, or curled edges can all affect the final result.
Try instead: Take a moment to arrange petals and stems carefully on your page. Try opening, or gently pressing the flower into a different shape if needed. A small adjustment will help the flower to dry more evenly and retain its natural beauty.
4. Using the wrong materials inside the press
Moisture is the enemy in flower pressing. Beginners often use paper that’s too smooth, shiny or too thin, which can’t wick moisture away quickly or effectively enough. This leads to shrivelling, browning, mould, or petals sticking to the paper.
Try instead: Use absorbent papers such as blotting paper. Replace them if they become damp, especially in the first few days. For more information on equipment, see my blog post ‘Choosing a Flower Press’.
5. Removing flowers before they’re dry
Beginner pressers are often tempted to remove their flowers from the press before they are fully dry, especially when you’re excited to be using them. But lifting them out before they’re fully dry can cause petals to curl, shrivel, or brown.
It’s important to remember that the rate at which a flower dries will depend on what you are pressing, the environment your flower was picked in and where in its life cycle it was when picked, the methods and equipment you are using, and the environment you are pressing in. Some flowers can take as little as a week to press, whereas others could take six to eight weeks.
Try instead: When you do take a look at your flowers, if they still feel cool, soft, or flexible, they need a little longer. There’s lots more advice available in my online courses and guidebooks on what specifically to look for when pressing flowers.
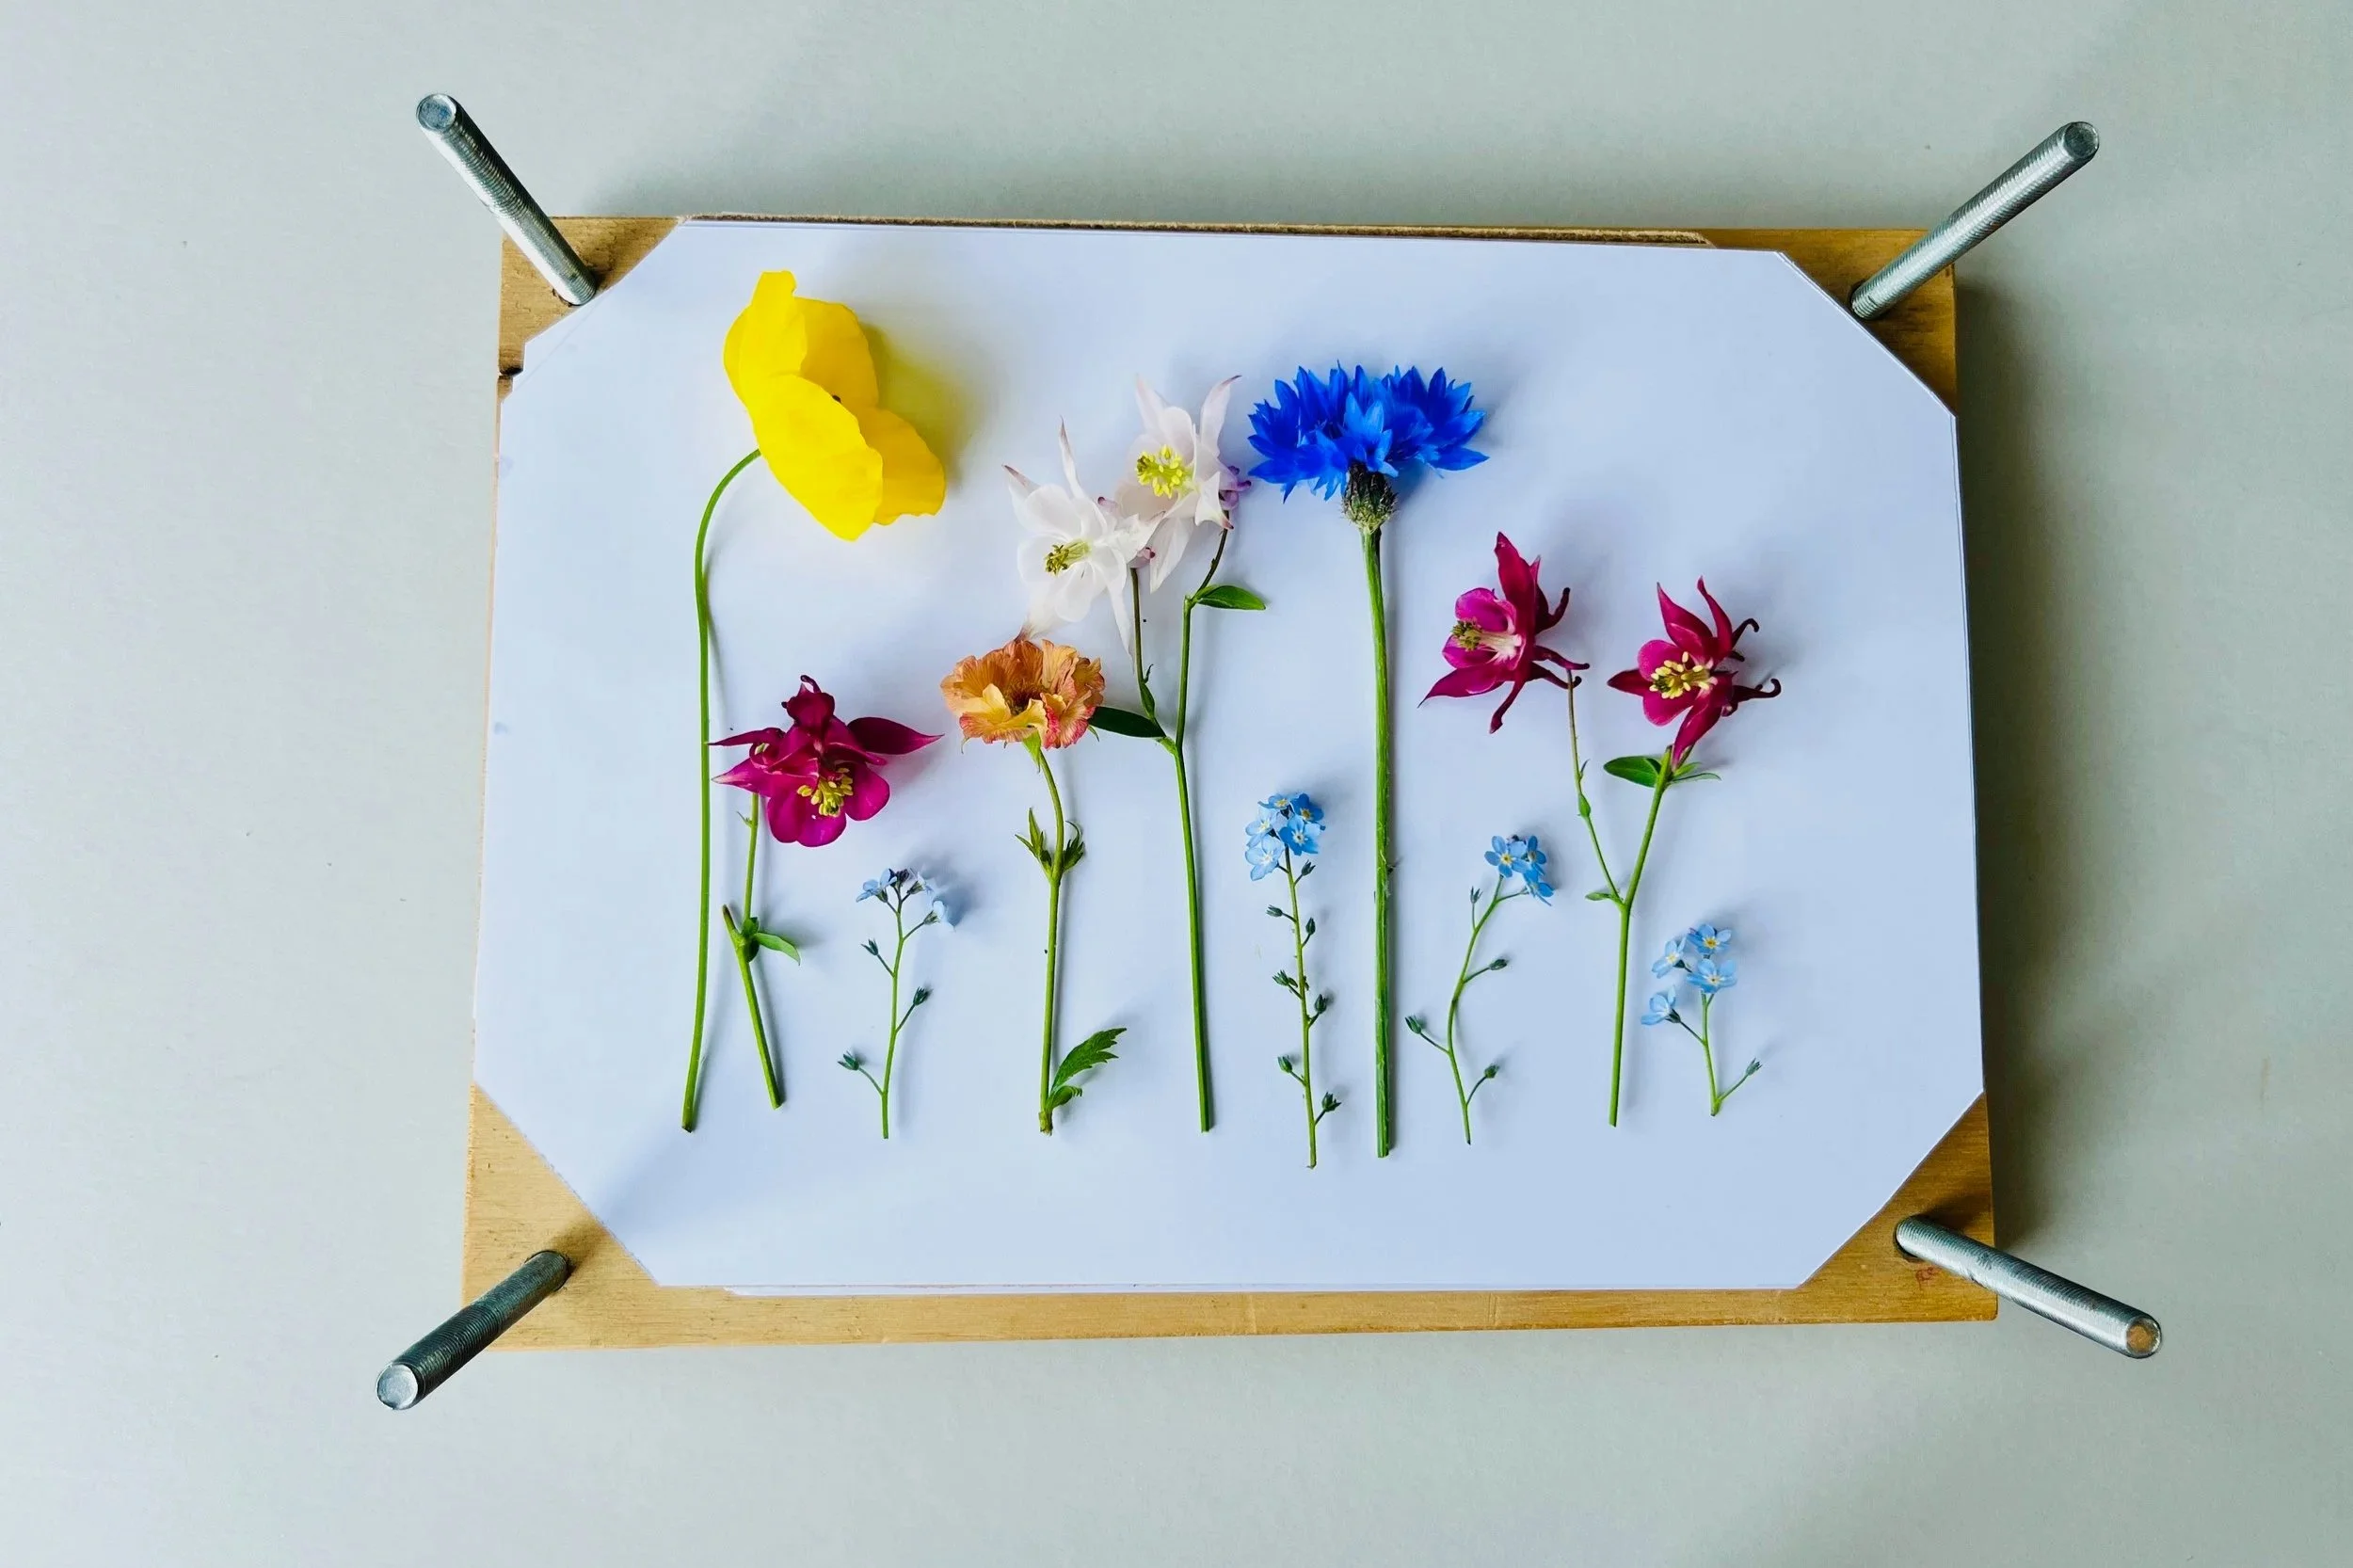
6. Overloading the press
Filling every inch of space inside your flower press can lead to uneven pressure, which causes flowers to dry in odd shapes, shrivel, brown or develop mould. Likewise, too many layers in your press can also cause this.
Try instead: Give each flower a little breathing room on the page. Even spacing helps them to dry flat and evenly. Ensure that the top panel of your press can be screwed down evenly with plenty of room at the top of your bolts.
7. Expecting every flower to behave the same
Each species, and often each individual bloom, behaves differently. Some shift colour dramatically, some become translucent, some hold their shape beautifully, and some simply refuse to cooperate. Beginners sometimes assume a “failed” flower means they’ve done something wrong, when in reality, it could just be the nature of that particular bloom.
Try instead: Embrace experimentation. Keep notes on what works well for you; it’s all part of the learning process.
A gentle reminder
Understanding these early pitfalls can help to make the learning curve much smoother, and taking them on board can also help you to appreciate that pressing is as much about observation as it is about technique.
Every presser, no matter how experienced, has had flowers brown, curl, or go mouldy. It’s completely normal. Pressing flowers is just as much about patience, experimentation and curiosity as it is about the end result.
With a little practice (and a few forgiving blooms), you’ll soon find your rhythm and the results can be truly wonderful.
If you’ve enjoyed this blog, you can support my work here - thank you!